If you are new to punch needle embroidery, making a modern floral design is one of the easiest and most rewarding projects you can undertake. This art form combines the simplicity of basic shapes with the beauty of nature, offering a perfect canvas for beginners to explore color, texture, and creativity.
Imagine this: cozy cushions sprouting sunflowers, wall hangings blooming with wild roses, and underfoot, rugs dotted with daisies. So grab your punch needle kit, and let's get stitching – it's time to bring a little bit of spring garden feel indoors:
Ideal Floral Patterns for Punch-Needle Home Decor
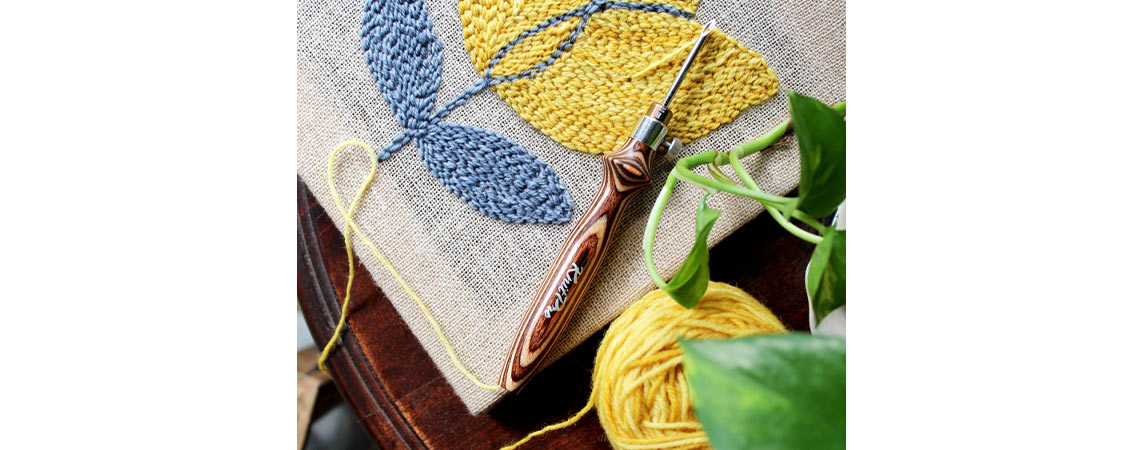
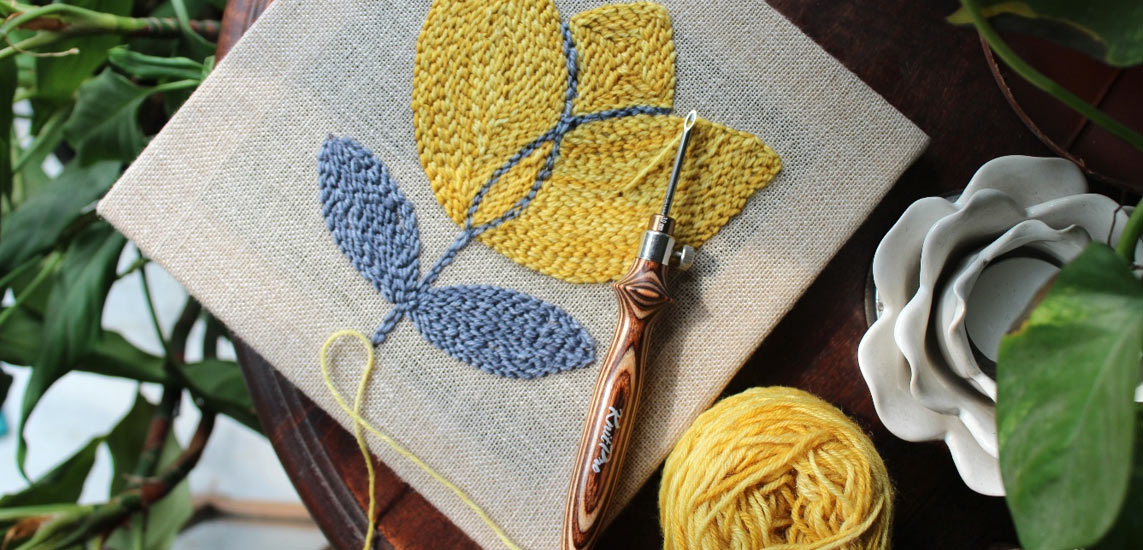
Creating floral designs with a punch needle make for quick and rewarding projects. The beauty of punch needle art is in its texture and handmade charm, so even the simplest designs can look stunning when completed.
- Simple daisies, with their simple shape and minimal color requirements, are great for beginners. They usually require just two colors – white for the petals and yellow for the center.
- Abstract floral designs are a fun and easy way to create. They allow for creative freedom and don't require precise detailing.
- Single Stem Flowers, like a tulip or a rose, are easier to manage than more complex arrangements. They allow you to focus on getting the shape and colors right without worrying about the composition of multiple flowers.
- Folk art flowers are typically stylized rather than realistic, often featuring bold shapes and vibrant colors.
- Making a cluster of the same type of flower (like a bunch of lavender or a group of poppies) is usually more manageable as it involves repeating the same pattern multiple times.
Materials Needed for a Modern Floral Punch Needle Design
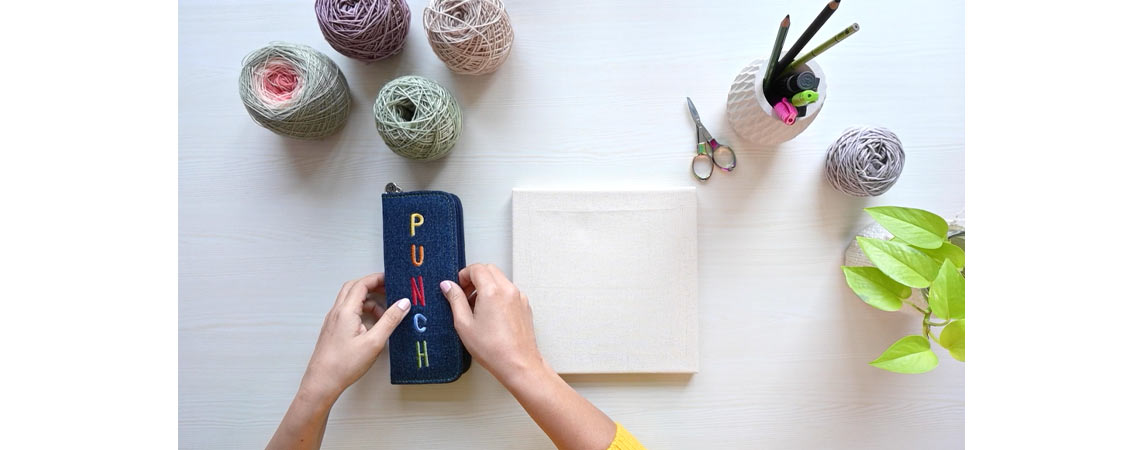
When choosing a design, consider the level of detail involved and the number of colors needed. Starting with simpler designs allows you to practice the technique and gradually move on to more complex patterns as you become more comfortable with the craft.
Perfect for beginners, Knit Pro's Punch Needle Starter Kits – Vibrant and Earthy – have got you covered. Each kit includes a wooden holder with an ergonomic handle, two threaders, and four different needle sizes.
- Select a suitable punch needle for your holder, depending on the yarn thickness.
- Weaver's cloth or monk's cloth are commonly used. They need to be tightly woven to hold the yarn in place.
- Embroidery Hoop or Frame: This keeps the fabric taut while working. Knit Pro provides pre-stretched frames, a convenient alternative to traditional embroidery hoops. These frames come ready to use, making it easier for you to start your project immediately.
- Scissors
- Marker or Pencil: For transferring the design onto the fabric.
- Pattern: A floral design of your choice.
- Choose yarn based on the needle size.
- Wool yarn is excellent for creating textured, dimensional floral designs. Medium to chunky weight wool provides a plush feel and makes it more accessible to fill larger areas. It's perfect for creating bold, standout petals and leaves, giving your floral design a lively, tactile quality.
- Variegated yarns have a mix of colors in a single strand, creating a unique, multi-tonal effect without changing yarns. They add depth and interest to your floral designs, simulating natural variations in petal and leaf colors.
When choosing yarn for floral designs, consider the scale of your project and the level of detail you want to achieve. Thicker yarns work well for bolder designs, while thinner yarns are better for detailed, delicate work.
Step 1: Prepare Your Fabric
- Cut your fabric to size, ensuring it's larger than the embroidery hoop
- Secure the fabric in the hoop/frame. It should be drum-tight to facilitate easy punching.
Step 2: Transfer the Design
- Place your floral pattern beneath the fabric or use a marker/pencil to draw the design directly onto the fabric.
- Ensure the design is visible but not too dark to avoid marks showing through the yarn.
Step 3: Thread the Punch Needle
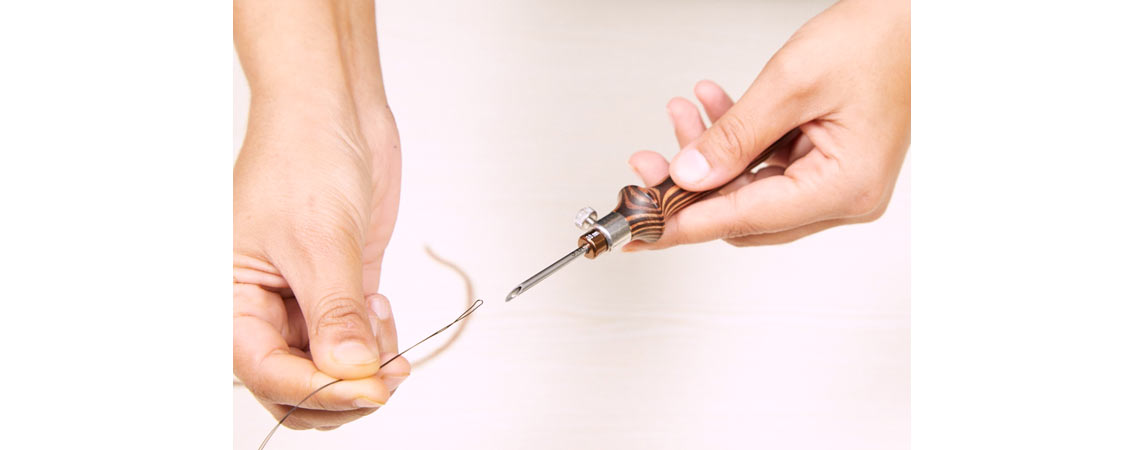
- Thread the yarn through the needle's eye and shaft. Find a detailed tutorial here.
Step 4: Start Punching
- Start at one end of the design. Push the needle through the fabric until the handle touches the fabric, then gently pull it back up to create a loop on the other side.
- Keep the needle close to the fabric as you pull it up and move to the next stitch. The stitches should not be too tight or too loose.
- Outline the flowers first, then fill them in for a cleaner look.
Step 5: Finishing Your Work
- Once the design is complete, remove it from the hoop/frame.
- Trim any excess fabric, leaving enough to fold over or frame.
- You can seal the back with fabric glue or stitch it to secure the loops.
Pro Tips for Floral Punch Needle Art:
- Use varying yarn colors to create depth and dimension in your flowers.
- Experiment with different loop heights for texture.
- Consider using different punch needle sizes for intricate parts of the design.
- Practice on a scrap piece of fabric to get the feel of the punch needle.
- Maintain even tension on your yarn for uniform loops.
- If you make a mistake, simply pull out the yarn and re-punch.
A modern floral punch needle project is a fantastic way to experiment with different textures and designs, allowing you to create a unique piece of art or home decor that truly reflects your personal style. As you embark on this creative journey, remember that the process is just as important as the outcome.
Whether creating a vibrant garden of flowers or a subtle floral motif, Knit Pro's punch needle tools are designed to help you seamlessly bring your vision to fruition. Enjoy every stitch, and let your creativity blossom!


