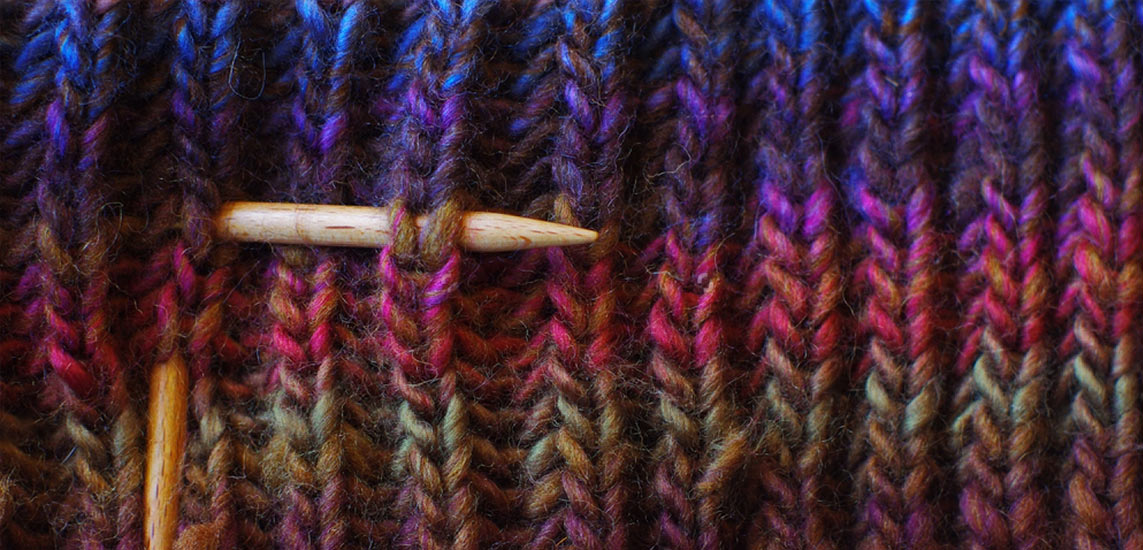
Every knitting lover knows the feeling: you've picked out the most luxurious yarn and followed the pattern to a tee, but the final piece doesn't look as polished as you'd hoped because of uneven rib stitches. Ribbing, with its rhythmic dance of knit and purl stitches, is the cornerstone of many knitted garments, offering both elasticity and texture. But achieving that pristine, professional look?
For impeccable ribbing, the right knitting needles are essential for each project. Let's navigate through the various ribbing styles and discover methods to refine your stitches for a polished result!
When do you need to Knit Rib Stitches?
Crafting rib stitches on your knitting needles is essential in many knitting projects. When using the best knitting tools, a neat rib stitch ensures that your garments fit snugly at the wrists, waist, and neck, preventing drafts and enhancing the overall design of your project.
Socks, mittens, and gloves: Using double-pointed knitting needles, sock patterns typically start with a ribbed cuff or have ribbing throughout. The cuff ensures that the garments remain comfortably on your feet and hands, retaining the warmth without sagging.
Hats: Crafted with circular or double-pointed knitting needles, hats frequently have ribbed brims to securely fit the garment on the head without being too tight.
Jumpers: The hem, cuffs, and sometimes the neckline of sweaters can feature rib stitching for a better fall and drape.
Scarves and shawls: Some flat-knit scarves and most shawls, especially those designed to be wrapped multiple times around the neck, use rib stitches throughout or on the edges. The ribbing adds texture and prevents the piece from rolling at the sides.
Cowls and boot cuffs: Often created on circular knitting needles, cowls and boot cuffs with ribbed edges are popular because of their snug fit around the neck, offering warmth and style.
Which knitting needles are the best for knitting neater rib stitches?
Just as a hiker selects the proper footwear for different terrains, choosing the appropriate type, shape, and material of your knitting needles is crucial for the success of your project.
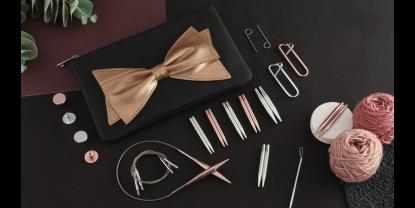
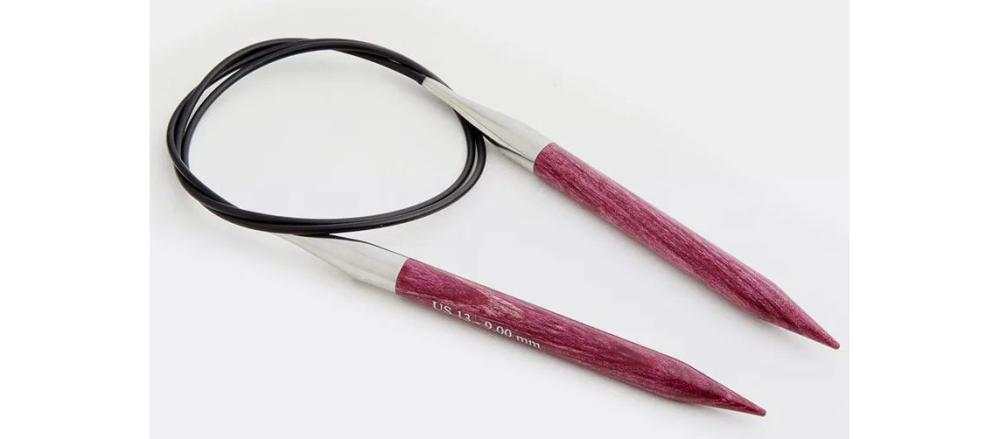
1. Circular Needles: These are often favored for larger projects like sweaters and hats or any project worked in the round. The flexible cable allows for even weight distribution, which can help maintain consistent tension. KnitPro's Explore Set of fixed circular knitting needles is revolutionizing how we approach rib knitting in smaller projects, like socks or cuffs. Shorter needles and cables can make managing stitches on smaller circumferences more straightforward, leading to neater ribs.
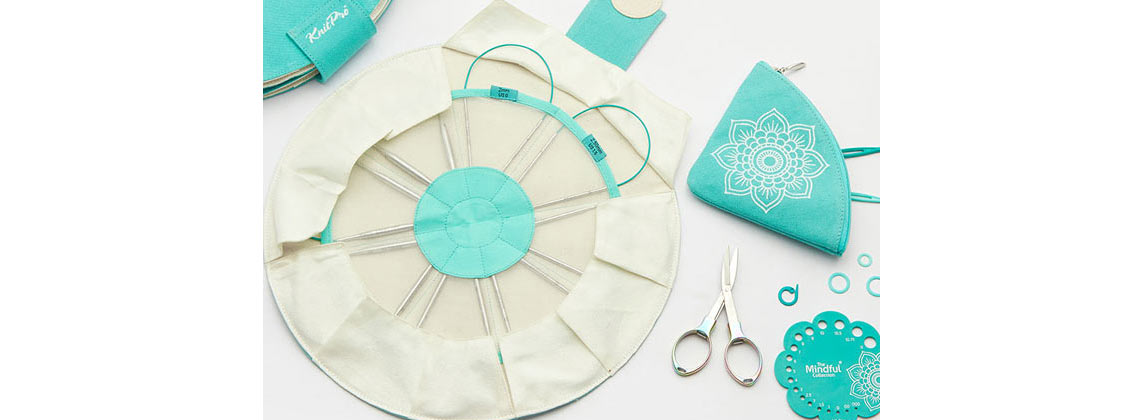
2. With interchangeable needle tips, you can easily adjust the width of your project. For example, if you're knitting a sweater, you might start with a longer cable for the body and switch to a shorter cable for the cuffs or neckline. With always the right cable length on hand, you can easily maintain even tension and prevent stitches from stretching out too much.
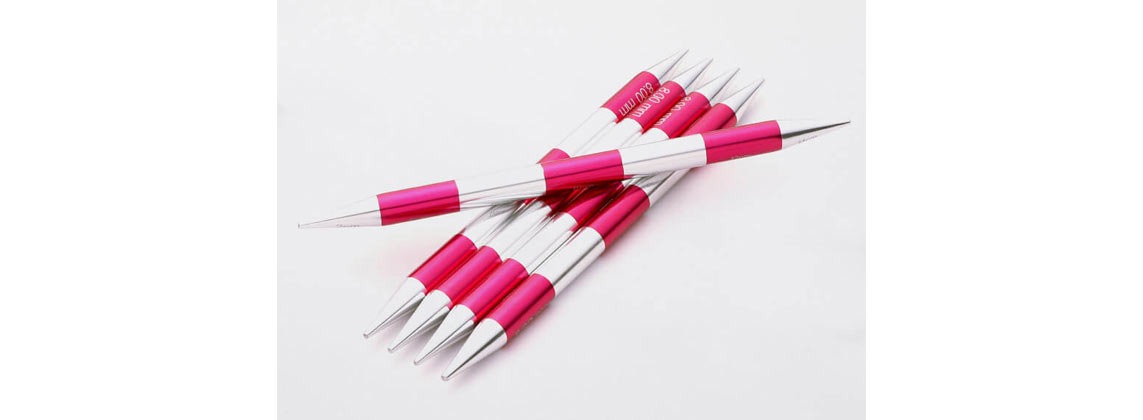
3. Double-Pointed Needles (DPNs): These are essential for smaller circular projects like socks or the tops of hats. They can be a bit trickier to manage for beginners, but they're excellent for ribbing on smaller circumferences.
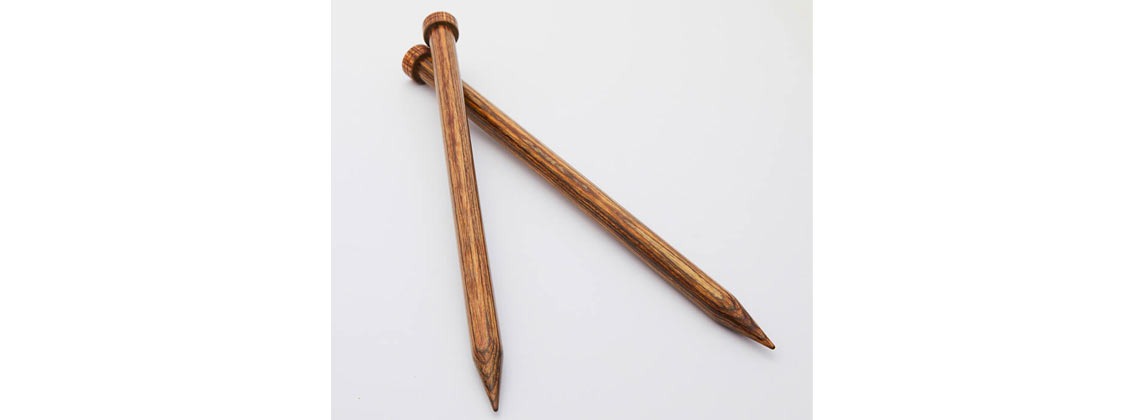
4. Straight Knitting Needles are a fantastic choice for ribbing flat projects like scarves or panels. However, if you're working on a very wide project, the weight might not be evenly distributed, which may impair knitting tension and the neatness of your ribbing.
5. Selecting the right knitting needle material is crucial for rib stitches. Wooden and bamboo needles offer a lightweight grip ideal for beginners. Metal needles, favored by experienced knitters, allow swift knitting but may be too slippery for some yarns.
What common rib stitches are there?
Rib stitches in knitting are created by alternating knit and purl stitches within a row or round and by aligning these stitches in subsequent rows.
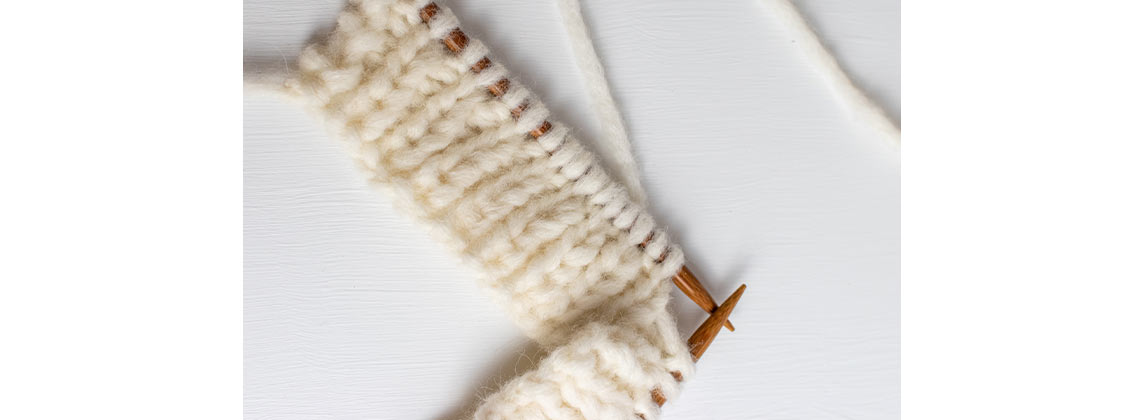
1x1 Rib (or K1, P1 Rib) is the most basic rib stitch, created by alternating one knit stitch with one purl stitch across the row. This creates a very stretchy fabric that looks the same on both sides.
2x2 Rib (or K2, P2 Rib): In this pattern, you knit two stitches and then purl two stitches, repeating across the row. This produces a broader rib than the 1x1 rib.
Twisted Rib: This is a variation of the 1x1 rib where the knit stitches are knit through the back loop, which twists the stitch. This can make the ribbing appear more defined, especially if your purl stitches are generally looser than your knit stitches.
Broken Rib: This pattern alternates rows of rib stitches with stockinette stitches, creating a textured fabric that doesn't pull in as much as regular ribbing.
Mistake Rib: Despite its name, the "mistake" in this rib is intentional. It's typically worked as a multiple of 4 + 3 stitches. One typical pattern is K2, P2 across the row, ending with K3. This produces an almost random fabric like someone "mistakenly" misaligned their ribbing.
Slip Stitch Rib: This involves slipping certain stitches instead of knitting or purling them, which creates an elongated stitch effect within the ribbing.
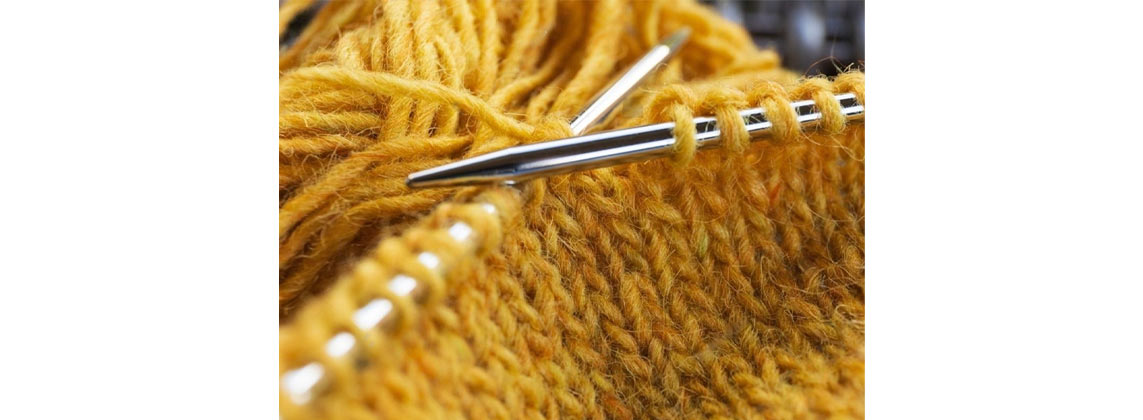
Knit better Rib Stitches in 6 Easy Steps
Improving your rib stitch technique will give your projects a more professional and polished look.
Consistent Tension is critical for neat stitches. Practice maintaining an even yarn tension throughout your work, and your ribbing will improve.
Stretch as You Go: After you've knit a few stitches, give your work a gentle tug downward. This helps the stitches settle into place, preventing them from looking sloppy.
Purling Technique: Sometimes, how you purl can impact the neatness of your ribbing. Experiment with different purling techniques to see which gives you the neatest result. In particular, the transition between knit and purl stitches can sometimes create a little "gap" or looseness. To prevent this, try tugging the yarn a bit after making the first stitch of a new type (e.g., after the first knit stitch following a purl, or vice versa).
Using a smaller knitting needle size than recommended for your yarn can result in tighter ribbing which looks more polished.
Slip the Edge Stitch: If the edges of your ribbed piece (like on a scarf) aren't as neat as you'd like, consider slipping the first stitch of every row (purlwise with yarn in front). This creates an elegant chained edge.
Consider a different ribbing technique. A wide variety of rib stitches and patterns are available to create a stretchy border or hem. If you struggle with some ribbing techniques, take a look at our ribbing examples above. Or get creative and invent your unique ribbing style.
By identifying any inconsistencies in your technique, you can adjust and improve your rib stitches. Over time and with the best KnitPro knitting tools, you'll develop muscle memory, and your stitches will become more consistent and neat. Remember, knitting is as much about the journey as the finished product. Happy rib stitching!


