Let’s be honest There are a few things more frustrating than spending hours on a project only to be disappointed by the result. One common issue that can ruin the appearance of your knitting projects is curling edges. Whether knitting a cozy shawl or a practical potholder, curling edges can make your work look sloppy and unprofessional.
Fortunately, you can use several tried-and-true techniques to prevent this common problem. In this post, we'll share some of our favorite knitting techniques for knitting stitches that don't curl, which will give your projects the perfect aesthetic. It’s time to get your knitting needles out and get started! Oh, and don’t forget your stitch markers. Marking the border stitches will help you at the beginning to separate your border pattern from the rest of your work.
The Textured Stitch Border
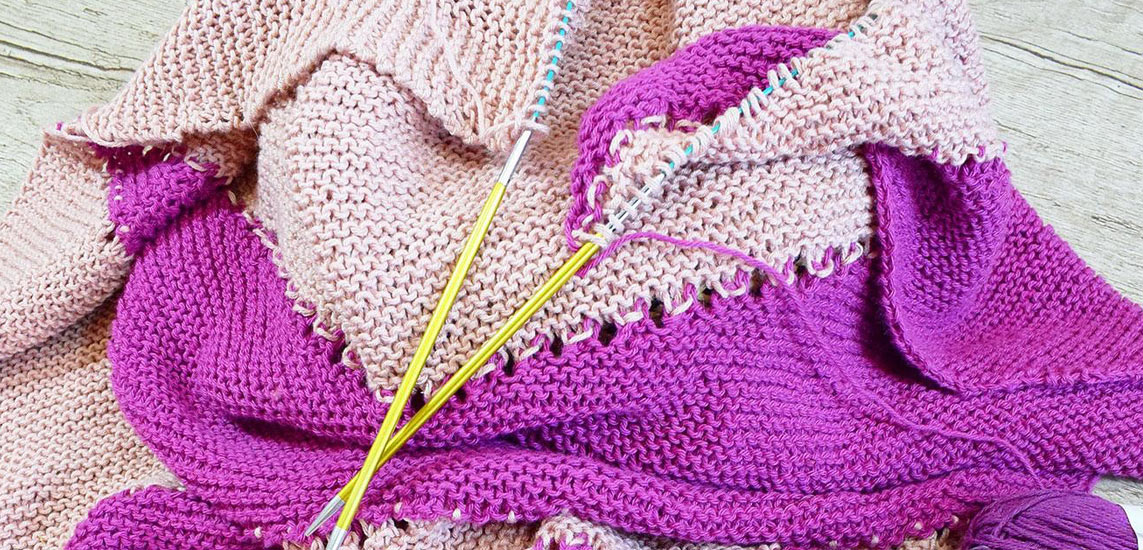
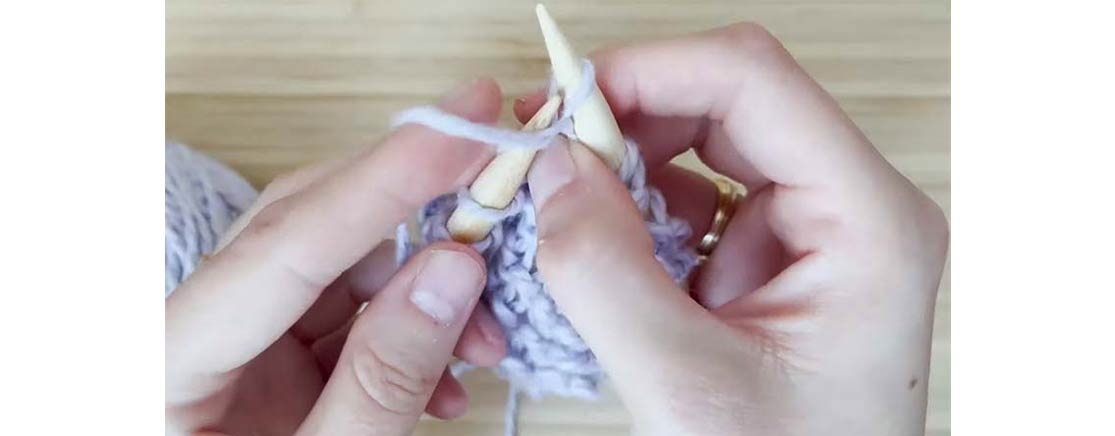
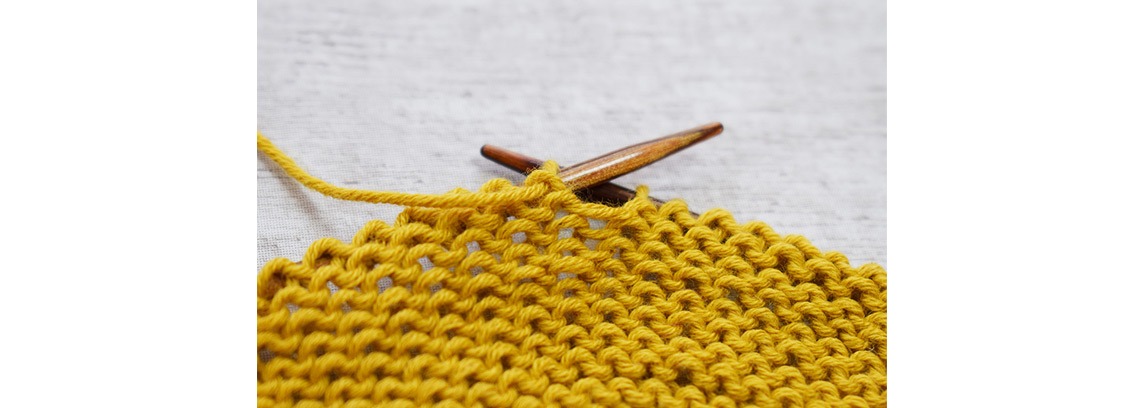
Knitting a small textured border is a simple way to prevent curling and create neatly-trimmed flat edges in various projects, such as dishcloths, potholders, or shawls. This can be the garter stitch border. It is created by knitting every row, which creates a textured, squishy fabric that lies flat.
When incorporating a textured border into your knitting project, it's crucial to maintain consistency in the width of your borders. For example, if you've created three garter stitch ridges (which consist of six rows of only knitting) as your base, each side of your piece should have three stitches in the garter pattern. This will ensure that your borders are even and symmetrical, giving your project a polished and professional look.
Seed stitch borders can be another great way to add extra texture and flair to your projects while preventing unsightly curling edges. One border stitch that can accomplish both of these goals is the seed stitch. By alternating between knit and purl stitches, the seed stitch creates a unique, bumpy texture that looks great and helps keep your knitting lying flat.
Ribbing is another common border that can prevent curling; You already know rib stitches from all kinds of garments, such as sweaters or hats. It's created by alternating knit and purl stitches in a specific pattern, such as k1, p1, or k2, p2. The ribbing adds stretchiness to your project and prevents the borders from curling.
Non-visible Selvage Stitch Edges
What if you don’t want a visible edge at all? There is a variety of alternative selvage stitch methods that can help keep your borders pristine and uncurling.
The slip-stitch edge is one of them. To create a slip-stitch edge, you simply slip the first stitch of every row without knitting it. This creates a neat, tidy edge that won't curl.
The most common way involves slipping the first stitch knitwise with yarn in the back (sl1kwyib) on the right side (RS) and slipping the first stitch purlwise with yarn in front (sl1pwyif) on the wrong side (WS), while knitting or purling the last stitch on both sides.
However, since a purl stitch looks identical to a knit stitch from the opposite side, there are other ways to knit this stitch that yield the same result. For example, you could knit the first stitch on the right side and slip the last stitch purlwise on both sides.
The Swiss Edge Stitch is another almost invisible edge stitch that is sometimes used in knitting. This stitch is created by slipping the first stitch purlwise with the yarn in front and then knitting the last stitch through the back loop. This technique creates a neat, tidy edge that lies flat and is often used in lace knitting or other delicate projects where a clean edge is essential.
Picking up stitches and adding a border
If you're knitting a large piece, such as a blanket or a shawl, you can prevent curling by adding a border and thus embellish your project with additional trimming in a different pattern, such as lace. This can be done by picking up stitches along the edges of the piece and knitting a border in garter stitch, seed stitch, or another stitch pattern. You can read more about the benefits of picking up stitches in our recent blog post here.
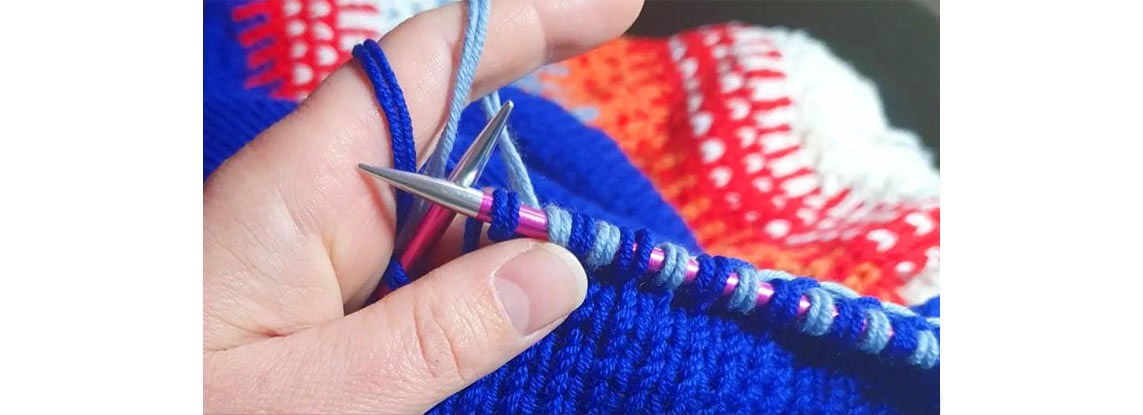
Last, but not least, block your finished work. Blocking means wetting and shaping your piece to the correct dimensions. This will not only flatten any curling edges, but it will also make the rest of your pattern stand out more and give shape to your project. And with our professional blocking combs and mats, this task will be even more enjoyable.
The choice of which uncurled edge method to use totally depends on your knitting style or which stitch you find easier to work with. To determine the best technique, try knitting swatches with different variations and see which yields the most successful results.


