
In knitting, knit front and back, also known as KFB is a technique that is generally used in projects that require shaping. Say, for example, socks, sleeves or asymmetrical shawls, lace designs, hats and more. Knit front and back (KFB) is a commonly used increase technique in knitting. For most knitters, the question of how to increase a stitch in knitting is knit front and back (KFB). Its versatility allows it to be a popular choice among a wide range of knitting projects. You knit once through the front of the loop and one more time through the back loop of the same stitch, resulting in an extra stitch. It is also known as “Bar Increase” because you’ll create a little visible purl bar with it. Sometimes is also abbreviated as “K1fb” or even “K1f&b”.
What is Knit Front and Back (KFB)?
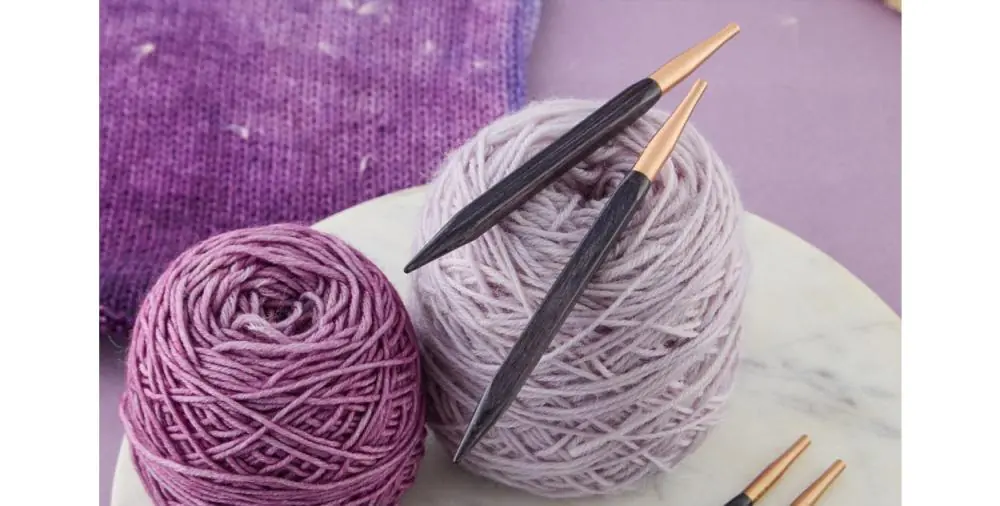
In knitting, you make stitches with loops of yarn on your knitting needles and work on them in rows and rounds to create a fabric. Generally, you knit one stitch (loop) only once. But there are some techniques and occasions where you need to knit the front and back of a stitch. Working on both front and back loops of the same stitch increases the stitch count. The resulting increase leans towards the left and is quite visible in the stockinette stitch due to the little bar. The right-leaning counterpart is called SKL – slip, knit, lift. The purl equivalent is pfb –purl front & back. Adding texture and interest to patterns, or when specifically instructed, knitting the front and back of a stitch can be done with any of the regular knitting needles.
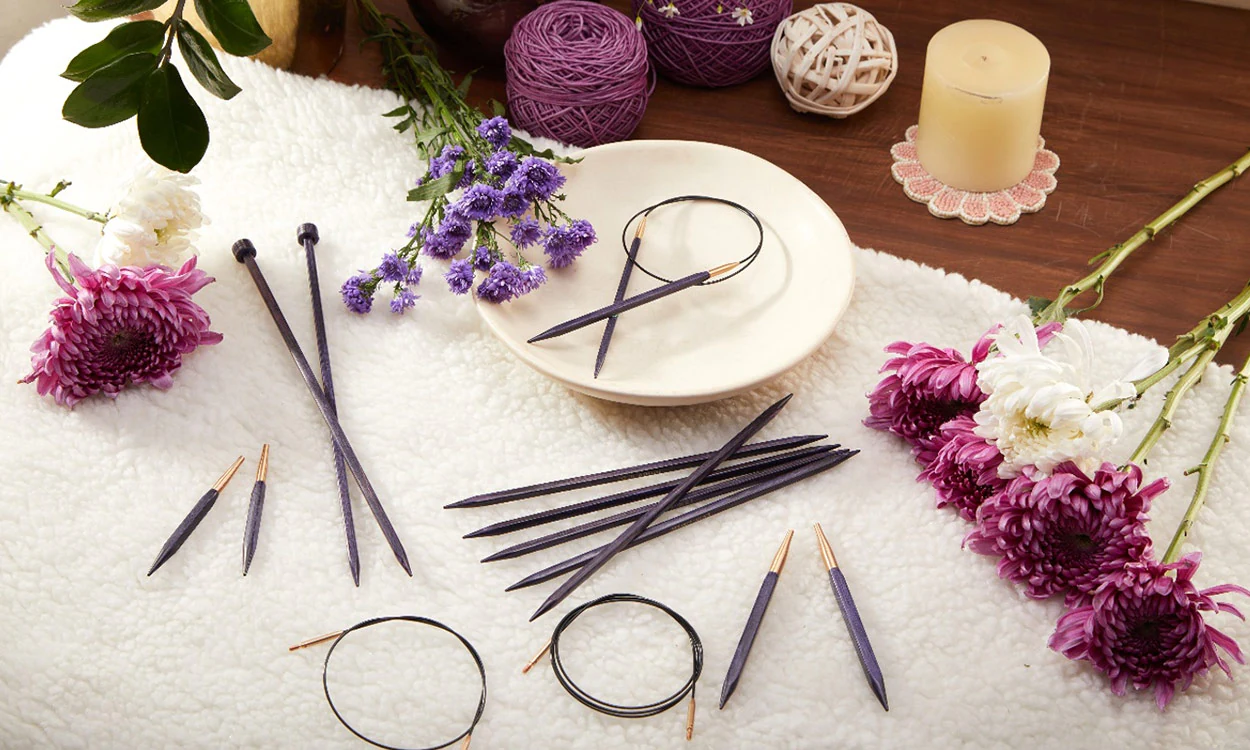
If you are working on a project back-and-forth, proceed with single pointed needles or circulars. For projects knitted in the round, you can choose DPNs and circulars. Double-pointed needles for special circumferences, another choice is the magic loop with a circular needle.
Step-by-Step Instructions to Knit Front and Back (KFB)
Step 1 - Knit the First Stitch
To begin a knit in the front and back increase (KFB), you simply make a knit stitch but don't slide the stitch off the left-hand needle.
Step 2 - Knit the Second Stitch
You now have one stitch on the right-hand needle and the old stitch is still on the left-hand needle. To finish the increase, knit into the back of the old stitch on the left-hand needle.
This stitch is made in exactly the same way you'd make a stitch on the front part of the loop, you're just doing it in the part of the loop that is behind the needle.
Step 3 - Finishing the Increase
Now you have two stitches on the right-hand needle. To finish, simply slide the original stitch off the left-hand needle. You have just increased one stitch.
Once you have finished your increase, just keep knitting as the instructions say. You can need to continue with increases after a few stitches. Make sure to place stitch markers.
Another Alternative - Knit Back and Front (KFB)
Another variation of the KFB is the KBF, knit back and front. You can probably already guess how to knit it. You knit through the back loop first and then, in a second step, you knit a regular knit stitch into the front loop of the same stitch. Otherwise, it’s exactly the same knitting technique.
This will result in one twisted knit stitch on your needle and a slightly smaller bar. For an untwisted version, you could slip the stitch before you knit through the back loop first. So, slip 1 knitwise, slip the stitch back to the left needle, and only then ktbl.
When would you use the KFB increase?
This knitting instruction would most commonly be seen any time you need to increase your stitch count by one (or more if there are several kfb sts in the row/round). You might see that it can be used to add stitches to shape certain areas of your project, like creating sleeves in a garment, making a hat crown, or shaping the toe of a sock. However, the stitch increase technique is a great way to plan your first sweater knitting projects.
Sleeves - Raglan Sleeves work beautifully with this increase. The bar is visible, adding to the design.
Shawls - For asymmetrical lace shawls, it’s a great technique. You can browse more on our previous blog
Lace Patterns: In lace knitting patterns, knitting into the front and back of a stitch can be used to create eyelets and decorative holes in the fabric.
Ruffles and Flares: When you want to create ruffles, flares, or any kind of dimensional texture, increasing stitches by knitting into the front and back can be quite useful.
With practice, you can easily master the technique to knit front and back. Remember to choose comfortable knitting tools and accessories. Explore the KnitPro collection for the widest range of options. To get together with creative hands, join our Facebook Group, KnitPro Divaas! Whether you a beginner or have the experience of years, you have a place right here.
For a visual guide, this YouTube Video is of great help.
Video Courtesy - Staci Perry | YouTube Channel - @verypinkknits


