The Fisherman’s Rib Stitch is a beautiful textured, reversible pattern that is as timeless as knitting itself. Once you have mastered your knits and purls with your knitting needles you can work on this. Similar to rib stitches, the stitch pattern creates a thick fabric with lots of volume and horizontal stretch that is ideal for all kinds of knitting projects especially suited for winters and cold weather. Think of warm scarves, hats and sweaters (especially necklines). Easy to work for both knitting in the round as well as back and forth, the versatile stitch works beautifully for all kinds of projects that could do with some warmth and elasticity. In this blog, we’ll walk you through everything you need to know about Fishermen’s Rib Stitch.
What is the Fishermen’s Rib in Knitting?
A form of ribbed stitches in knitting, Fishermen’s Rib takes two rows to complete one full row. There’s a long history to its name as the stitch pattern comes from the Aran Islands off the coast of Ireland. It was mainly preferred by sea-faring fishermen who braved the cold and wet for livelihood. And, as the name suggested fisherwomen used to knit the ribbed sweater with natural wool to keep the men warm in the cold open waters.
Fisherman’s Rib creates a thick fabric using knit stitches (and also purl) worked into the row below. You work on a row or round and when the stitch comes you simply insert your knitting needle tip in the stitch in the row below. Understanding slip stitches and instructions as WYIF, with yarn in front makes working the stitch pattern easier. You can knit it with either single pointed needles or circulars to knit back and forth for a project such as a scarf. You can also work the stitch for projects such as necklines, sleeves and even sock cuffs with double-pointed needles (DPNs) or circulars by knitting in the round. The stitch has great elasticity, allowing for flexibility and movement without sacrificing warmth.
Best Projects: Scarves, beanies, and oversized sweaters. It works for sleeves or necklines too. You can work the stitch pattern on any possible design or project.
Yarn: Traditionally, the fishermen’s rib stitch was worked with pure wool that had lanolin which was one of the benefits of the knitted fabric. Nowadays, the pattern can be worked with any yarn, fiber and weight. Choose a yarn that gives the best stitch definition. Merino wool is timeless as the stitch pattern and works beautifully to give stretch and elasticity along with neatness. It’s important that you keep in mind that Fishermen’s Rib Stitch takes almost 30-40% more yarn that regular stockinette.
Knitting Needles: The general rule when it comes to knitting needles for working Fisherman’s Rib stitch pattern is to use a needle a few sizes smaller than matching the yarn weight.
Accessories: Stitch Markers, Wool/ Tapestry needle to weave in the ends, measuring tape, scissors, etc.
Steps to Knit Fishermen’s Rib Stitch Pattern
Cast On
Any cast-on can be used for Fisherman’s rib stitch but if you want a fabric that elegantly merges with the knitted pattern then it is best to use a cast on that mimics the k1, p1 of the fabric.
Here are a few great options:
Long Tail Cast-On: Sturdy, neat, and beginner-friendly. Refer to our previous blog on how to do the long tail cast on to learn about the knitting technique in detail.
Italian Cast-On: Creates a very stretchy edge that resembles k1, p1 ribbing.
Tubular Cast-On: Known for its stretchy finish, perfect for garments.
Alternating Cable Cast-On: Creates a stretchy, clean edge that mimics the k1, p1 fabric.
First Row after Cast on
After doing some research on this stitch, it is clear that the first row after the cast-on is dependent on which way you work the fisherman’s rib stitches. There are instructions that start with a knit row, there are instructions that start with a purl row, and then there are instructions that start with a K1, P1 (or vice versa) ribbing.
It’s recommended that you should start with the way a pattern is written and if you don’t like it, try out one of the other ways. Also, remember that the cast-on you choose can affect the look of the first row after cast-on so changing that as well might be necessary to get your desired look.
Start with actual K1, P1 (or vice versa) ribbing is the best way to start this stitch pattern to make it look as pretty as possible. But if you feel differently, you can absolutely use one of the other options.
Bind Off

Similar to cast on techniques there are a few bind-off or cast off techniques that suit Fishermen’s Rib Stitch patterns. The Tubular Bind off is a beautiful finish.
Before you work on the Fisheremen’s Rib Stitch pattern you must be clear with knitting abbreviations such as WYIF (With Yarn in the Front). As the stitch abbreviation name suggested you simply bring the yarn to the front.
Once you understand these instructions, let’s take a look at the steps. Fishermen’s Rib Stitch pattern can be worked in various ways- with even/ odd number of stitches, on a row or round on knit/ purl stitches and in the round.
However, the basic instructions are:
Cast On an even/odd number of stitches +2 for selvedge
Preparation row: Sl1p wyif, *p1, k1*, p2
RS: Sl1p wyib, *k1 below, p1*, k1 below, k1
WS: Sl1p wyif, *p1, k1 below*, p2
With this get ready to work with Fishermen’s Rib Stitch.
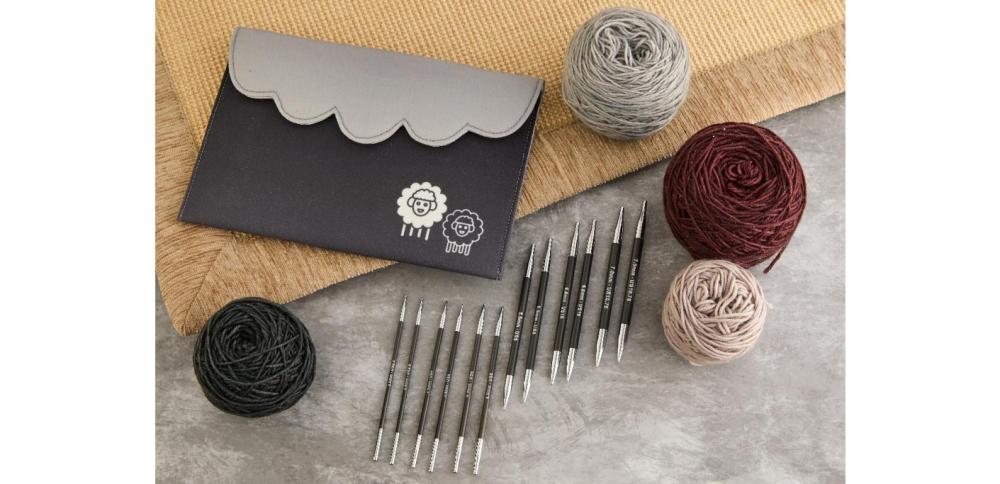
Style up your sweater with this handy stitch pattern. For your knitting needs, explore KnitPro’s diverse collection. Whether you prefer the feel of stainless steel, the precision of lightweight aluminium, the warmth of wood, or the strength of carbon fiber, explore individual sizes or knitting needle sets.
For a step by step video tutorial, check out this -
Video Courtesy - Staci Perry | YouTube Channel - @verypinkknits


