Fingerless gloves have a rich history dating back to the early 18th century when fishermen and sailors wore them to keep their hands warm without sacrificing their manual dexterity. In the 20th century, fingerless gloves gained popularity among new-wave subcultures thanks to music icons like Madonna and Duran Duran.
With the resurgence of the 80s in fashion, fingerless mittens are once again taking the world by storm. Fashionistas and influencers are incorporating these accessories into their wardrobes with bold neon colors and edgy studded designs this winter. Whether you're looking to add a touch of 80s spirit to your outfit or keep your hands warm while scrolling through your phone, fingerless gloves and mittens are a must-have for any fashion-forward wardrobe.
The best part? These versatile accessories are easy to craft, and we've got a beginner-friendly free knitting pattern to help you elevate your style game this season. So, let's dive in and explore how you can rock this trend like a pro!
Which knitting needles should I choose to craft a pair of gloves?
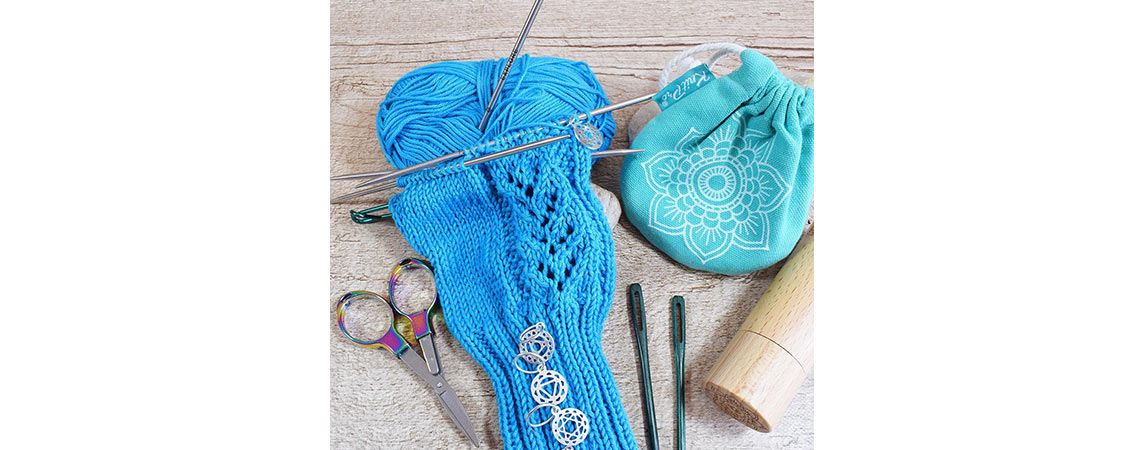
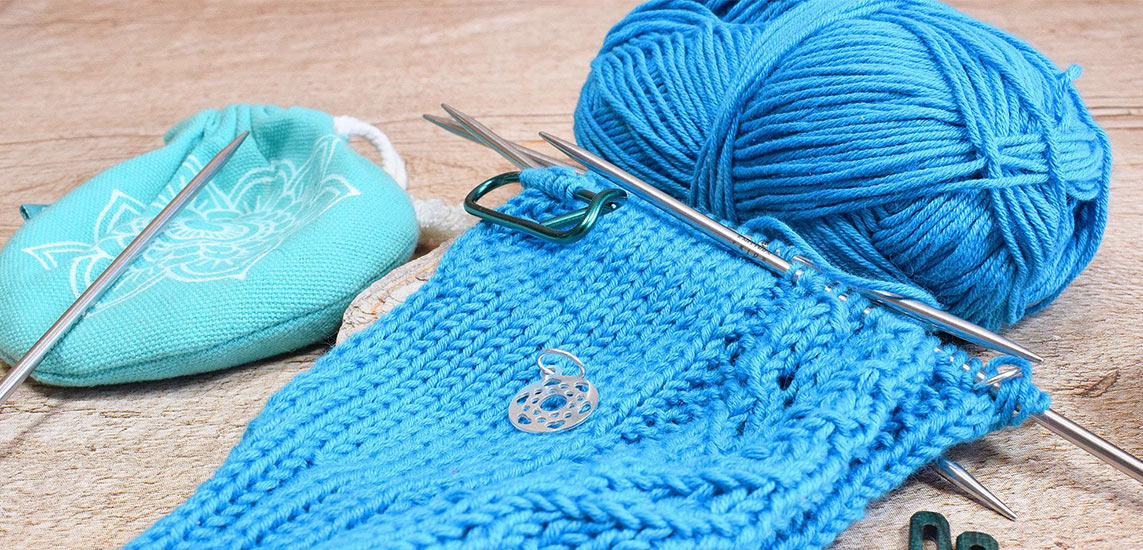
Although you can knit them flat, our knitting pattern for fingerless mittens is seamlessly knit in the round. We recommend using circular or double-pointed needles (DPNs), depending on your preference.
Circular knitting needles are great for crafting in the round with the help of the Magic Loop techniques. Later on, they can be easier on your hands and wrists, while DPNs make ideal tools for small projects such as mittens and gloves.
Whether you opt for DPNs or a pair of circulars, you might want to choose two sizes though. Start with the smaller needles for the ribbing edge and move to the larger ones once you start working on the wrist. For our pattern below, we have used Mindful DPNs, size 2.5 and 3 mm (2 and 2.5 US size).
Step-by-step Tutorial for knitting fingerless gloves
Our guide will help you create your own custom gloves. Rather than giving you a set pattern, we'll show you the fundamental structure of a fingerless mitten in M and L sizes. This way, you can try out various types of yarn and needle sizes to experiment with different designs.
You will need these materials:
- Worsted weight yarn for bigger needles, sports-weight or fingering yarn for small needle sizes.
- circular or double-pointed knitting needles in two different sizes.
- Stitch markers
- Stitch holder
- Measuring tape
- Darning needle and scissors
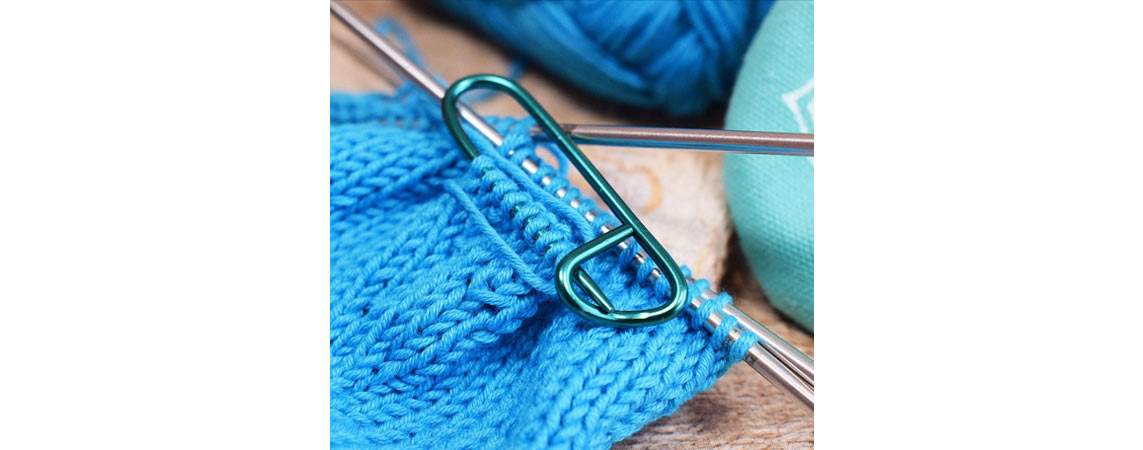
Step 1: If you work with knitting needles of 4 mm and larger, cast on 32 - 36 stitches evenly across 3 double-pointed needles (10 on the first needle, 12 on the second, and 10 on the third). If you work with finer yarn on smaller needles, cast on 44 stitches for medium-sized gloves or 48 stitches for size L. Join your stitches in the round, careful not to twist the edge.
Step 2: Knit in the round until the gloves measure about 3- 3.5 inches (7.5 - 9 cm) from the cast-on edge. We have used a 2 x 2 ribbing pattern (knit 2, purl 2), but 1x1 rib also works fine. You can also opt for a garter stitch edge of 6 - 8 rounds and continue in stockinette stitch.
Step 3: When you reach the wrist, switch to bigger needles and continue to knit in stockinette stitch in the round for another 3.5 cm for medium-sized hands and 4 cm for larger ones (1.5 - 2 inches).
Step 4: Mark the stitch at the beginning of your round for the thumb opening. Remember that for your second glove; the thumb opening will have to be marked on the opposite side, i.e. after 16 - 18 and 22 - 28 stitches, respectively (depending on the number of cast-on stitches)
Step 5: Continue knitting in the round while increasing one stitch on each side of the marker in every fourth round. You can either do this by yarning over and then knitting the loop twisted in the next round or by making a KFB (knit front and back) and thus creating two stitches out of one. When your piece measures 17 cm (6.7 inches), you should have increased by 8 stitches. If you knit with thicker yarn, picking up 4-6 stitches for the thumb is sufficient.
Step 6: Place the increased stitches and the marked stitch (= 9 stitches) on your stitch holder and continue to knit in the round. When you come to the stitch holder, make sure to avoid laddering the connecting stitches. Laddering occurs when the knitting tension between two stitches changes and may result in a wonky-looking fabric. You can prevent them by keeping the stitches close together and knitting tightly. If you knit on double-pointed needles, make sure your needles are held at the correct angle.
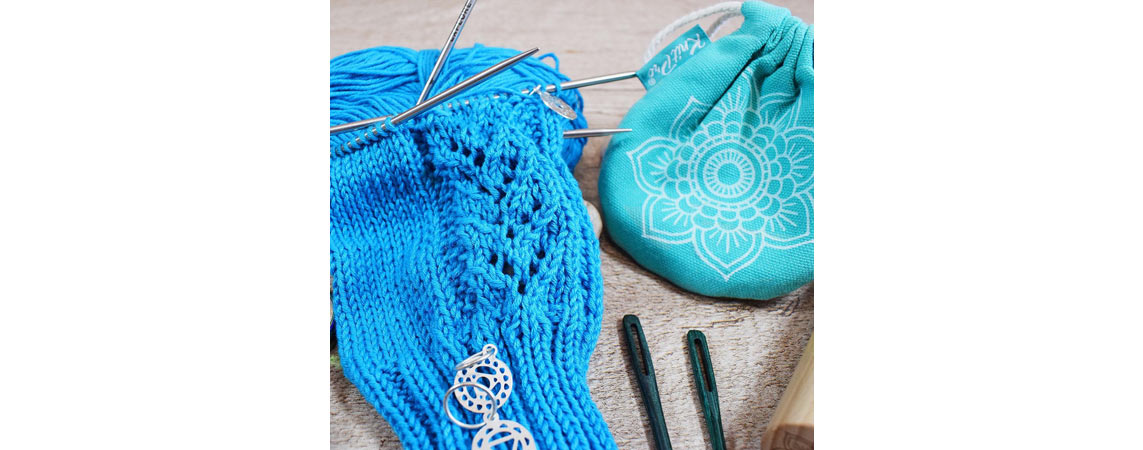
Step 7: Knit for another 3 - 4 cm, switch your needles to the smaller size and knit a one or two-cm ribbed edge (or any edge you prefer for finishing your glove). Bind off all your stitches according to your pattern, i.e. bind off knit stitches knitwise and purl stitches purlwise.
Step 8: Take the nine deactivated stitches back onto your knitting needle and additionally pick up six or seven new stitches from the edge behind the thumb stitches = 15 - 16 stitches. Distribute them evenly on three DPNs.
Step 9: Knit 1 round in knit stitch, then continue three cm in rib 2 x 2 rib pattern. Bind off the stitches, cut the thread, and weave in all your yarn tails.
Step 10: Craft the second glove like the first one, taking into account that the thumb has to be on the opposite side.
There are many ways to personalize this pattern and make it your own. You can incorporate lace or cable patterns, or if you prefer the simplicity of stockinette stitch, you can embroider the glove with cute flowers or animals using a darning needle.
We really enjoyed putting this tutorial together, and we're excited to see how you put your own spin on it! Be sure to tag us in your pictures and reels on social media. Happy knitting!


