Easter traditions have a long association with Eggs. A symbol of spring, eggs are believed to be a representation of a new life and rebirth. The tradition of decorating eggs for Easter is said to have originated in ancient Mesopotamia and later spread across the globe and is now a popular Easter-special custom. It was in the 15th century in a German story for children that the first mention of Easter egg games. It established the popular game of searching for hidden, colourful Easter eggs. While you can always work with real eggs, knitters and crocheters prefer their knitting needles and crochet hooks to create some beautiful yarn eggs. This is also a great way to use up yarn leftovers. There are a great many ways and patterns to knit some interesting eggs for Easter décor or a game of hunt and basically the festive celebrations.
In this blog, let’s walk you through how to knit eggs. With this, you have an easy-to-recreate and make a great addition to your Easter nest or as eye-catchers on a festive bouquet.
You’ll need:
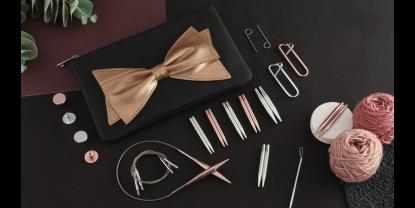
Knitting Needles – Easter eggs are best knit in the round as this will ensure no seams. For knitting in the round, the two options or rather four - are double-pointed needles, a circular needle (length smaller than the circumference of the project), a circular needle (long length that accommodates the magic loop technique), or two circular needles (same length and size). The knitting needle size is basically mentioned on the yarn label or a knitting pattern. But given the design of the eggs, a size 2.5 or 3 mm is ideal for a tight gauge with fingering weight yarn or sports yarn. Knitting with double-pointed needles is an ideal option, especially for those small circumferences. For knitting eggs with circular needles, the magic loop technique or working with two circular needles are the best options. The sturdy stainless steel knitting needles from the Mindful Collection are great for working on the knitting project. The pointy tips are ideal for small gauge stitch making. Each needle body carries an inspiring word that motivates knitters to practice mindful knitting and enjoy the craft.
Yarn – The yarn selection is up to you. If you are working with your stash then try to choose lightweight, sport-weight or DK yarns. Use as many colours as you want. After all its spring plus little children love to see their eggs vibrantly coloured.
Besides knitting needles and yarn, gather stitch markers, a darning needle, sharp scissors and other craft essentials.

How to knit a plain Easter egg
Cast On - Cast on 8 – 10 stitches for the base of the egg. Any cast-on method is fine. The long tail cast-on will work great as it will leave a tail for gathering the base stitches later to close the hole.
If working with double-pointed needles, then use three for the base and an extra needle to knit with. But cast stitches on one needle and then transfer stitches to the others. When using a long circular needle (magic loop), divide your stitches on the two needle tips, ready to work in the round.
Join the stitches in the round. There are many ways to join the round. Try and work the most invisible method.
Round 1: knit 8 – 10 stitches
Round 2: Now increase stitches. Work yo (yarn over) or kfb (knit front and back) or use your preferred knitting increase method instead. You must have exactly the double number of stitches in comparison to the previous round.
Round 3: knit all stitches.
Round 4: k1, yo or kfb. Knit 1 stitch and then increase a stitch. This way you will have more stitches than in the previous round.
Round 5: knit all stitches
Round 6: K2 and increase. Knit 2 stitches and then a knitting increase.
Round 7-15: knit all rounds without any increase to give shape to the egg,
Round 16: Now comes the knitting decreases. k2, k2tog. Knit 2 stitches, then knit the next 2 stitches together. You can also work other decreases but k2tog is great.
Round 17-18: knit 2 rounds.
Round 19: For this round k1, k2tog. Knit a stitch, then knit the next 2 stitches together.
Round 20-21: knit 2 rounds without any decreases.
Close the hole at the base of the egg - Thread your darning needle (a size smaller than the knitting needle) with the beginning yarn tail. Weave it in and out around the initial 8-10 stitches and gather to close the hole at the base of the egg. You can leave the yarn tail, for now, to weave in at the end.
Stuff the egg - Use your preferred stuffing material to stuff the egg. With your hand make sure that the egg feels nice and plump in your hand.
Round 22: k2tog all stitches. Knit 2 stitches together around to decrease.
Round 23: knit all stitches.
Thread the yarn tail with a darning needle and close the hole on the top of the egg.
With this, you have to knit the egg.
Weave in ends - Weave in both yarn ends with your darning needle by bringing your needle down into the egg end and bringing it out somewhere midway or further down the egg.
Continue with a few more or a dozen.
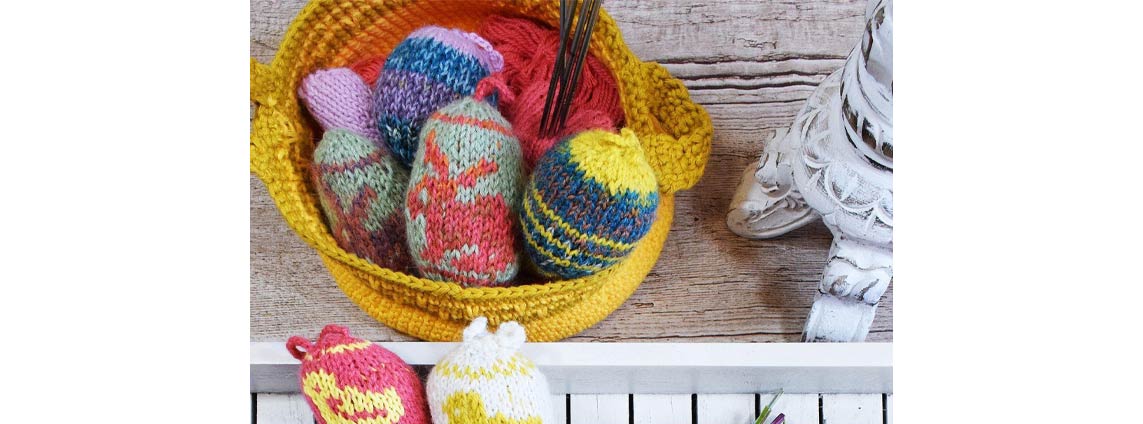
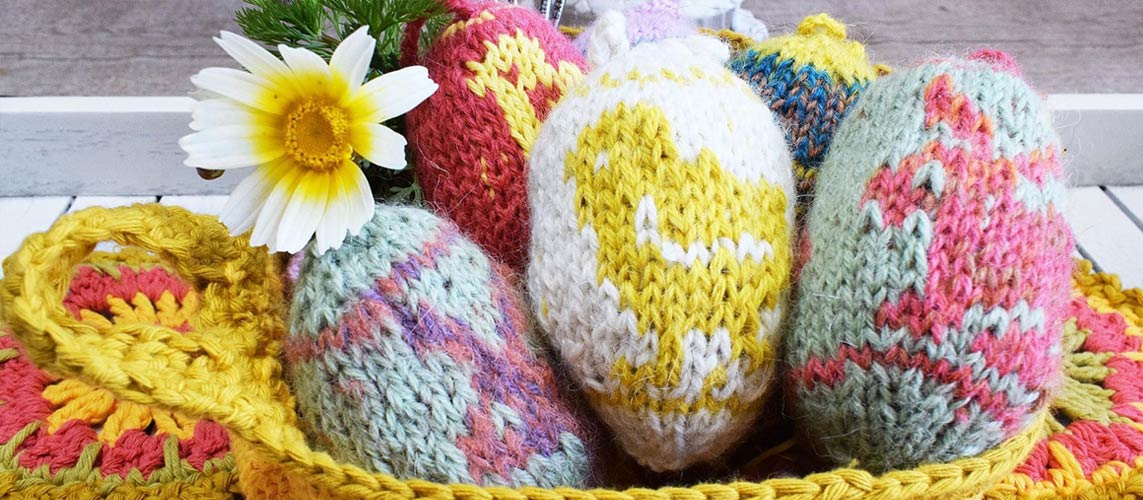
Now, display your egg decorations in a basket or bowl. If you would like to hang your eggs, then knit or crochet a hanging loop with the yarn tail. You can knit an i-cord in a different shade of yarn and hang your eggs.
Easter eggs can be made with any other fun patterns. Change yarn colours every few rows for a coloured egg. You can use a darning needle for duplicate stitches. If you are a fan of colourwork, Fair Isle is an easy and beautiful option to decorate your Easter eggs. If you want to be more creative then you can explore chick or bunny patterns on the eggs, they certainly make it look much more interesting.
So, get ready for fun Easter egg knitting! The Mindful Collection offers a range of stainless steel knitting needles in options of single-pointed, double-pointed, fixed circular or interchangeable circulars. Completing the needles are knitting accessories that assist with your mindful practice of knitting.


