Colour shifting patterns and techniques are everywhere in knitting today. With the right knitting needles and yarn, you can knit any colourwork pattern. Gradient and fades are colour changing techniques in knitting that love beautiful and is quite easy to make.
Imagine that you want to knit a project using colours that gradually flow one into another. Most variegated or space-dyed yarns that change colours will not allow you to control the colour changes. If you wish to master the colour changes and achieve a gradient or ombre effect we have some suggestions.
This technique is easy. You can do it even using basic knitting. It does not require intricate stitching. It requires you to choose and plan your colour sequence with advanced planning.
- First, let’s discuss the difference between gradient and ombre knitting. Generally, the gradient effect is created by blending two contrasting colours, while ombre usually involves several colours that are close in shade to each other.
For the ombre effect, you need to find 3 or more colours that can gradually flow one into another. The closer the shades, the smoother the transition between colours. As you can see in the photo below, the colours of the smaller swatch blend much better than the colours of the bigger swatch.
If you use yarn that you have in your stash, make small swatches of each colour combination. This way you will know for sure whether you like the look of the colours BEFORE you start working on your project.
Of course, you can’t make swatches if you are choosing your colours in a yarn store. In this case, you should rely on the look of twisted strands. It helps to look at the colour combinations from some distance, so take a step back and decide whether the colours you picked still look good to you. To see the colours in natural light, take them close to the window or step outside with the yarn so you can get an accurate view. (Make sure to ask permission of the yarn store personnel.)
Once you have made your colour selection, you are ready to begin. Here is an overview of how to create gradient knitting patterns and/or ombre effects:
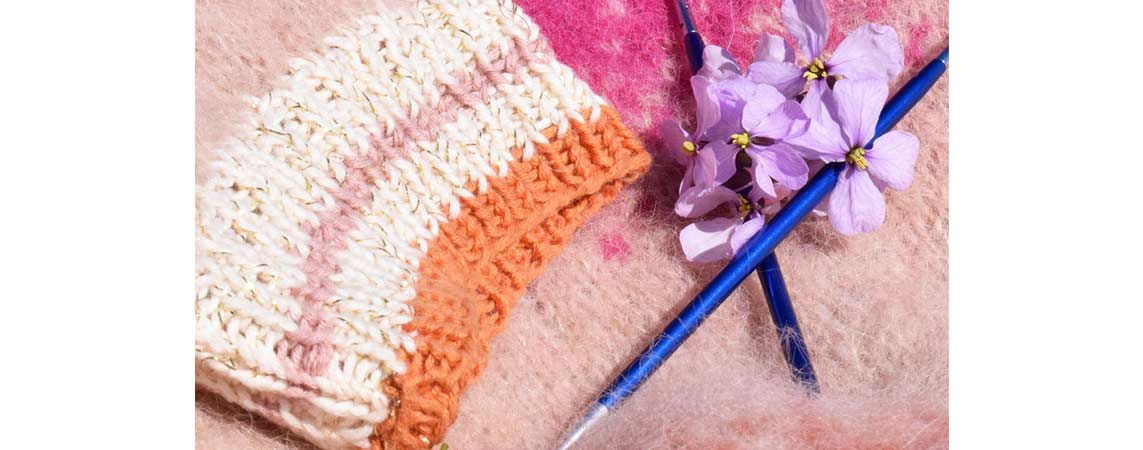
Gradient Effect of Colours in Knitting
This effect is the easiest of the two. It requires only 2 colours and 3 knitting steps, using colour A and colour B.
1. With 2 strands of colour A held together cast on 15 stitches and work in stockinette stitch (knit all stitches in every right side row, purl all stitches in every wrong side row) for 8 rows. (Watch how you can use two strands from the same ball of yarn in this video tutorial)
2. Cut one strand of colour A leaving a small (10cm / 4”) tail, and tie one strand of colour B to this tail. Make the knot as close to the bottom of the stitch as possible.
With 1 strand of colour A and 1 strand of colour B held together, work in stockinette stitch for the next 10 rows. To make sure the colours are distributed evenly twist the strands between your fingers after every 3-4 stitches. This is an extra measure to make sure you don’t get patches of one colour in this section of your knitting.
3. Cut the remaining strand of colour A, and attach another strand of colour B. Work in stockinette stitch with 2 strands of colour B held together for the next 8 rows and bind off all stitches.
Voila! You’ve just created a gradient effect using yarn in 2 different solid colours.
And you don’t have to use this effect exclusively on stockinette stitch. It works great with most stitch patterns. By all means, test gradient with any other stitch pattern. So go ahead and experiment!
For simplicity, an easy formula is – “AA – AB – BB”.
We’ll need this formula in just a moment when we talk about
Ombre Effect of Colours in Knitting

If you want to take the colour blending up a notch and add more colours, you can do it in two ways:
1. You can make several gradient changes, like “AA – AB – BB – BC – CC – CD – DD and so on”.
2. Or you can let the colours seamlessly flow into one another, and that is an ombre effect.
The difference between gradient and ombre is shown in the photo below. The swatch on the left is made with the gradient effect, while the swatch on the right is made with ombre placed between two sections of solid colour.
The formula for the swatch on the right will be “AA – AB – BC – CD – DE – EE”.
The way you knit it is exactly the same as the one we used for creating a gradient effect. You simply cut a strand of one yarn and attach a strand of another yarn when you want to change the colours. The wider the stripes, the more subtle the ombre effect.
The choices are yours. The important thing is to have fun!


