Have you tried to increase your stitches in your knitting, but it came out a bit wonky, or you were able to spot the increases in your fabric immediately? Don’t panic; there are dozens of ways to increase your stitches. Visibly and invisibly. Increasing your knitting stitches is one of the essential techniques to master, though you have to know when and how to apply the increase method that suits your project.
With increasing, you can add shaping, create intricate patterns such as ruffles, and gradually expand the size of your work. In this tutorial, we'll guide you through the various methods of increasing stitches in knitting, and by the end of this post, you'll be equipped with the knowledge to increase stitches like a pro. So grab your knitting needles, and join us!
When do I need to increase the number of stitches?
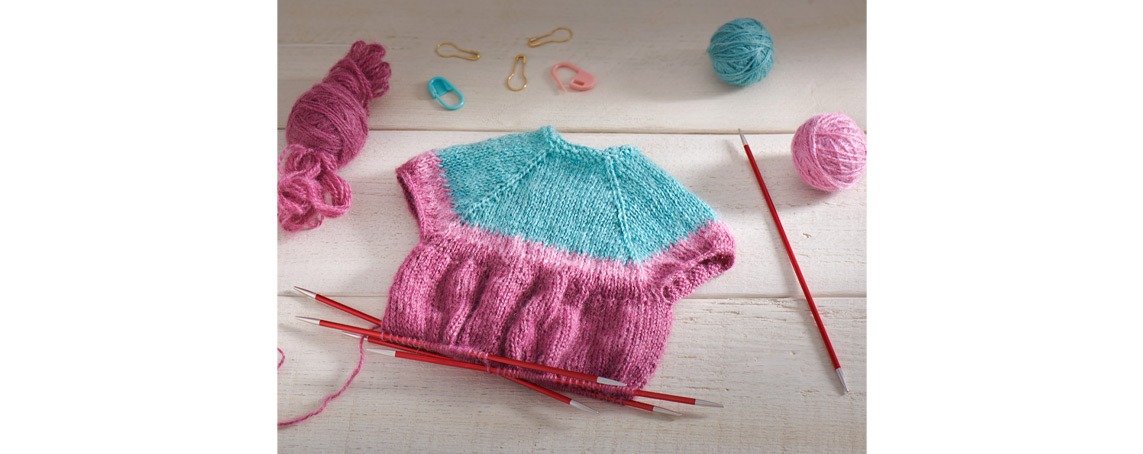
How you increase your stitches depends on the project you are working on. For example, increasing stitches for a yoke sweater may differ from increasing stitches for a lace shawl or a 3D knitting project. In a yoke sweater, the increases are often strategically placed to create a specific shape or design, such as in a raglan or circular yoke style. In contrast, the increases may be more visible and deliberately placed to create a decorative pattern for a lace shawl.
Similarly, in a 3D knitting project, such as a stuffed animal, the increases may be used to shape the piece in a particular way, creating curves or angles to give the project a more lifelike appearance.
Whether you're looking for a visible increase to create a decorative effect or a more subtle, non-detectable stitch to change the shape of your piece evenly, there are various techniques and methods to explore.
How to increase a knit stitch invisibly
If you want to increase knit stitch to be invisible, practicing and paying close attention to tension and technique is essential.
KFB (Knit Front and Back): This is one of the most common increases. You simply increase where you knit into the front of the stitch, then, you knit into the back of the same stitch.
- Knit into the front of the stitch as usual, but don't drop it off the left-hand needle.
- Instead, knit into the back of the same stitch, then drop it off the left-hand needle.
- You have now made two stitches out of one.
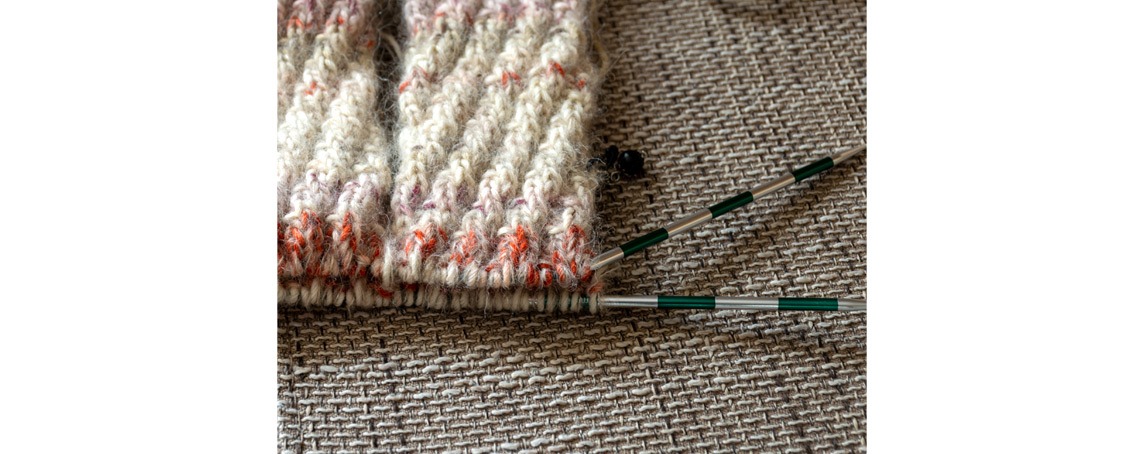
M1L/M1R (Make One Left/Right): These are left- and right-leaning knitting increases that create a new stitch by lifting the bar between the stitches and knitting into it. They are almost invisible in the fabric because they do not leave a visible hole or bump.
- Insert the right-hand needle from front to back under the horizontal strand of yarn between the last stitch you knit and the next stitch on the left-hand needle.
- Knit into the back of this strand, then drop it off the left-hand needle.
KLL/KRL (Knit Left Loop/Right Loop): These increases are similar to M1L/M1R, but instead of lifting the bar between the stitches, you knit into the back of the loop of the stitch from the previous row. This method is used when you want the increase to be invisible on the right side of the fabric. Here's how to do it:
- Insert the right-hand needle into the stitch below the next stitch on the left-hand needle, then knit into it as if it were a regular stitch.
- Continue knitting the next stitch as usual.
- You have now created a new stitch.
How to knit visible increases?
Visible increases can benefit many patterns and designs, such as giving texture to Raglan sweaters or creating interest in lace patterns.
Yarn over (YO): This decorative increase will create a hole in the fabric if you knit the yarn over as it appears in the next row. It is a widespread increase in lace patterns or shawls. However, if worked twisted, the hole will become almost invisible. Bring the yarn to the front of the work between the needles, then knit the next stitch. This will create a small gap between the two stitches that can be easily hidden. It is not entirely invisible but will leave a slight mark on your fabric.
Backward loop cast-on (also called the e-loop): Similar to the YO, you make a loop over the right-hand needle and then place it on the left-hand needle.
- Make a loop around your right-hand needle with the working yarn in front of your work.
- Insert your right-hand needle into the loop from front to back, then knit the loop.
- You have now created a new stitch.
This increase can leave a small bump in the fabric and is not always as stable as other increases.
LLI/RLI (Left Lifted Increase/Right Lifted Increase): These are also called "raised increases" because they create a new stitch by knitting into the stitch below the next stitch on the left-hand needle, then knitting the next stitch on the left-hand needle. The LLI creates a left-leaning bar, while the RLI creates a right-leaning bar. These increases are often used in lace patterns to create decorative motifs.
- Insert the left-hand needle from back to front into the horizontal strand of yarn that runs between the stitch just worked and the next stitch on the left-hand needle.
- Lift this strand onto the left-hand needle, creating a new stitch.
- Knit this new stitch as you would any other stitch.
To knit a Right Lifted Increase (RLI), follow these steps:
- Knit into the front of the next stitch on the left-hand needle, but do not slip it off the needle.
- Insert the left-hand needle from back to front into the horizontal strand of yarn that runs between the stitch just worked and the next stitch on the left-hand needle and lift it onto the left-hand needle. You now have to knit this new stitch through the back loop.
By understanding the nuances of increasing stitches for different projects, you can create unique pieces that showcase your creativity. Having several different increase methods under your belt will unlock endless possibilities for your future knitting projects. But practicing these methods on a swatch first is an excellent idea to get comfortable with your new-learned skills. With practice, you will soon create beautifully shaped garments and accessories. Happy Knitting!


