A gauge is first step of any knitting project. The knitted swatch also known as the tension square is a sample of the pattern. Previously we had discussed why knitting gauge is important, in this blog we’ll discuss the tips and tricks to get the right knitting gauge with stainless steel needles. With a gauge swatch in your hand, you can begin any pattern or project with any of your knitting needles. Even if you have a pattern, making your own swatch is essential as it will guide you through the knitting process. Whether you are making a pair of socks or a blanket, the first step is a gauge swatch.
Stainless steel knitting needles are preferred by knitters for many reasons. They are smooth to work with; almost ideal for lace knitting patterns and even colourwork methods. The material is also eco-friendly with zero carbon emissions. Knitting with stainless steel needles is a pleasure, so much so that many knitters reach out for them every time to cast on stitches for a new project. Now, the first step to having a successful recreation of a pattern to a project is getting the right gauge. So, you need to make sure that you have the right gauge before starting with a pattern.
What is Gauge and how to get it right?
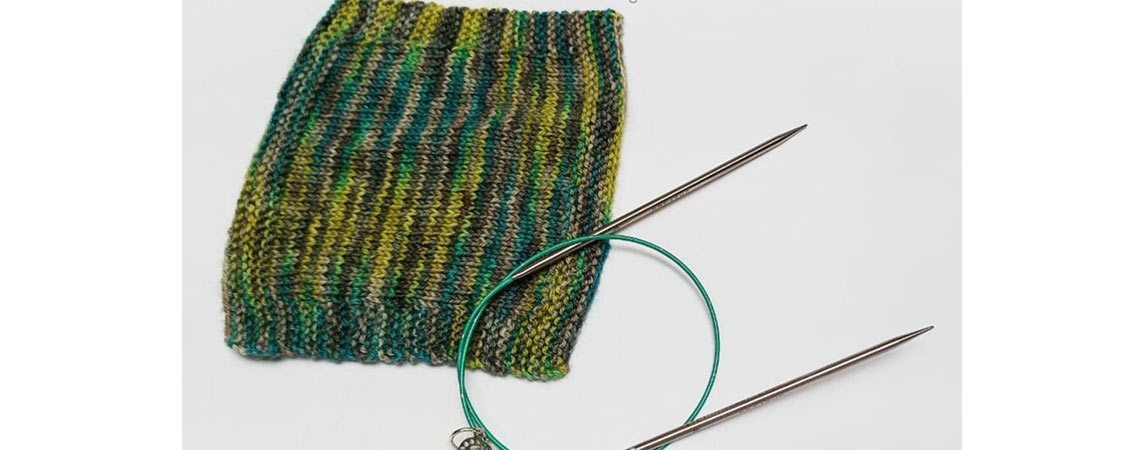
To have the correct gauge for your knitting, make sure to knit according to the pattern with the knitting needle size and yarn you’ll be using for the project. Knit a square of almost 10 cm by 10 cm. Bind off the yarn. Now, wash and block the swatch according to the instructions on the yarn label. You can also refer to our guide on blocking your knitting. After it’s dry get ready with a measuring tape and mark an 2 cm or an inch.
The entire process may take time-taking but believe it or not it is necessary. If you go ahead without making your own gauge swatch, the project can turn out to be different, even you have followed all steps of the knitting designer. It can go both ways. Either the project won’t fit. For instance, a sweater might not go over your head or the socks will drop down. While some errors might be resolved with blocking and maybe felting but then all your knitting problems with the project might not be over.
With the pointy tip of your stainless steel needle measure the number of stitches - horizontally number is your stitch gauge and vertical is the row gauge. If both the numbers match the calculations of the pattern, then you have the right gauge. If the difference is by only 2-3 stitches you can go ahead.
If you have different stitches less or more than the pattern, we have a list of tricks that can help you get the right knitting gauge.
1. Change the Size of Knitting Needles
If you have more or less stitches on hand than in a pattern, it's best to change your knitting needles to a smaller size. Even a 0.5mm smaller does the trick in most cases. Also, a trick that most knitters follow is cast on stitches with two knitting needles. With two needles of the same size or different sizes (make sure the difference is not more than 1mm) cast on your stitches. With this you can assure that even if you are a tight knitter you have a stretchy cast on and therefor stretchy stitches to work for the rest of the pattern.
2. Change the Type of Needle
A different needle type is helpful if you're getting stitch gauge but not row gauge. The stainless steel knitting needles come in options of single-pointed, double-pointed, fixed circulars and interchangeable circular needles. It you have to knit back and forth then go for the straight STNs or choose the circulars you are comfortable with. For round knitting, start with circular or double-pointed needles.
3. Change the yarn
Many times it’s not the needle but the yarn that gets your gauge off. While you may have got the same yarn weight, the yarn fibre or ply might be different. It is better if you experiment with the yarn too.

4. Knit Flat or in the Round, Depending on the Pattern
Many knitters find that their gauge differs when knitting back and forth in rows than when going in round. There may be different reasons to this but some knitters tend to make purl stitches little looser than their knit stitches. If your project is knitted in the round, don’t knit a flat gauge swatch, instead make the gauge same way. If you are new to knitting in round, take a look at our beginner’s guide on knitting with circular needles.
5. Tension the working yarn right
Every knitter has their own way to tension of working yarn (the strand of yarn that’s attached to your yarn ball). Some weave the yarn in between their fingers and some wrap the yarn around their fingers. To fix the gauge changing the style of holding your yarn helps. When working with stainless steel needles your stitches flow and therefore you tend to grab and yank the yarn, so letting it flow is very important.
6. Experiment with knitting style
Switching to a new knitting style might seem like a huge project, but it can work wonders for your knitting experience! And, when you want to work with your stainless steel needles for all your projects it will certainly help you to have neat projects. The main knitting styles are- English (throwing) and Continental (picking) but with time knitters have brought back Portuguese style, Lever Knitting, Shetland style and even explore Combination knitting.
While it is always recommended to get as close to the pattern gauge as possible, the most important thing is to get a fabric that you like or love. Even if the gauge is still not accurate and the fabric you knit has the same look or makes you happy, you can easily go ahead. After all, having fun with your craft is most important.
Happy knitting!


