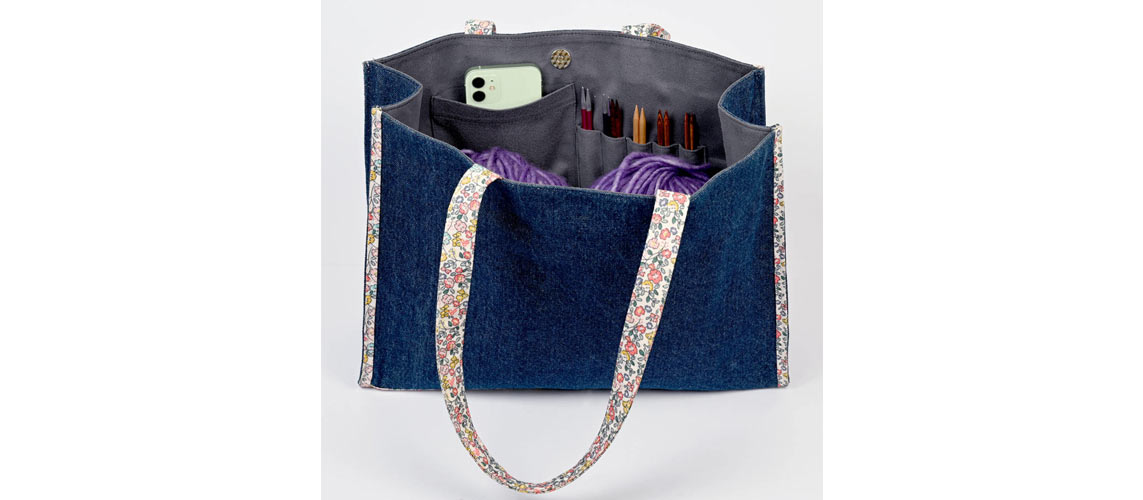
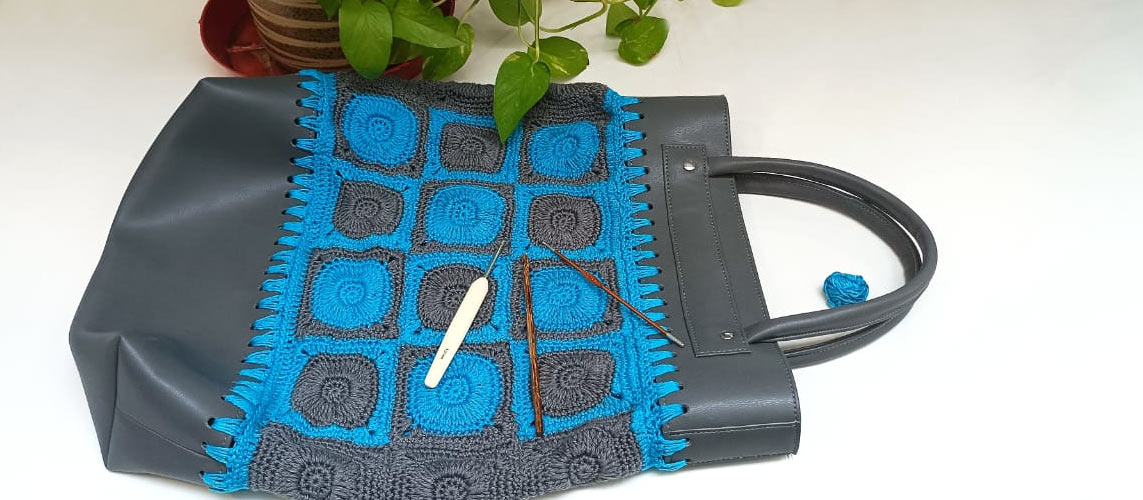
Looking for your next crochet project? We have a great idea! A crocheted bag. It’s a “cool” summertime accessory. The designers at Louis Vuitton like them, too. Crocheted bags were featured in the Spring-Summer Fashion show in Paris as a seasonal “must-have”. We were so inspired by the beauty of a crocheted bag from the collection that we thought we would share the idea with you.
Crocheting a bag is a perfect warm-weather project especially when the hot weather has you put aside your heavy-weight items. Following we provide you with instructions on how to create a simple bag using basic crochet techniques. If you google “Crochet Bag Patterns for Beginners”, you’ll find options for backpacks, market bags, totes, zipper pouches, crossbody bags, and more!
Here’s a basic tutorial on how to crochet a bag.
Envision what kind of bag you want.
You can crochet a tote bag, a small envelope-style clutch or even a laptop or tablet case for your favourite device, there are plenty of free patterns that you can explore on-line.
If you're designing your new bag, begin with your desired width and length measurements. If it’s for your laptop or a tote, you can measure an existing tote or measure a similar style bag to get the basic dimensions and shape. Remember that yarn "stretches"! It may wind up being a little wider (or longer) than you anticipate. This is why a gauge swatch is important.

Choose your yarn.
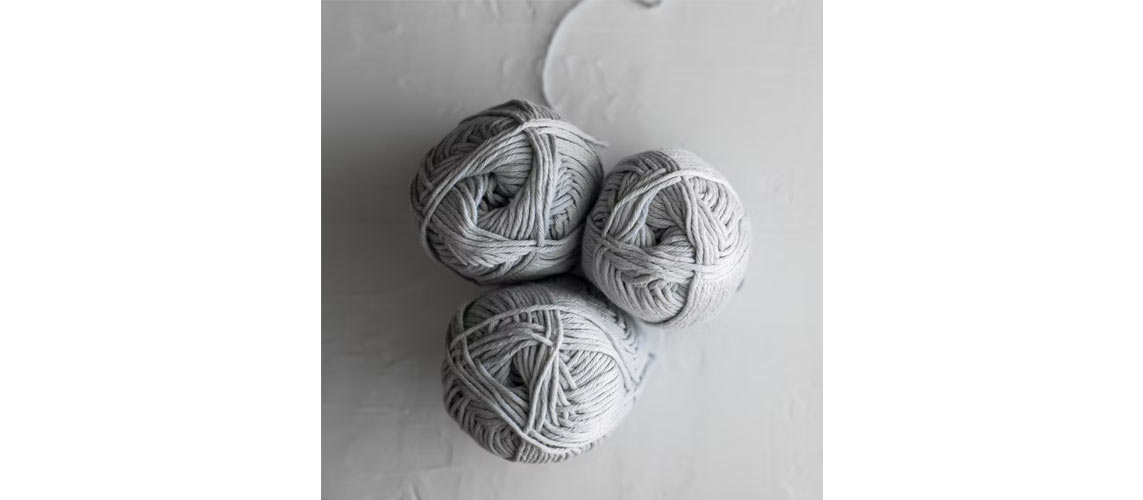
If this is one of your first crocheting projects, it will be best to stick with a simple, plain yarn of cotton or soft acrylic. Cotton yarn "stretches" less than acrylic, and when washed it tends to loosen up in the washer and tighten up in the dryer. Often, it makes sense to let it air dry and “stuff it” with a towel or absorbent paper towel in order to help it retain its shape.
You may also want to choose a solid colour yarn so that you can see how the stitches are made and count them easily. If you want a tough fabric, consider heavy-weight cotton or chunky acrylic.

Choose your crochet hook.
Most yarn labels indicate what size hook you should use. It may be best if you stick with the recommended hook size. As a general rule, the thicker the hook, the thicker the yarn will need to be. If you want to complete your project faster, choose a thicker yarn and hook. The stitches will be larger, and you'll build up rows faster. Larger stitches do "stretch" more than smaller stitches, so take this into account.

Make a test swatch.
As with any project, creating a test swatch is a good idea. You may be impatient to get started right away on your bag, but taking the time to make a test square (approximately 4"X 4") can save you time in the long-run. Making a test swatch can help you gauge (determine) your tension (how loose or tight your stitches are) and figure out how many stitches you will have in one inch.
Chain the number of stitches you want the bottom and top width of your bag to be.
More advanced projects will allow you to create different shapes where the top tapers in. You'll need to learn how to decrease stitches to make this shape. An online tutorial can show you how.
For small to medium size bags, between 30 and 60 stitches usually work well as the base stitch length. Be sure to remember how many stitches you included in the beginning chain. You will want to write it down. If your chain is particularly long, you will want to use markers every ten to twenty stitches to help you keep count. You can also choose to crochet in the round. That way you will have no seams. If you are new to crocheting, google “crocheting in the round “ to see how that works. Plan the design keeping in mind the measurement you originally envisioned.
Fasten off your yarn.
Once your piece is as long as you want it to be, it is time to fasten off the yarn. Fastening off when crocheting is quite easy. Simply cut off your yarn from the skein of yarn, leaving a tail of at least 6 inches (15.2 cm). Pull the tail of the yarn on your hook all the way through the last loop of the last stitch. Pull-on the yarn to tighten it. Then, using a "yarn needle", weave the tail through the stitches in your top row.
Adding embellishments to your crochet bag
Use a matching colour yarn (most likely the same yarn you crocheted with), unless you like the look of a contrasting colour seam). To sew the side seams together, start at the fold and use what is called "a whip-stitch" to make the seam. Stop at the point where you want the flap to fold over.
The project can be made to look more finished by adding a border with your working yarn in single crochet stitches - the same way you finished the bag. Again, here you might consider using a contrasting colour.
You can use surface stitching to add flowers, dots, unique designs and edging. For surface stitches, you will need to use some yarn of contrasting colour and a crochet hook. You can choose the same crochet hook or a size bigger or smaller. There are many tutorials online which will show you how to make crocheted embellishments.
With this guide, hopefully, you are now ready to crochet a bag. Let’s get started!
Happy summertime crafting!


