Triangular shawls are a classic and versatile project that every knitter should make. But did you know there are many ways to knit a triangular shawl? The possibilities are endless, from traditional top-down shawls to sideways wingspan shawls and everything in between!
This post will explore how to construct a triangular shawl from the tip-up or top-down and the unique shapes and textures you can achieve with each technique. Whether you're a beginner or an experienced knitter, there's a method that will suit your skill level and style.
Which Patterns look good in Shawls?
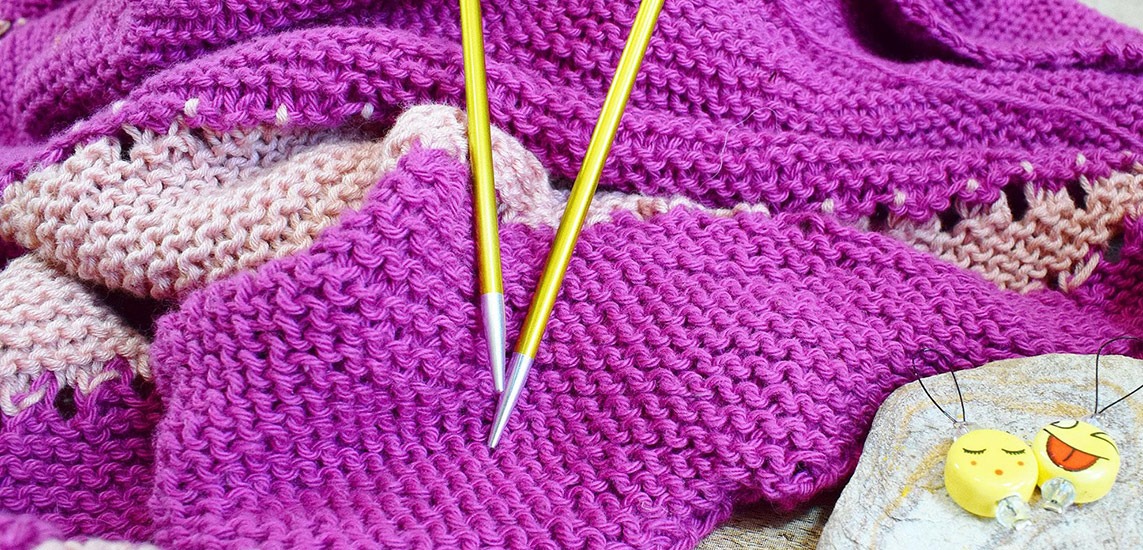
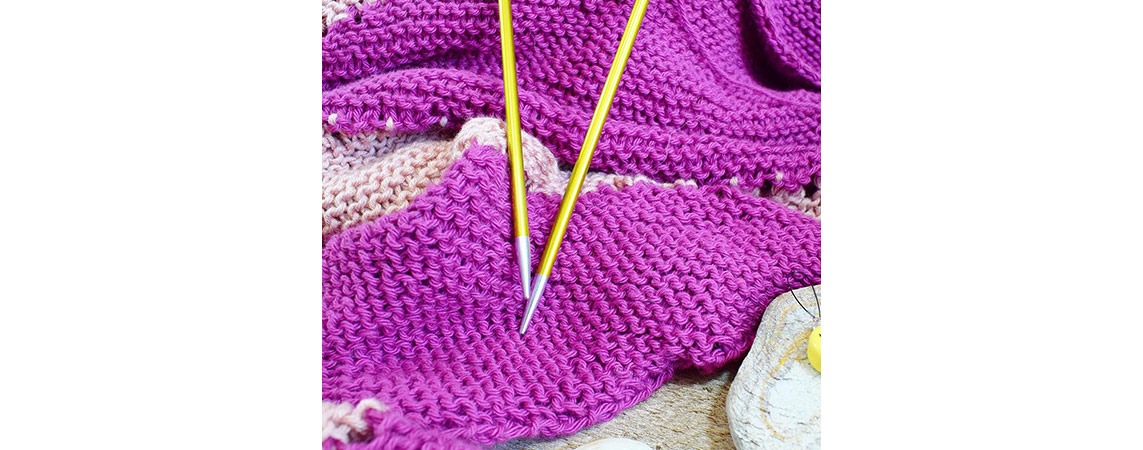
When choosing a stitch pattern for your knitted triangular shawl, look for one that is reversible, symmetrical, and has a clear pattern repeat to ensure that the shawl is reversible. Some basic stitch patterns, such as Garter or Stockinette stitch, work well in all shawls.
Ribbing patterns can also be a great choice. They alternate between knit and purl stitches, creating a stretchy, textured fabric that works on both sides. Brioche stitches are somewhat more laborious but create an enticing reversible effect.
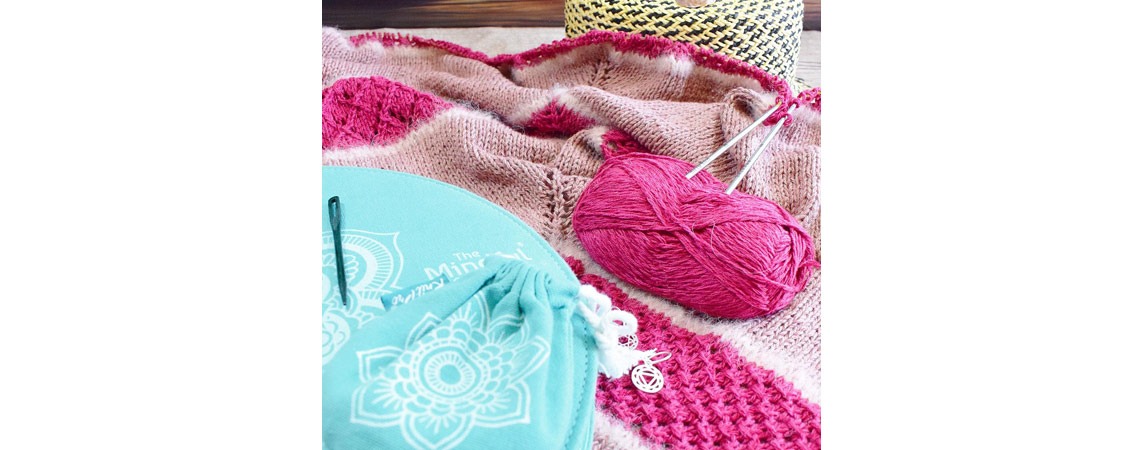
Many lace stitch patterns look great on shawls, too. They are created with yarnovers and decreases, creating an open, airy fabric. Symmetrical lace stitch patterns with a clear pattern repeat to ensure the shawl appears the same on both sides.
What type of knitting needles works best for a triangular shawl?
To start your knitted shawl, you will need yarn of your choice (we recommend a soft, lightweight yarn for a comfortable shawl), knitting needles to match the yarn size, stitch markers, scissors, and a darning needle.
What type of knitting needles you choose will depend on the size of your shawl and your personal preference. Straight needles can be used for smaller shawls, but circular needles are more versatile and can be used for knitting shawls of any size.
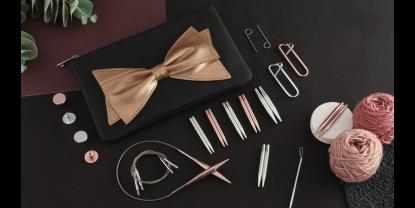
Interchangeable needles are an excellent choice if you like to have flexibility in the length and size of your needles. They allow you to switch out the cable to a longer one mid-project, making the whole process even more comfortable and enjoyable.
The Simple Symmetric Triangular Shawl
Once you have gathered your materials, it's time to get knitting! Follow these simple steps to create your basic triangular shawl.
Step 1: Cast on your stitches
To begin your shawl, cast on a small number of stitches. Most patterns use three stitches; some go up to five.
Step 2: Begin increasing your stitches.
To create the triangular shape of the shawl, you will need to increase the number of stitches on either side of the edge in each row or every second row. Which increase technique you use depends on your pattern's intended effect and design. You can opt for a knit-front-and-back (KFB) or yarn over (YO) increase. Place stitch markers on each side to keep track of your progress.
Step 3: Continue increasing evenly until the desired size
Step 4: Bind off your stitches
Once you reach the desired size, bind off your stitches and weave in loose ends. A stretchy bind-off is a good choice if you want your shawl to have a more relaxed fit. The stretchy bind-off involves using a larger needle or a unique technique to create more elasticity in the finished edge. There are several ways to do this, including Jeny's Surprisingly Stretchy Bind-Off (JSSBO), which involves knitting two stitches together through the back loop.
The Elongated Triangular Shawl (Sontag)
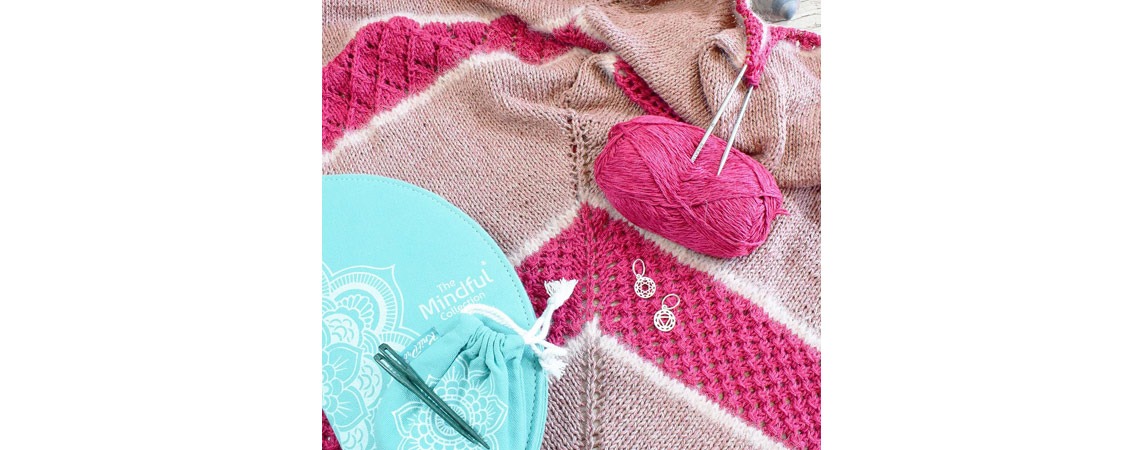
If you double your number of increases per row when knitting a triangular shawl, the shape and way of knitting your shawl will be dramatically different. By increasing four times throughout every second row, you will construct your shawl from the top to the lower tip of the triangle.
If you increase four times throughout every second row will create a shorter, wider triangle shape. This is because you add more stitches in fewer rows, resulting in a broader shawl with a more abrupt taper to a point. It is, however, also a fascinating way to incorporate different patterns and colorwork into your work that is mirrored against the middle.
The exact shape of the shawl will depend on the number of stitches you cast on, the weight of the yarn, and the total number of rows you knit.
The Asymmetrical Triangular Shawl
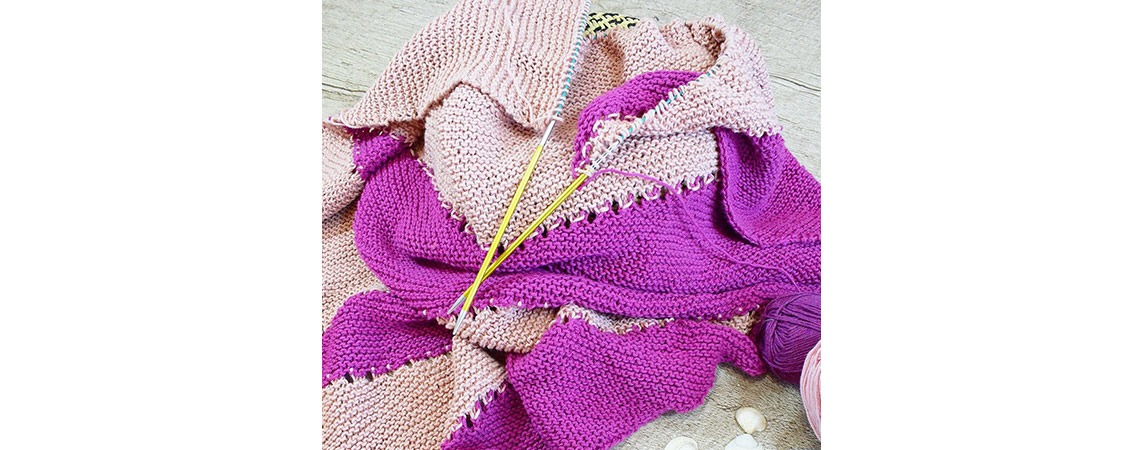
Increasing the number of stitches on only one side of the shawl will create an asymmetrical shape. The side with the increased stitches will be broader and longer than the other side, resulting in a triangular shawl but not symmetrical. The asymmetrical shawl is generally not as deep as a classic triangular piece.
You create asymmetrical shapes depending on how many stitches you increase and how often you do. For example, if you increase only a few stitches on one side every few rows, the shawl will have a gentle slope to one side. If you increase many stitches on one side of every row, the shawl may have a more drastic and noticeable asymmetry.
When knitting a shawl with uneven increases, tracking which side you are increasing on is essential. This way, you ensure the shawl form remains balanced. You can employ stitch markers or count the rows between increases on each side with one of our practical and beautiful row counter rings.
Increasing the number of stitches on only one side of a triangular shawl can create a unique and exciting asymmetrical shape with a better drape around your neck and shoulders. This type of shawl construction also invites many creative lace, brioche, or colorwork pattern ideas to your project.
The Wingspan Shawl
The French knitting design shop Maylin Tricoterie, which now lives in Canada, designed this striking stole shape. The shawl has caused excitement among knitters as it features a unique construction knitted sideways, giving it a distinctive shape reminiscent of a curved bird wing.
Here's how to knit a basic wingspan shawl:
Step 1: Cast on 3 stitches.
Step 2: Knit the first row.
Step 3: On the second row, knit 1 stitch, place a marker, knit 1 stitch, yarn over, knit 1 stitch, place a marker, knit 1 stitch.
Step 4: On the third row, knit to the first marker, slip marker, yarn over, knit to the next marker, yarn over, slip marker, and knit to the end of the row.
Step 5: Repeat the third row until the shawl is the desired size.
Step 6: To finish, knit the last row without any increases.
Step 7: Bind off and weave in ends.
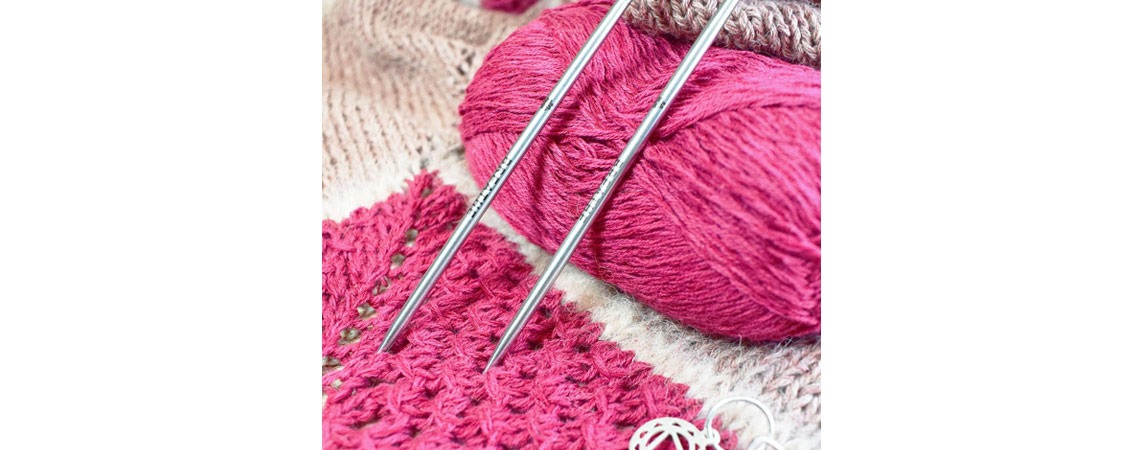
Increase the number of stitches you cast on to make a wider shawl. Work more rows between the increases to make a vertically more extended shawl. Experiment with different yarn weights and needle sizes to achieve different looks.
The beauty of a wingspan shawl is that it's versatile and can be customized to suit your style and preferences. Once you've mastered the basic pattern, try adding different stitch patterns or colorwork to make your shawl truly unique. Add tassels, fringe, or other embellishments like a picot edge. Simply attach your chosen decor to the edges of your shawl using a crochet hook or by hand.
We hope you have enjoyed this brief journey through the different principles of constructing your triangular shawl. Now it’s time to fetch your yarn and knitting needles and start your triangular shawl today. Have fun knitting!


