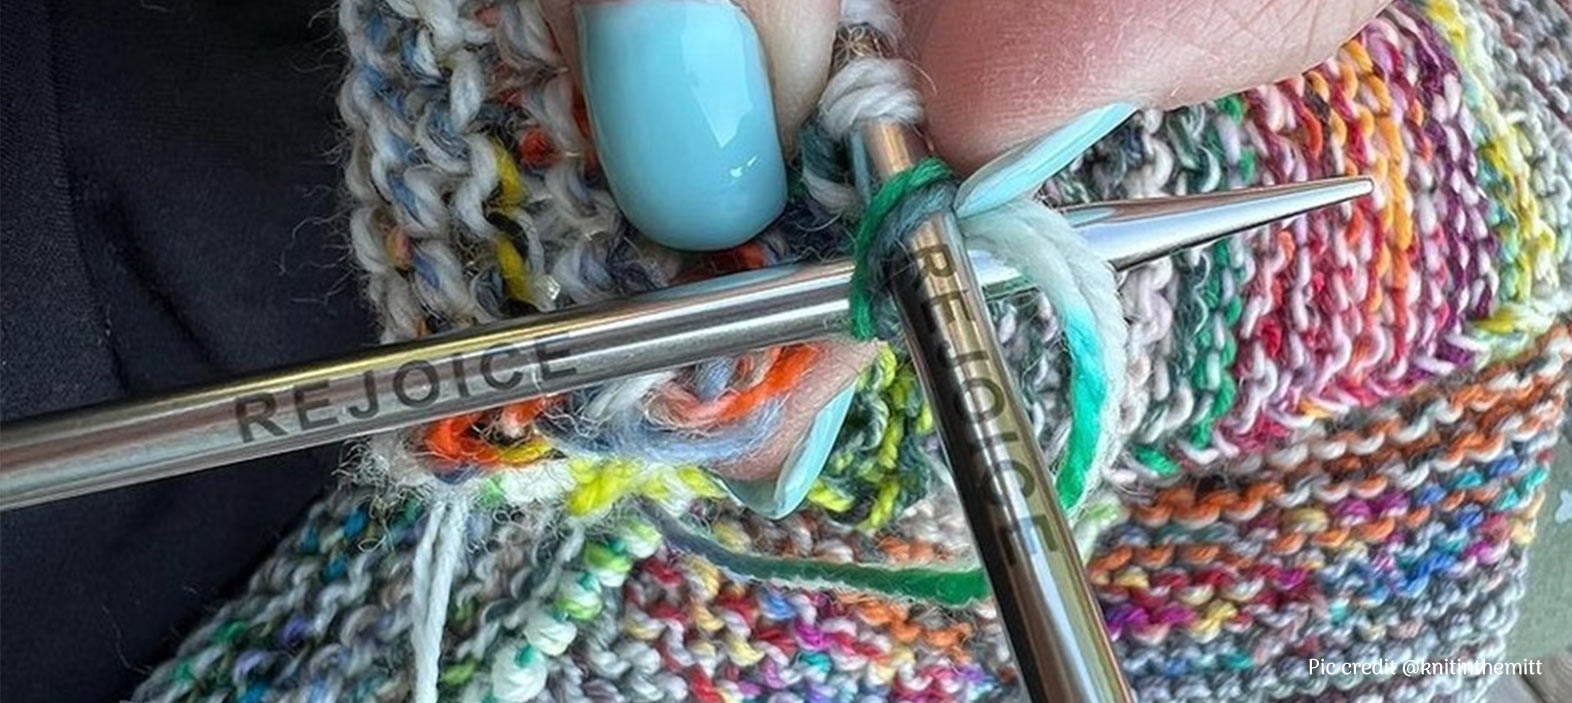
Changing colors in knitting is just as straightforward as the knitting process itself. Whether you're a knitting beginner or an experienced knitter, at some stage in your knitting experience, you will need to incorporate a new skein of yarn while working on a project. This could happen when you reach the end of the first skein of yarn, your project needs a color shift, or even when your project necessitates a change of color in the middle of a row. Changing colors in knitting is basically changing the yarn ball or skein. Colorwork knitting is a wide range of knitting techniques all achieved with different methods of changing colors. To know more, follow our guide on how to knit colorwork patterns.
However, the same technique is employed in all three instances, so it is a very vital skill to learn. Introducing a new yarn might seem daunting. However, there's no need to panic. Attaching a new skein of yarn to your knitting project is far simpler than you might assume. Adding multiple colors to your projects is a great way to provide contrast, intrigue, and individuality to your knitted works. If you are a beginner, integrating colors into your project can make your work appear more refined, and in turn, can offer you the assurance of a veteran knitter!
In this blog, we’ll walk you through the process of joining a new skein of yarn by displaying three effortless techniques. These can work smoothly to change colors for stripes, stranded colorwork, and even Fair Isle knitting. To know more, you can also explore tricks to knit colorwork patterns.
Method One - Drop and Grab
A strategy of dropping the previous yarn and selecting the new yarn is a basic color alteration technique.
Step 1 - Knit or purl to the point where you need to switch colors, simply drop the old yarn end.
Step 2 - Insert the working knitting needle tip into the first stitch.
Step 3 - Hold the new yarn and fold the end to create a loop with a minimum of a 6-inch tail.
Step 4 - Put the loop on the tip of the working knitting needle.
Step 5 - Draw the new yarn color through the old stitch. Tighten the tail of the new yarn for the stitch.
Step 6 - Continue knitting with the new yarn color.
Pros
This approach has a minimum of two major advantages.
• One is that, since you do not have to cut the old yarn, you can bring it up the side of your knitting project. This will limit the number of yarn ends to weave in if you are knitting stripes or your project calls for regular color changes.
• The other advantage is that you do not need to put your knitting needles down because adding the new skein of yarn can be done with one hand. This makes it a super-fast technique!
Cons
On the flip side, since the new skein of yarn is not fastened to the needle, manipulating the new yarn can take some practice. Usually, particularly when first learning, the new yarn may slip off the needle before you can even knit the first stitch.
Many new knitters believe this is the most difficult method, but once you get the hang of it, it turns into the quickest and most basic method.
Method Two - Make a Slip knot with a new color.
The “slip-knot” method of changing colors is not an official knitting terminology, but this helps remember the basic step to changing colors.
Step 1 - When you arrive at the end of the row, drop the old yarn end.
Step 2 - Create a slip knot with the end of the new skein.
Step 3 - Place the slip knot on the needle with the stitches.
Step 4 - Put the tip of the working needle through the rear of the last stitch of your first color & the slip-knot of the new color.
Step 5 - Continue knitting with the skein of yarn.
Pros
Similar to the first method, here you do not have to cut the old skein of yarn. You can carry the old yarns up the side of the knitting project if you will be changing colors frequently. This method works in avoiding weaving in multiple pesky yarn ends!
Cons
As you are knitting through two loops (two yarns) in step 4, the first stitch with the new color or ball of yarn can be a bit bulky. In the end, it doesn't really affect your knitting project and the various colors will merge, but it can feel a little challenging till you become accustomed to the method.
Method Three - Slip Knot through the Old Yarn
Similar to the “slip-knot” technique, method 3 of changing colors in knitting makes a slip knot but not on the knitting needle but through the old yarn.
Step 1 - Cut the old yarn leaving a minimum of a 6-inch tail.
Step 2 - Make a slip knot with the new yarn.
Step 3 - Pass the old yarn through the slip knot.
Step 4 - Slide the new yarn up to the foundation of the first stitch of the old yarn and tighten the slip knot.
Step 5 - Continue to knit with the new ball of yarn.
Pros
Similar to the “slip-knot” technique (method two), this technique secures the new yarn to the project you are working on. This makes it simpler, at least initially than the “drop & grab” method (method one) as there is no way the new yarn can slide off while trying to knit the first stitch.
Cons
This method is that it will leave a knot on the side of your project. The nearer you slide the slip knot to the base of the old yarn in step 4, the less the knot will show. Nonetheless, it will still be there. But, then with time the knot will felt and become a part of the fabric.
Finishing
Whenever you make color changes or add a new skein of yarn of the same color, you need to make sure to neatly finish and weave in the ends.
• Cut the working yarn that is still attached to the ball of yarn with a sharp pair of scissors, leaving at least a 6-inch tail.
• Weave in the yarn ends with a darning needle, a size smaller than the knitting needle size.
• After you finish weaving, cut the yarn tails close to the knitted fabric for a nice tidy finish.
With this, you are all done with changing colors in knitting. Enjoy colorwork knitting with these effective ways to change yarns. The Mindful Collection offers a range of stainless steel knitting needles in options of straights, double-pointed, fixed circulars and interchangeable circulars. Each needle with its neutral steel body is perfect for working with different colors of yarn. Besides, knitting needles, the collection has stitch markers, darning needles, measuring tapes, blocking tools and many more accessories to assist with your knitting.


