Binding off is an important finishing step in knitting. This is the last step before you take your project off the knitting needles. You want it to be perfect so it reflects well on the project. There are many ways to bind off or cast off (as many knitters in the UK might say). If you want to join two separate knitted pieces together without seeming, then you will want to learn the three-needle bind-off. It’s a very smart and easy way to finish a garment and an alternative to the Kitchener stitch and grafting stitches.
It is worked the same way as a standard bind-off, but you will be binding off stitches from 2 separate and parallel needles, at the same time to form a seam-like edge. . Try using this bind-off method to create an attractive shoulder edge on a sweater, when joining 2 pieces of a pillow, or for any other project that normally requires a seam.
Let’s look at the standard technique for this type of bind-off. Once you use the method a few times, you will be able to use it whenever you think appropriate.
Working the Three-Needle Bind Off
It is advised to use double pointed needles when working this bind-off technique. Two (of the same size) will be held parallel to one another. Each will hold the same number of stitches to be bound off, a third needle of the same size will also be used. Even if you have knit the project on circular knitting needles or even single pointed needles, switch to double-pointed needles for this particular method. If you are unsure about switching needles, refer to our guide on how to transfer stitches from one needle to another.
Instructions
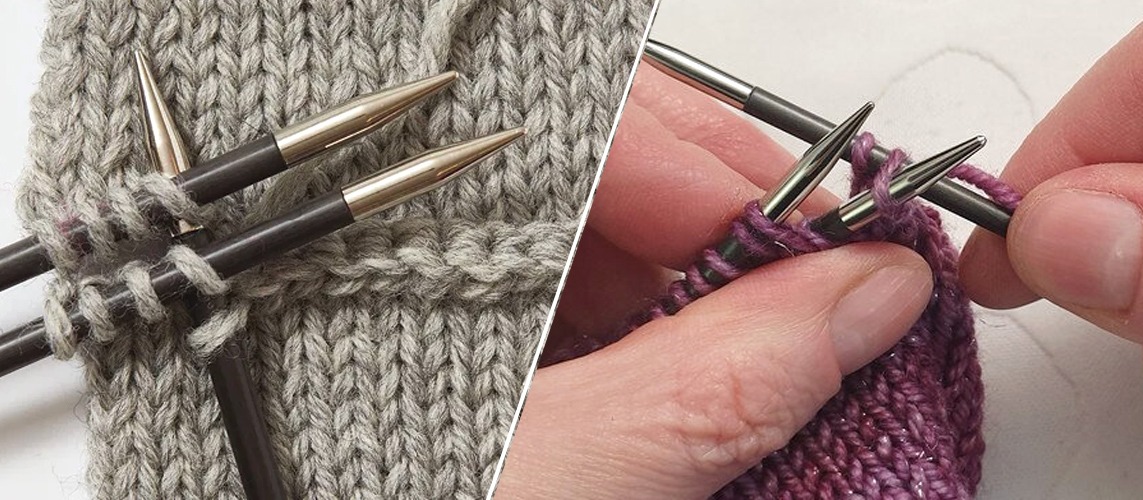
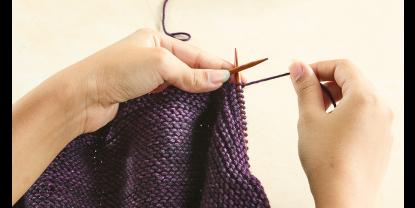
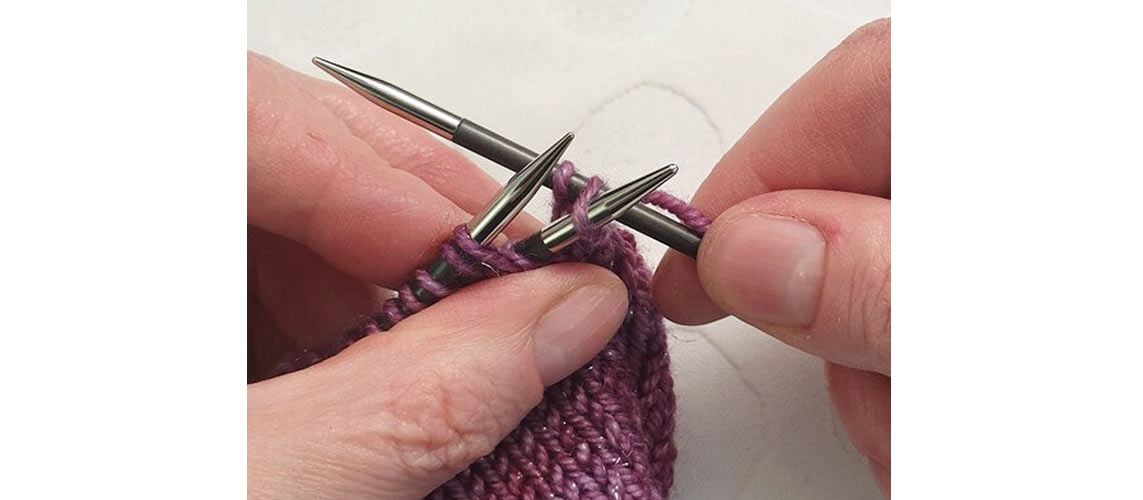
Step 1: Line up the two needles. Before you begin the three-needle bind-off, line up your two needles, parallel to one another. Make sure that both points are facing the same direction and that there are an equal number of stitches on each needle. If you wish to create an “invisible seam”, the right sides of your knit work should be facing each other.
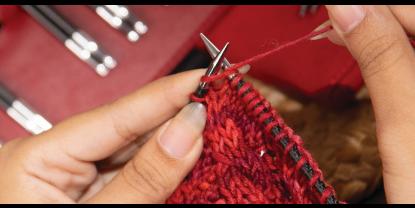
Step 2: Knit together the first stitch on the front and on the back needle. (Basically, you are knitting 2 together - one on the front needle and one on the back needle. Repeat this once more to create a second knit-together stitch.
Step 3: Pull the first stitch over the second stitch- just as you do when binding off. Now you have one bound off one stitch. Then knit together the next two upcoming stitches just you did before.
Continue to repeat the sequence until you have bound off all the stitches on the parallel needles.
Step 4: When you finish binding off all the stitches, elongate the last stitch out a few inches, cut the yarn, leaving a 9” tail and pull that tail through the center of the stitch loop and tighten it.
When done, use a wool needle to weave the end of the yarn into the edge of your knitting project.
More Uses for the Three-Needle Bind Off
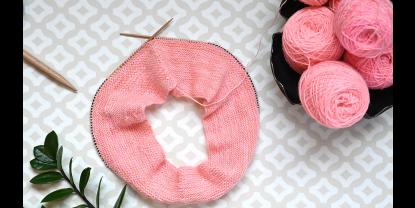
The three-needle bind-off is great for joining shoulder seams because it's quite strong and can hold the weight of the garment without sagging. It can also be used when joining two pieces of knitting together at the center, which is common when making a cowl, scarf, or headband. This type of bind off is often done when a provisional cast-on is done at the beginning. In that case, when those stitches are made “live” you can work a 3 needle bind off with the live end stitches – provided you have the same number of stitches on each end.
Make sure it looks right
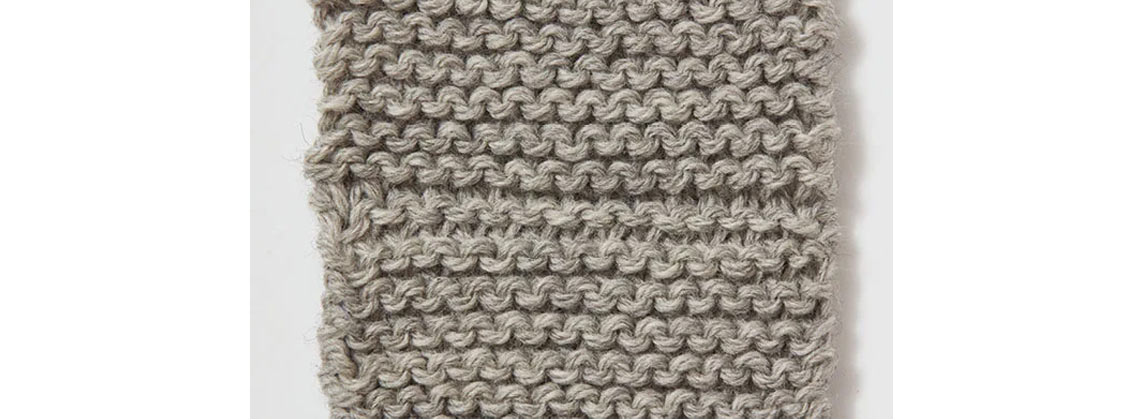
- Watch your tension. It is important to use the correct tension when you are binding off your stitches. Making your stitches too tight may result in puckering, which will produce a sloppy-looking seam. If you have problems maintaining a loose tension, try using a knitting needle that is a size larger than the original needle.
- Make sure that there are an equal number of stitches on both needles. Since each stitch needs to have a match for this bind off method, it is important to ensure that there is an equal number of stitches on both needles. Count the stitches on both needles before you begin.
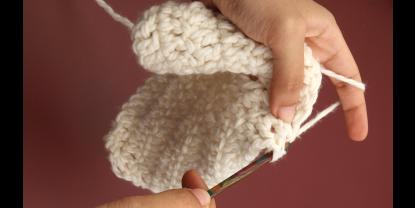
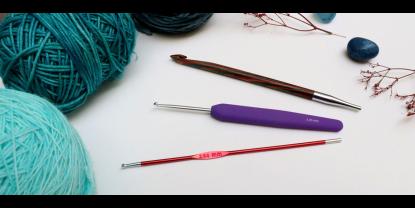
- Try a crochet hook. Getting the yarn to go through both stitches on the 2 needles at once can be a little challenging at first. One option is to use a crochet hook in place of a knitting needle to help make it easier to pull the yarn through both stitches. If you decide to try this, then make sure to use a crochet hook that is the same size or very slightly larger than your knitting needles. Use the crochet hook the same way as a knitting needle.
So, get started on making these attractive bind offs with three needles. Keep in mind that it is easy to find video instructions showing this technique online, as well. Follow our written instructions with a video one for clarity. Keep following our blog for more information on knitting needles, crochet hooks, tips, tricks, techniques and more.


