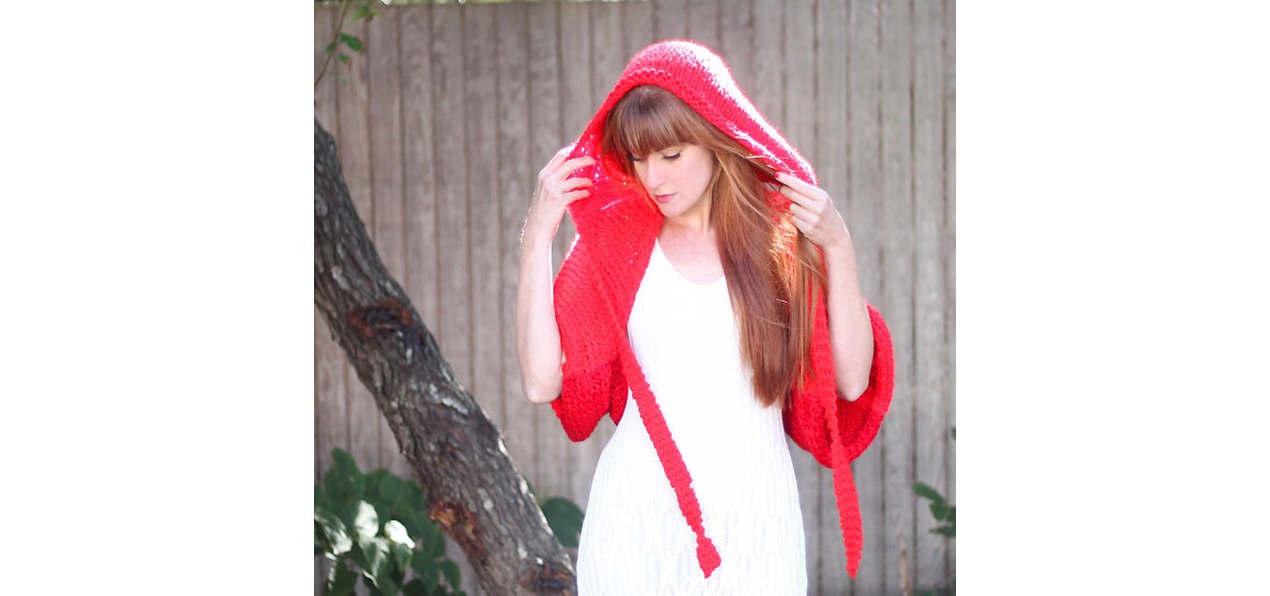
So, Halloween is around the corner, and we thought it might be fun to appear in our very own knit fairy tale costume. Here is a super easy, yet highly effective pattern for beginners. It only uses flat and purl knits, and is so relaxing to make, while you are planning the spooky decoration for Grandma's cottage theme at your party. There are no complicated patterns or stitches, no decreasing or increasing, and you won't have to use circular or double pointed needles (though you can), as the hood is made from one piece and then sewn together. You can use a bulky yarn and will literally have finished it in the blink of an eye. And then go for that big, bad wolf, (or maybe offer him sanctuary).
Here is what you need for the hood:
Yarn: 2 rolls (weight 6) super bulky red merino wool or any other soft texture
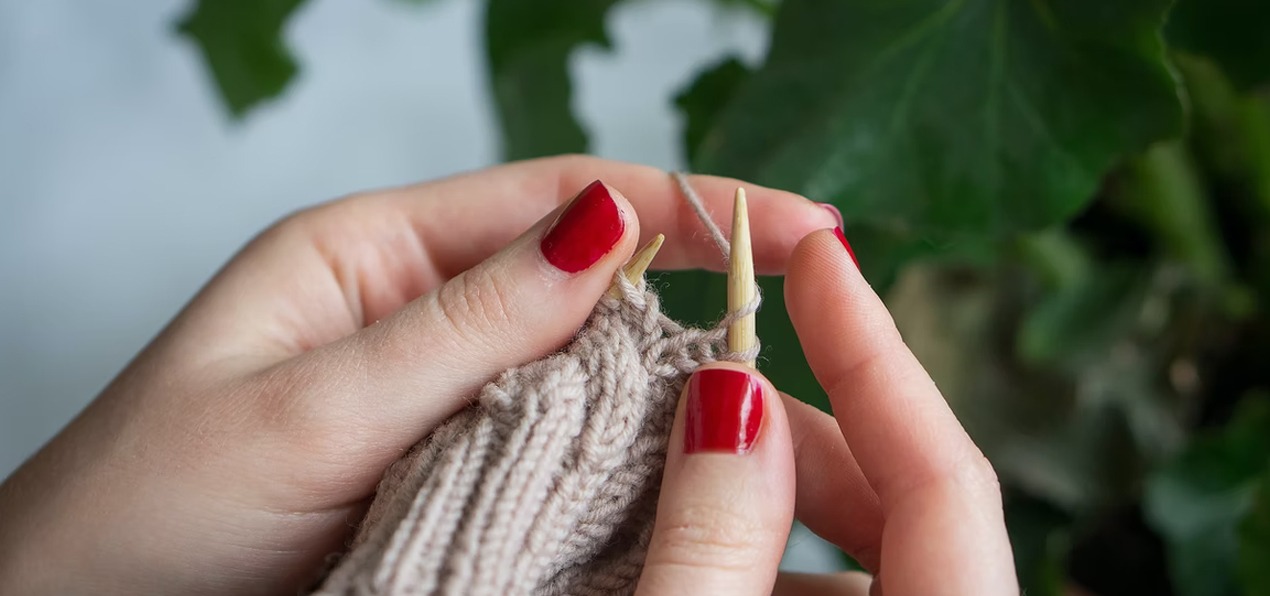
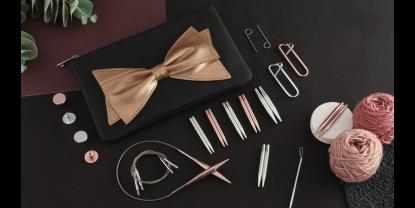
Needles: Size 8 - 10 (metric size) KnitPro bamboo needles. These are perfect for bulky yarns, as the heavy work won't slide off so easily. You can also use the fixed circular needle, as it may distribute the weight of the piece more evenly and put less strain on your hands.
Cast on 56 stitches. Work in Garter stitch for three rows. (flat knit without any purl)
The complete hood is knit in flat stocking stitch and later sewn up the backside.
Row 4: Purl 3 at the beginning, knit flat to last 3 stitches, Purl the last 3 stitches.
Row 5: Purl, no flat knits
Repeat rows 4 and 5 until your work measures 31 cms. Cast off (It is important to bind the stitches loosely, so that the edge will remain stretchy and not roll up)

To assemble: The three rows you have been knitting at the beginning will go around your neck and the part where you made the three purls will frame your face. With a yarn needle seam together and turn the inside out, so that the flat side is outside.
For the ties, pick up four stitches on one end and knit 22 cm in garter stitch. Repeat on the other side.
This is what you need for the cape:
4 rolls of super bulky merino wool (or any other soft texture), weight 6
Cast on 80 stitches and work in flat knit 2, purl 2 pattern for three rows, then work in stocking stitch, until your piece has a size of approximately 90 cm. Again, work another three ribbing rows of 2 knits, 2 purls and cast off.
How to assemble: The result will be a large rectangular piece, once you have finished. Fold in at the smaller half and sow in 15 cm left and right. Make sure the flat knitted side is on the other side. The rolls you get form the arm sleeves.
You can also sew the hood onto the cape if you prefer it to be one piece. It may prove more comfortable, if you wish to casually take off the hood later on.
See, it was not difficult at all, was it? Complete the outfit with lots of rouge and lipstick to match and dramatic eye make up. And you will not only be the centre of the party with this slick and timeless outfit, it is also a really cosy cape to get through the fall.


