Summer is almost here, and it's time to break out the knitting and crochet projects perfect for warmer weather! If you're looking for some fresh inspiration, you're in luck! We've curated a collection of free patterns perfect for summertime crafting.
Our triangular lace shawl is designed for intermediate skill levels. And for those just starting crocheting, our granny square skirt is a great beginner project that's fun and easy to make.
The Penelope Lace Shawl
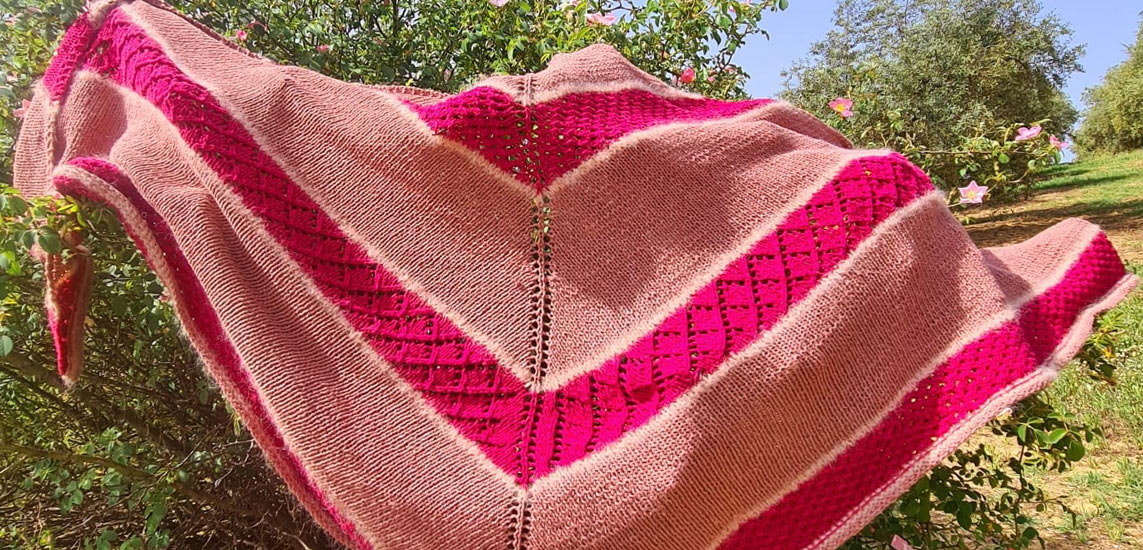
Are you looking for a new knitting project perfect for intermediate skills and can be enjoyed on a lush spring afternoon? Our Triangular Lace Shawl is made from worsted-weight linen and brushed summer wool and is designed with ease and elegance in mind. Four increases are made in every second row, using a simple yarnover increase that will later result in a fluffy texture.
Even if you've never knitted lace patterns, you'll love creating the Penelope shawl as it uses stockinette stitch primarily, adding two simple lace designs. The first lace pattern has a four-row repeat, while the second consists of eight rows. We recommend making swatches of each pattern first to ensure the best results. Check out our instructions below and get started on your new favourite spring shawl!
You will need the following:
- Sports or worsted-weight yarn in three different shades of your choice. For a shawl spanning 2,40 m in width and 1,10 m in length, you will require approximately 4 skeins of 50 g in your main colour, 2 - 3 skeins for the lace patterns and approx. half a skein (25 grams) for the third colour.
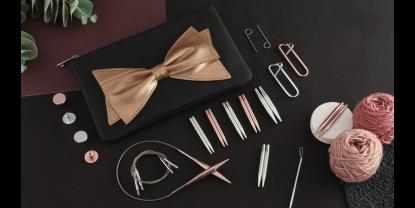
- Appropriately sized knitting needles for your yarn. We have used 4 mm circular knitting needles from the KnitPro Mindful collection with an 80 cm cable for both the stockinette and the lace parts.
- A row counter will be of great use in keeping track of your rows.
- Measuring tape, scissors, and a yarn needle
Abbreviations:
- k: knit
- p: purl
- yo: yarn over
- RS: right side; WS: wrong side
- ssk: slip, slip, knit
- k2tog: knit two stitches together
Start by casting on 3 stitches and knit the first row. In your 2nd row, make a YO after the first and second stitches. You can mark the center of your shawl by placing stitch markers before and after these first yarnovers, as they will build the central spine of your triangular shawl. Now you have 5 stitches in total on your needles. Knit the third row (WS), but knit all the YO through their back loop to create a hole in the pattern.
Again, increase after every stitch for the fourth row (RS), and finish with a knit stitch (= 9 stitches in total). Knit the fifth row just as the previous WS row.
In your next RS (6th row): k3, YO, k1, YO, k1, YO, k1 YO, k3 (= 12 stitches). The first and last three stitches of your row will form the garter stitch border of your shawl and will always be knitted. Purl the next row, inserting your needle into the back loop of the yarnovers to create holes. You can now see the structure of your shawl. Continue to knit the first three and the last three stitches in all rows. To shape your shawl evenly, make a yarnover after the first three, before and after the centre stitch, and before the last three stitches (4 increases in every second row). Purl all WS rows. Continue in stockinette stitch (knitting the RS and purling the WS) in your main colour.
After 40 rows, switch colours and knit two rows in your second colour. Then change colours again and start the first lace pattern. Repeat the pattern eight times, always increasing by four stitches in every RS row. Then knit 40 rows in stockinette stitch in your primary colour, and switch to your second colour to knit two rows again. Now knit the second lace pattern. Repeat this process until your shawl measures approximately 2,40 m in width and 1,15 m in length. With your darning needle, weave in all yarn tails carefully on the wrong side of your shawl.
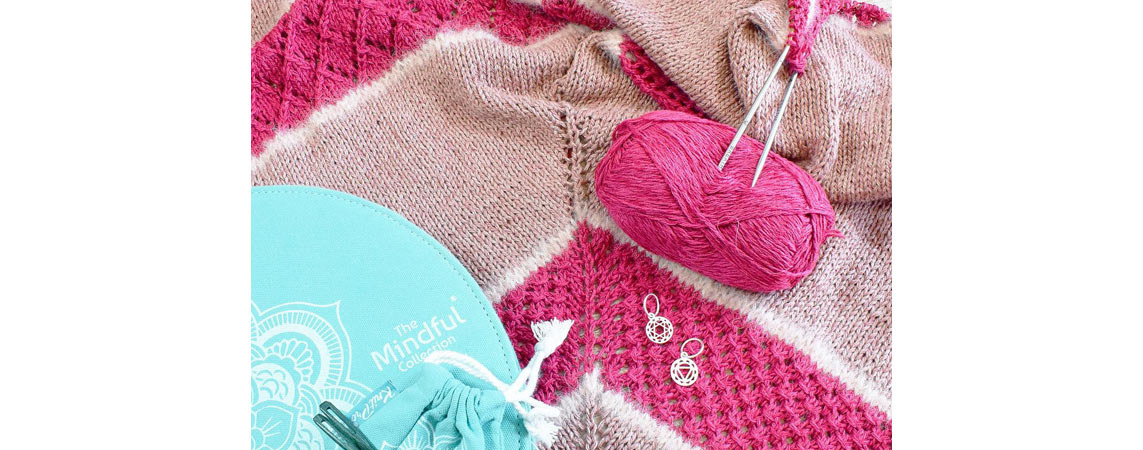
Lace Pattern 1: Staggered Fishnet stitch
Start by knitting two rows in stockinette stitch.
Row 1: k3, YO (border stitch and increase) *slip 1 stitch, k2, pass slipped stitch over the last 2 stitches (1 decrease), YO*. Repeat from * to the centre stitch, then YO, k1, YO. Repeat * * until the last three stitches, then YO, k3 (border stitch and increase).
Row 2: k3, purl all stitches, k3.
Row 3: k3, YO (border stitch and increase) *YO, k3, pass slipped stitch over the last 2 stitches. Repeat from * to the last three stitches, YO, k3 (border stitch and increase).
Row 4: same as row 2.
Repeat rows 1-4 eight times, making four increases in every RS row.
Lace Pattern 2: Diamond Lace Stitch
Knit 2 rows in stockinette stitch.
Row 1 (right side): k3, YO (Border trim and increase) *k2, yo, ssk, k5, k2tog, yo; repeat from * to last stitch, YO k3 (for the border and increase).
Row 2 (wrong side): k3,, purl to last stitch, k3.
Row 3: k3, YO (border trim and increase), *k1, yo, ssk, k3, k2tog, yo, k1; repeat from * to last stitch, YO, k3 (border and increase).
Row 4: k3, purl to last stitch, YO, k3 (border and increase).
Row 5: k3, YO (border trim and increase), *yo, ssk, k1, k2tog, yo, k5; repeat from * to last stitch, YO, k3 (border and increase).
Row 6: k3, purl to last stitch, k3.
Row 7: k3, YO (border trim and increase), *yo, ssk, k3, k2tog, yo, k1; repeat from * to last stitch, YO, k3 (border and increase).
Row 8: k3, purl to last stitch, k3.
Repeat rows 1-8 three times, always increasing by making 1 YO before and after the centre stitch of your shawl in every RS row.
The Colourful Granny Square Pencil Skirt
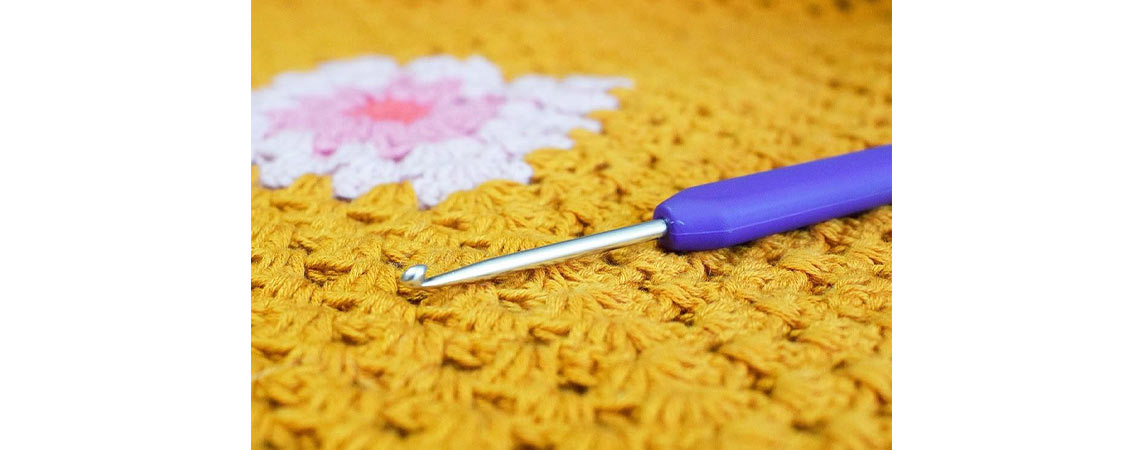
There is no other crochet pattern as versatile as the granny square. Our Granny Square Pencil Skirt is made from cool organic cotton and will bring sunshine and a trendy vibe to your summer wardrobe. If you're new to crocheting granny squares, don't worry - check out our basic tutorial here to get started.
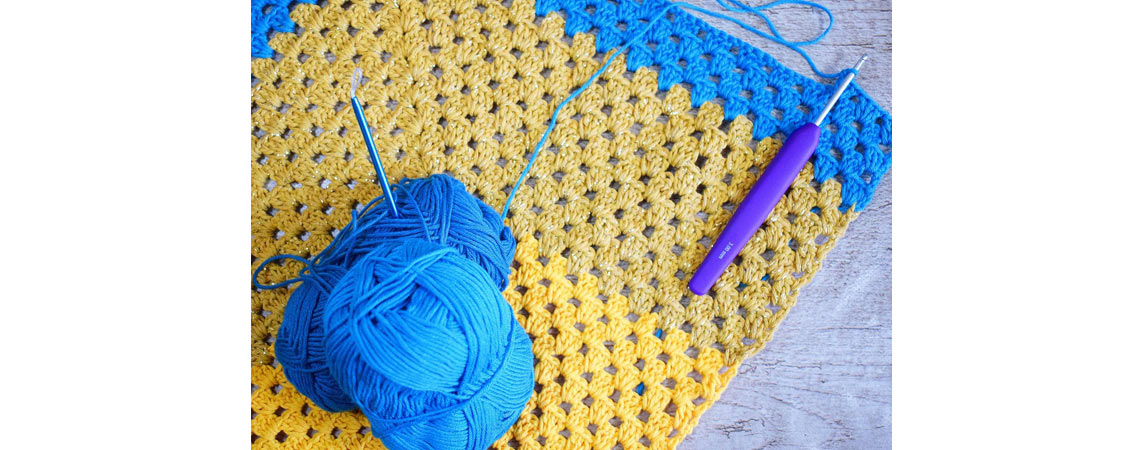
To make this pencil skirt, you'll need approximately 350g of cotton (7 skeins of 50g each), a measuring tape, and a 3.5mm Waves crochet hook. This pattern is a great stash buster! Mix and match your favorite hues of the same yarn types. Or, use two contrasting shades as your main colours and add matching undertones for a unique twist. Get ready to rock this fun and stylish skirt all summer long!
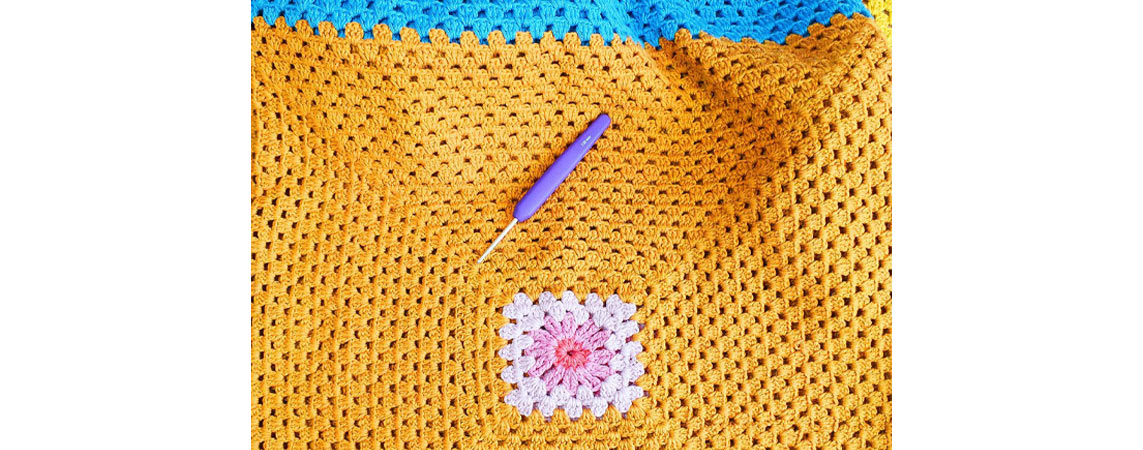
Crochet the first granny square as large as the widest points of your hips, calculating a few mm extra. After finishing two large squares, join them on their wrong sides with the slip stitch, leaving about 10 cm at the lower part open for the slits.
In a contrasting colour, start shaping your skirt by crocheting one round of three double crochets plus one chain stitch on top of your granny tube. Mark each side with a lockable stitch marker. This is where you will make your decreases later on. Crochet two more rounds, then decrease three stitches with the single crochet 3 together (sc3tog)-method on each side. Find a complete tutorial on single-ended crochet decreases in our blog tutorial here. Decrease with this technique every third round until your tube has the desired width. Join the round with a slip stitch and weave in all yarn tails on the wrong side of your piece.


