Felting or Felt making is one of the oldest fiber arts. Lately, more and more knitters and crocheters have been experimenting with felting their work. The process of felting or fulling (the technically correct term) creates a strong, sturdy, water-resistant fabric.
If you are ready to explore knit or crochet felting, then this is a fine time to start! In this blog post, we will take you through the process, beginning with the right yarns. You need not worry about choosing the knitting needles and crochet hooks, you can use any tool you own.
Why try Felting Knitting and Crochet Projects?
Many of us have accidentally felted knit or crochet projects by throwing a good wool sweater or a multi-coloured crochet scarf into the washing machine. When done accidentally it ruins a garment, but, when done intentionally, it is a great technique for certain projects and patterns. The felting process transforms wool or yarn into a dense cloth by bonding and shrinking the fibers together.
The felting is also a great crochet technique for beginning crocheters, as the crochet-felting process disguises uneven basic crochet stitches. Similarly it helps new knitters but to a certain limit.
Knitting Needles and Crochet Hooks
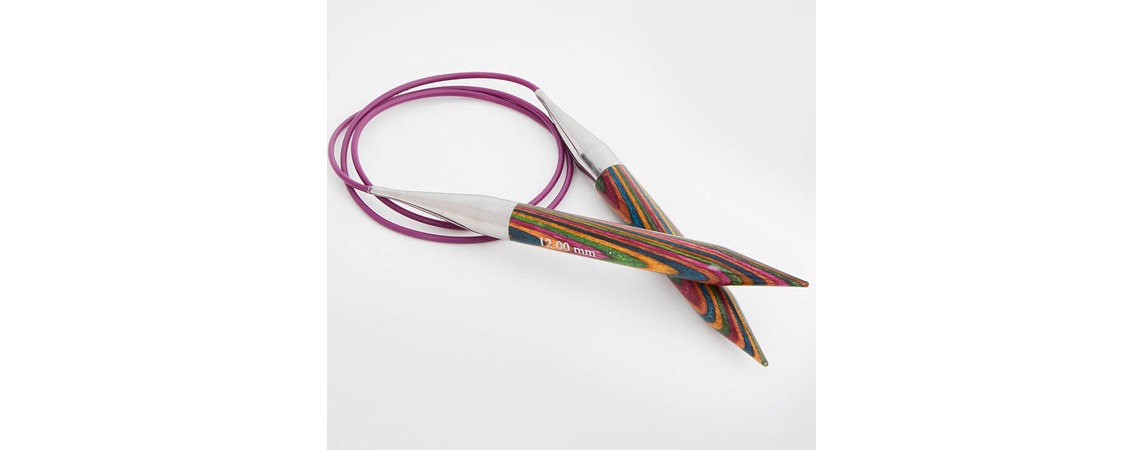
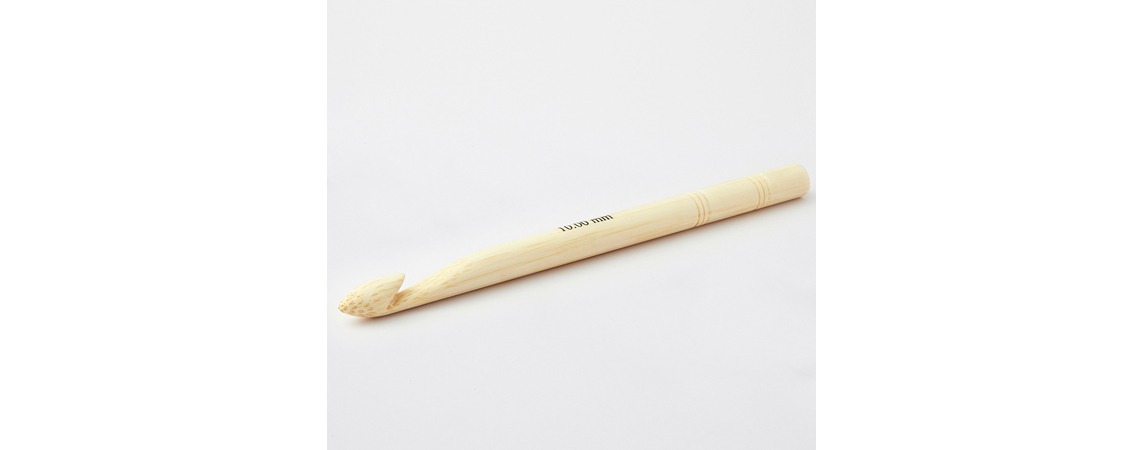
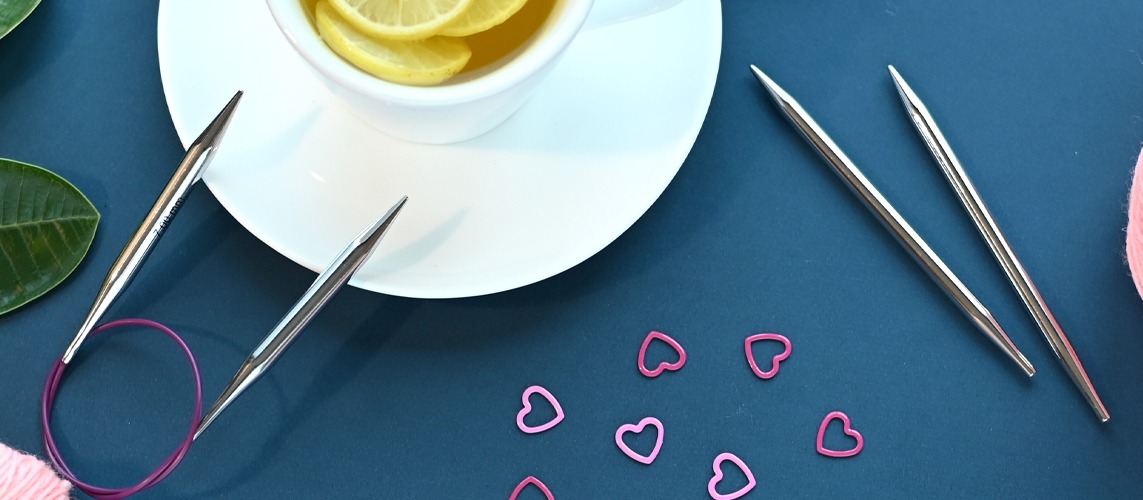
For felting your knit or crochet project, you do not have to worry about the knitting needles or crochet hooks. Just follow the pattern and tools that you feel comfortable with. Just make sure you knit according to your pattern- double-pointed or circular knitting needles for seamless projects and classic single-pointed or versatile circulars for projects with visible edges. The crochet hook - single-ended, double-ended or Afghan/ Tunisian all work as long as you have the right crochet hook size.

Step 1: Choosing Yarn for Felting
For felting, you need to choose the yarn carefully. If you are following a specific felt project pattern, follow the same yarn weight, colour and other details. If you planning your project, then keep in mind that different fibers will felt differently, depending on certain characteristics.
You need to ensure the yarn is made with 100% animal fibers such as wool or mohair or it won’t feel. Even blends with wool may not have the desired effect.
Check the laundry care symbols for yarn and see if it indicates “wash by hand only”. Avoid hand-wash varieties.
Use the same yarn brand for every felting – even those in different colors for the same project.
Rather than knitting or crocheting your wooly item from scratch and then felting it, you can also use stash yarn after you rip it from an old wonky hat or anything.
While for your first felt-making project, we recommend you find a pattern that is designed for the process. If not then, make your project first. A key trick to remember is in the felting process, expect the piece to shrink about 25 to 40 percent in height and 18 to 20 percent in width.
To prevent surprises, make a tension square. Whether you knit or crochet, make a swatch by knitting or crocheting a 10cm square. Run that square through the felting process. Then calculate the yarn needed or the project with row and stitch gauge and adjust your pattern as desired.
Step 2: Prep the Project for Felting
After binding off and weaving all the yarn ends, place your finished item in an old pillowcase or a mesh laundry bag. Tie or zip it shut. If you're creating more than one felted piece, place each one in its own case. For items that need to match, such as with a pair of socks, slippers or mittens you should felt both at the same time, so they stay equal in size and finish.

Step 3: Begin Felting and Check on the Project Regularly
Add a few drops of mild detergent to your washing machine and set it to run on a short cycle with hot water at a low water level. You can see felting within 5 mins but if you want it to felt more, place it back in the hot water and reset or continue the wash cycle. Some yarns may also take several cycles to lose the stitch definition and for the fibers to blend, so be patient.
Once you determine your felting is done, do not dry it in the machine but remove your piece and rinse it in cold water. Gently ring out excess water and pat it with a towel.
Step 4: Shape and Dry the Project
While your piece is wet, pamper the piece with some stretching and shape manipulation. To block properly, use blocking tools. Keep the piece away from bright sunlight and direct heat, let it air dry. Lay your project down flat on top of a towel and then on a blocking mat and use pins abundantly for the corners and edges. If it's a hat, stretch it over an appropriately sized bowl or ball. Socks will love the sock blockers.
Do keep a check on your piece to make sure it is drying into the shape you desire.
Step 5: Finishing the Project
Once your felting project is dry, it is done. You may need to tidy it up a bit with sharp scissors, trimming off pilling or uneven fibers.
Your knitted or crocheted beauty is ready! You can further felt the project with the tip of your knitting needle or the crochet hook. Make sure to not damage the fabric as it has already gone through so much.
Happy felting!


