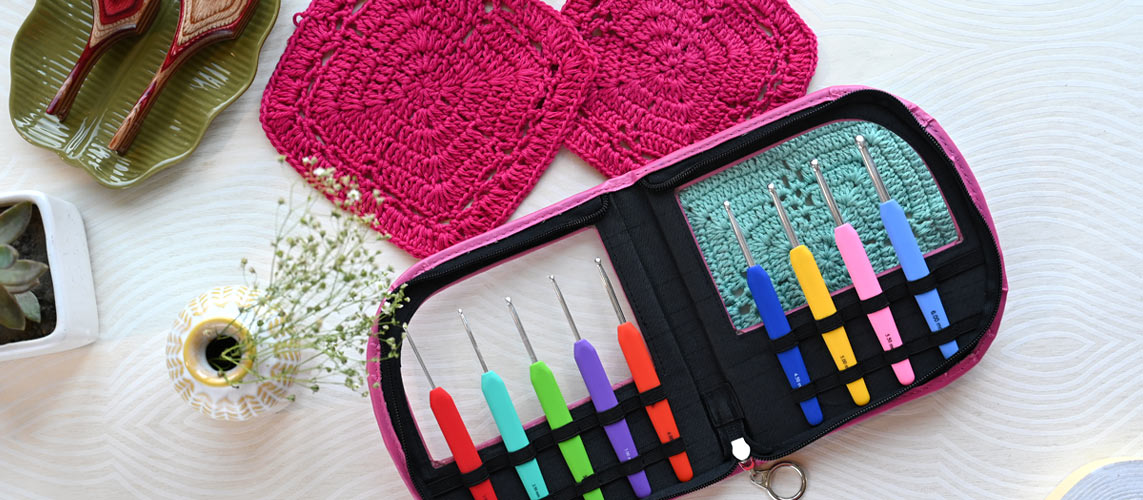
The granny square is a classic pattern that can be made with any kind of crochet hook. It is often one of the first beginner projects when first learning how to crochet. The basic crochet granny square features in projects from blankets and apparel to accessories like bags and placemats. They add colours and style to any project. While they have been here for a long time, they still reign in the fashion world. Even Louis Vuitton, Dior, Gucci and many fashion industry trendsetters have included the humble granny square designs in their recent collections.
And the best news is granny squares or Grandma’s Squares are easy to make, they are the perfect crochet project: quick and creative. First, let’s get into the steps of making a very elementary granny square with this blog. If you know how to make a slip knot, chain and treble stitch, you are good to go, but first, gather supplies.
You will need:
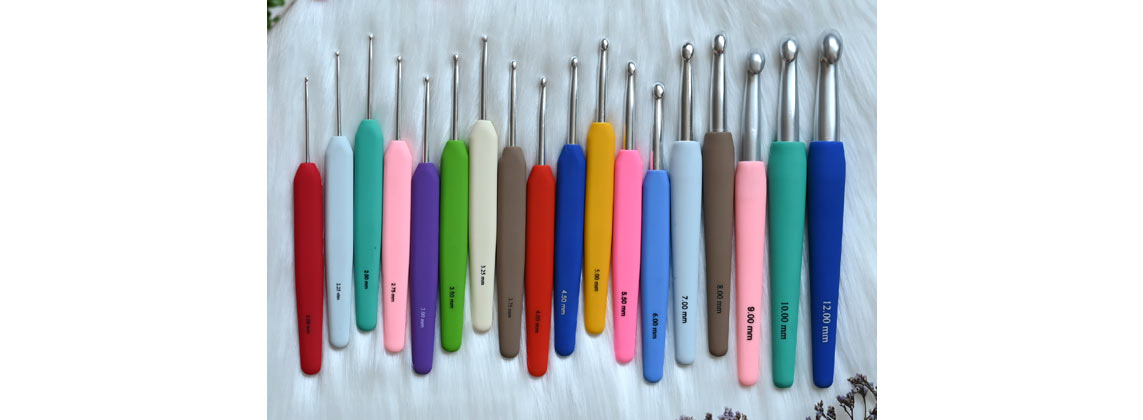
- Crochet hook: You can use any crochet hook, single, double ended or the Tunisian interchangeable ones as long as they go with the yarn. Are you unsure about what size of crochet hook you require? Check out our blog post on crochet hook sizesand how to measure them or check the suggested hook size on the label of your yarn of choice.
- Yarn: The lovable granny square is an ideal pattern to use up the yarn stash. You can also get your favourite colours for the square. But, there is a feeling of satisfaction in using the colourful leftover yarns that cannot be used for a big project. You can use a single colour with one shade of yarn or go for a vibrant granny square with two or three colours.
- Wool needle: A granny square is a small project but you will have at least two yarn ends to weave and more ends if you have used more colours to crochet.
Instructions in UK Terms. If you want a quick glance on the difference in US crochet patterns, refer to the table below.
Abbreviations
U.K. |
U.S./Canada |
slip stitch (ss) |
slip stitch (sl st) |
double crochet (dc) |
single crochet (sc) |
half treble (htr) |
half double crochet (hdc) |
treble (tr) |
double crochet (dc) |
double treble (dtr) |
treble/triple (tr) |
triple treble (trtr) |
double treble/double triple (dtr) |
tension |
gauge |
miss |
skip (sk) |
yarn over hook (yoh) |
yarn over (yo) |
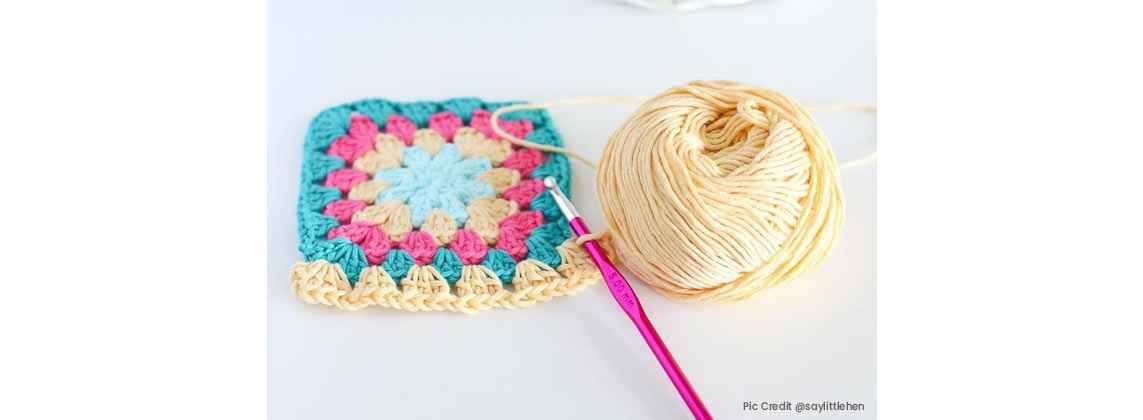
Step 1- Making the Foundation Ring
The granny square begins as a circle. After a slipknot, start with a crochet chain of three to five chain stitches that you join with a slip stitch to form a closed round. A little hole formed by your chain will later be the center around to place the stitches of your first round.
Step 2- Making Treble Crochet Stitches
After closing the ring, you will make the first set of treble crochet (tr) stitches. Make three chains, then, insert your crochet hook into the ring, yarn over, pull through, yarn over again and you’ll have a treble crochet stitch.
Repeat treble crochet stitches to fill the ring. But, make sure that you always have an even number of stitches. For a bigger granny square add more stitches.
After finishing your first round of treble crochets insert your hook through the last loop of your first crochet in the round (the three chain stitches) and make a slip stitch. Do this after every round. You can start another color and round by going up another three chain stitches.
Step 3 – Square it up
The granny square is obviously a square but what you have is a circle, which you need to square it up. Add edges to the circle, either two ways: First, add more stitches in each round, and second, rearrange all your stitches by adding chains.
You start by forming your first square corner right after you have made your three chain stitches. Then make two more treble crochets into the same stitch. Make a chain stitch and another three treble crochets plus one chain loop into that very same stitch. You now have a total of six treble crochets plus two chain loops created out of one stitch. These will construct your first edge.
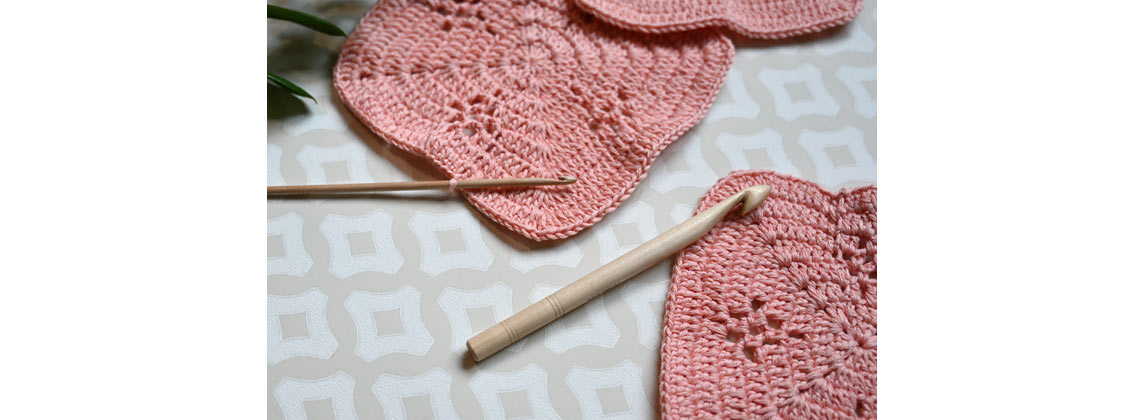
Step 4- Shaping it Up
But in order to prevent your granny square from curling, you now must jump with treble crochet stitches and insert your hook into the third stitch after your edge. Again, make three treble crochets plus a chain stitch, then jump another two stitches and create your second edge like your first.
Repeat till you have the symmetrical corners around the circle, then join with a slip stitch, and start the next round.
Step 5 – Weaving in the ends
Once you have the granny square in hand now you only need to weave in the yarn ends. If you made a colourful square with many yarns, you will now have numerous loose tail ends. Thread in the yarn ends on a wool needle to make it easy and trail the loose end through a few previous stitches to “bury” it. Another technique to neatly bury the yarn ends is to simply yarn over them as you crochet your round.
The classic granny square can be easily modified and included in your garments or accessories, from dresses, bags, home decor and more. So, what would you like to create? With KnitPro crochet hooks and accessories, get started!


