We understand that starting a new hobby can be quite daunting at first, but we're here to help you ease into knitting with our top five beginner-friendly patterns. These designs are perfect for new knitters because they use basic stitches and techniques and are small and quick to complete. You can build your skills and confidence as a knitter without becoming bogged down by the complexity of a project.
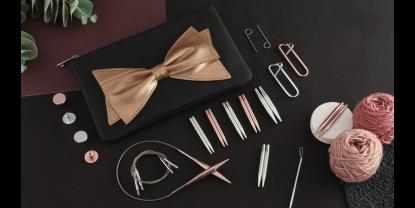
Choosing the right type and material of your knitting needles is vital for your own comfort and the success of your planned project. If you are new to knitting we recommend all needles from our Basix line or the Bamboo range. Untreated, natural wooden and bamboo knitting needles come with tapered tips that are not too sharp, they are warm to the touch and also have a slight grip on the yarn ensuring that your stitches stay on the needle. This way, you can develop an even knitting tension throughout your work and let your hands dance to their own knitting rhythm.
All the below shown projects can be knitted flat on either a pair of straight needles or your circular knitting needle. So grab your needles, and yarn and join us for a fun and satisfying crafting journey!
1. Ribbed Stitch Wristlets
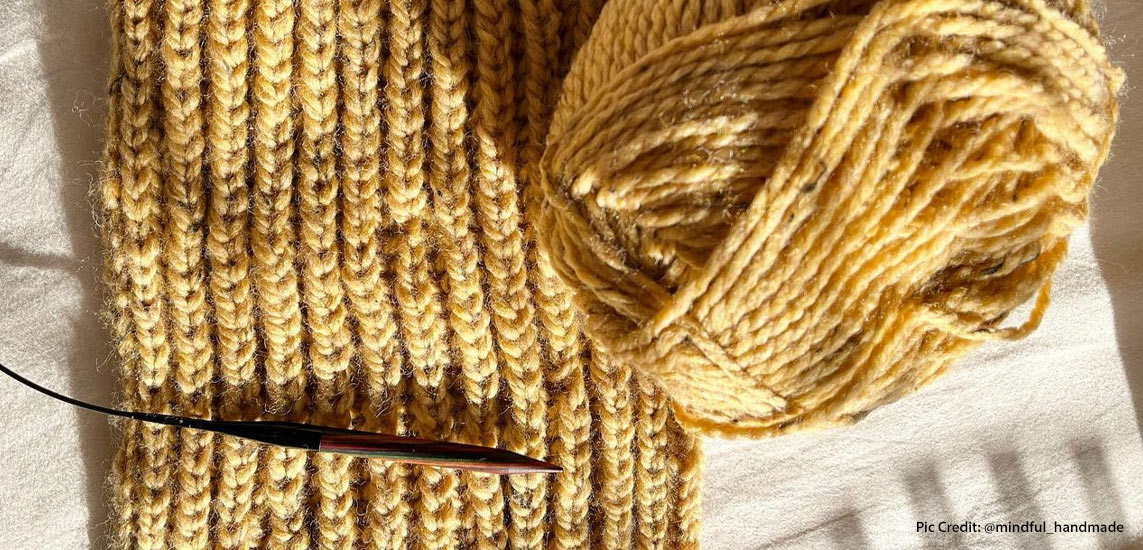
These wrist warmers are knitted flat from top to bottom and sewn together when finished.
Materials: 1 pair of straight needles or 40 cm circular knitting needle, size 3.5 mm, 1 skein of matching yarn (worsted weight or DK yarn is fine)
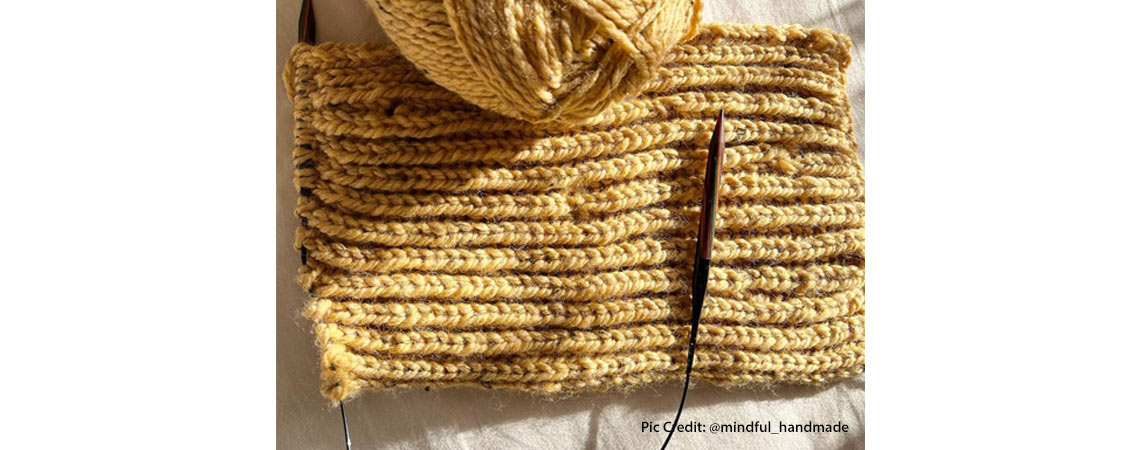
Cast on the desired number of stitches for your wrist warmer. A good starting point would be 42 - 48 stitches for an adult size.
Next, alternate between knitting and purling to create the ribbed pattern. Knit 4 stitches, then purl 2 stitches, repeating this pattern across the row. On the wrong side of your work, knit the stitches as they appear, i.e. purl 4 stitches and knit 2 stitches to maintain the pattern.
Once you have completed a few inches of the ribbed pattern, it's time to shape the wrist warmer. To do this, you'll need to increase stitches on both sides. To increase stitches, make a yarn over before knitting the next stitch. In the next row, knit the yarn-over twisted to avoid forming a hole.
Continue knitting the ribbed pattern and shaping the wrist warmer until it reaches the desired length (approx. 18 cm). Make sure to end on a purl row to give your piece a nice finish.
Bind off the stitches, and with your darning needle sew the sides together on the wrong side of your work. Knit the second wristlet just like the first one. Finally, weave in any loose ends and enjoy your new pair of ribbed stitch wristlets!
2. Easy peasy Cotton Potholders
The potholder is knitted in rows and features a lovely structured pattern made of knit and purl stitches. It is a great project for all those who already master the knit stitch quite well but still struggle with purling stitches.
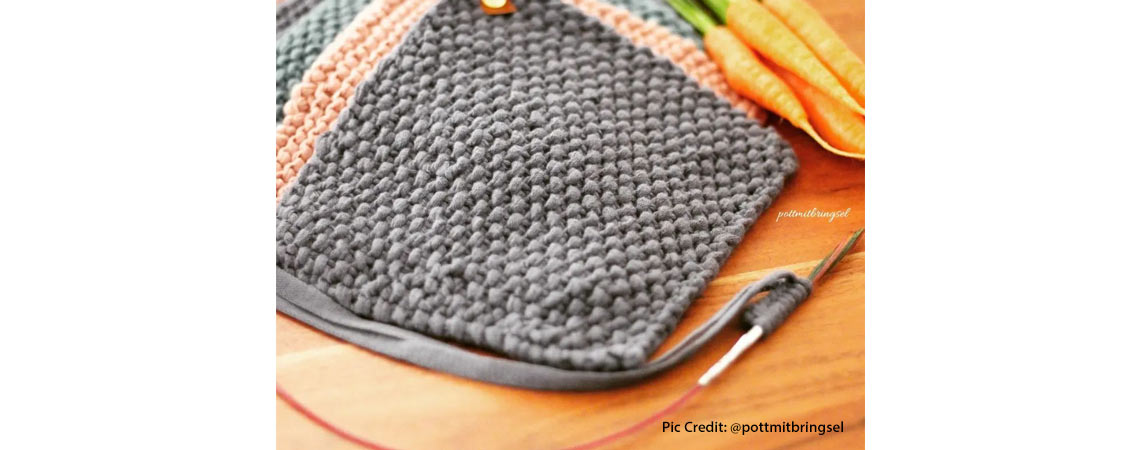
Measures: 22 x 24 cm
Yarn: about 100 g of worsted weight cotton yarn in various shades of blue
Straight or circular knitting needles, size 4 - 5
1 darning needle
Cast on 38 stitches with. Work 2 ridges in garter stitch (4 rows in k). Then work the next row as follows: 5 stitches in garter stitch, i.e. knit stitch in all rows. repeated over the next 28 stitches and work 5 stitches in garter stitch at the end of each row.
Inlaid Loop:
When your piece measures 22 cm work 1 ridge in garter stitch. Then work the next row with inlaid loop as follows: Work until there are 2 stitches lef t on your needles. Before the last 2 stitches, cast on 7 new stitches, then knit the last 2 stitches together.
Knit the next row in garter stitch, then cast off all stitches, including the new stitches of the loop.
Cut and weave in the strands with your finishing needle.
3. “Little Women” kerchief
These triangular bandanas are inspired by the “Little Women” movie and are knitted with a unique sideways technique. They are reversible, making them the perfect stylish accessory for any wardrobe. These are great stashbusters and quick and easy projects for a cozy winter night. The kerchief measures approximately 116 cm in length and 30 cm in width, measured from the middle.

Material: Use a circular knitting needle, as the piece may become quite heavy depending on the type of yarn you wish to choose. Knitting on a circular needle distributes the weight in your lap evenly and prevents your wrists from tiring. you can use any yarn weight that is matching your needles, but it is recommended to use yarn that is not too chunky, as you still want the shawl to have a manageable texture, right?
Using a stitch marker to mark the side where you increase is also highly recommended, since you might easily confuse them at the beginning. Alternatively you can also use a row counter ring.
Increases: The triangular shape is achieved by increasing at the beginning of every fourth row. To make the kerchief grow evenly and without holes, a yarn over is made between 2 stitches. In the next row knit the yarn-over twisted to prevent forming a hole.
Cast on 3 stitches and work in garter stitch from beginning to end, increasing 1 stitch on the right side every 4 rows, as explained above. When the piece measures approx. 112 cm from the cast-on edge continue the pattern without increasing for 4 cm, then bind off all stitches and weave in ends.
Working on small projects as a beginner knitter allows you to experiment playfully with different types of knitting needles, yarns and patterns, so you can eventually find your preferences and develop your own style as a designer. What will be your next knitted project?


