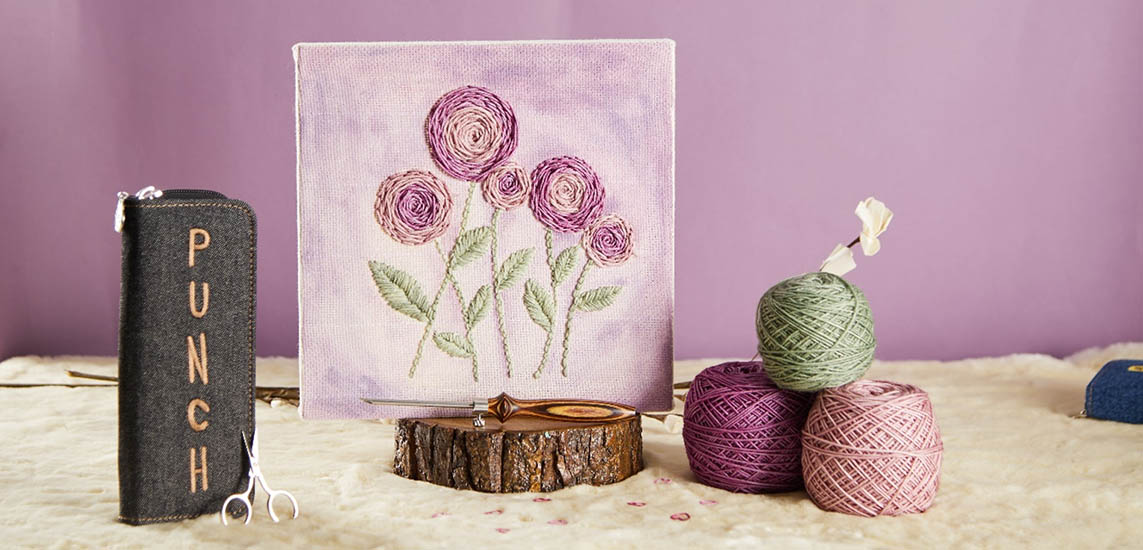
Punch needle embroidery is a hobby you can dive into immediately. Its simplicity and rewarding nature make it a perfect activity, even for kids, who can pick it up in an afternoon. This craft is also kind to your wallet and doesn't demand much space. Essential items such as the punch needle tool and matching needles are affordable and compact.
So, it’s no surprise that the punch needle, with its unique looped stitching technique, has gained a passionate following for its simplicity and creative freedom. However, as with any new endeavor, the path to mastering the punch needle is often sprinkled with questions and peppered with potential pitfalls. This blog post will delve into the most common mistakes and frequently asked questions beginners encounter in punch needle embroidery. with our tips and tricks, you can smooth out any initial bumps in the road and make your journey into punch needle embroidery seamless and enjoyable.
1- Choose a Suitable fabric
Use a tightly woven and stable fabric to avoid pulling and tearing while punching.
If your fabric has a weave that's too loose, it becomes challenging to maintain the tension necessary for the loops to hold firm. Conversely, if the weave is too tight, the fabric might resist the punch needle, potentially causing hand strain as you exert more effort to push through. This tight weave can even lead to the needle tearing the fabric. The tightness of the fabric's weave plays a crucial role in your overall punch needle experience, affecting both the integrity of your work and the comfort of your crafting process.
When working with rug yarn in punch needle projects, Monk's Cloth is the go-to fabric. This 100% cotton fabric boasts a solid yet pliable weave, making it ideal for crafting items like pillows, bags, stuffed creations, or punch needle rugs. Monk's Cloth comes in various weave sizes, but a tighter weave is preferable for punch needle purposes. Aim for a Monk's Cloth with around 12 holes per inch for optimal results.
On the other hand, if your punch needle project involves a fine needle and embroidery floss, Weaver's Cloth is your best choice. This fabric is a blend of polyester and cotton, known for its even weave and heavier weight, providing a solid foundation for intricate punch needle work.
2- Use the Appropriate Needle Size
Select a punch needle that is suitable for your project, considering the thickness of the yarn or thread you plan to use. KnitPro's punch needle kit is an excellent choice for anyone looking to dive into punch needle embroidery, especially for beginners.
KnitPro has meticulously crafted a punch needle tool that excels in creating looped and uniform stitches. The Punch-Needle starter kit includes four different needle diameters, which cater to a wide range of yarn and thread thicknesses. This versatility means you can experiment with various textures and styles, from chunky, bold designs using thicker yarns to delicate, intricate patterns with slender threads.
3- Choose the Right Frame
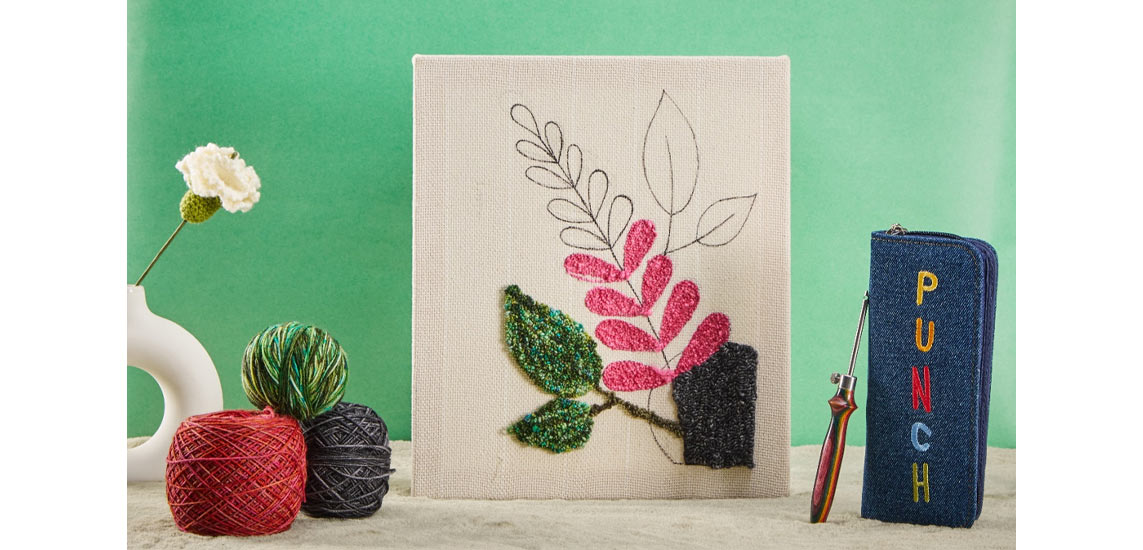
Standard wooden embroidery hoops typically aren't sufficient for maintaining the tight fabric tension required for punch needle embroidery. The fabric tends to loosen as you stitch, leading to a frustrating crafting experience. Opting for a heavy-duty frame designed explicitly for punch needles is advisable to ensure a smoother and more enjoyable process.
4- Practice Tension Control
Proper tension is crucial for achieving clean and even stitches. Practice adjusting the tension on your punch needle until you find the right balance. Keeping your fabric as taut as a drumhead, tight enough that a coin could bounce off it is essential. This level of tension ensures that your needle can form stitches properly and neatly.
While keeping your fabric tight, the opposite is true for your yarn, so ensure ample slack on the yarn coming from the ball. If the yarn is too taut, it could inadvertently pull out your stitches, undoing your hard work.
5- Start with Outlining
Begin your work by stitching the outlines. Opt for smaller, more closely spaced stitches for these outlines compared to the fill stitches. Aiming for about 6 stitches per inch for the outlines and 4 stitches per inch for filling in the shapes is a good guideline. This approach provides a cleaner, more defined edge to your design and ensures that the overall pattern has a crisp and professional appearance.
6- Needle Direction Matters
When stitching, being mindful of your needle's direction is crucial. The open end of the needle should face toward the direction in which you're punching, i.e. leading with the open side. This orientation is critical for ensuring your stitches go in the right direction.
7- Punch Down Consistently
Additionally, it's essential to punch into the fabric consistently for uniform stitches and loops. Each time, push the needle down until the wooden part of the handle grazes the fabric. The depth of your punch, determined by the length of the needle, sets the loop's height. Consistently punching to the same depth ensures that your loops maintain an even height throughout your work.
8- Keep the Needle Point close to the Fabric
Instead of lifting it off, gently glide the tip of the punch needle across. Lifting it too high can result in uneven loops or in a more frustrating scenario, cause your loops to come undone continuously.
A standout feature of the KnitPro punch needle tool is the adjustable length. It allows you to customize the length of your loops, offering versatility and creative freedom in your designs. Whether you aim for a fluffy, textured look or a flatter, more subtle appearance, this feature makes it possible.
9- Start with small projects
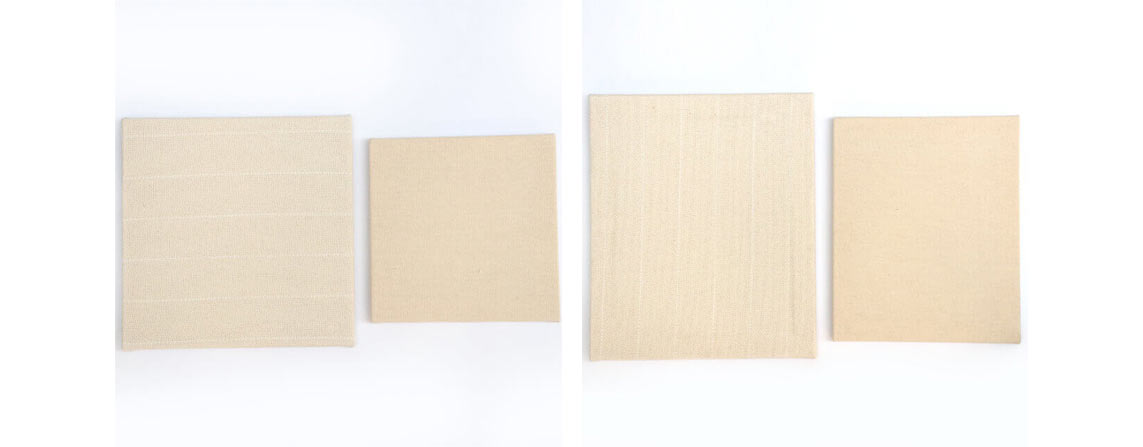
Beginning with small and simple designs allows you to practice different techniques without getting overwhelmed. Beginners best ease into punch needle embroidery by choosing designs that are manageable in size and complexity. This approach enables you to focus on understanding the nuances of the craft without feeling overwhelmed.
Small projects like wall hangings or a purse offer a more approachable learning curve, allowing you to experiment with different stitches, colors, and patterns. Even simple geometric patterns can look striking with the right color combinations.
KnitPro's pre-stretched linen frames are an ideal choice for these beginner projects. They come with tightly stretched and secured fabric, providing an optimal surface for punch needlework.
10- Experiment with Different Thread Types
Don't be afraid to try different colors, textures, and patterns to add variety and interest to your punch-needle embroidery.
- Try using shades of the same color to create a gradient effect. For instance, transitioning from light blue to dark blue can add a stunning ombre effect to your design.
- Combine yarns of different textures within the same project. A silky yarn can be used alongside a woolly one to create a contrast that is visually pleasing and to the touch.
- Use different loop heights to your advantage by creating a textured background. Longer loops can give a fluffy, cloud-like effect, which can be a beautiful contrast to flat, densely stitched areas.
- Sometimes, less is more. Exposing areas of your base fabric creates a modern, minimalist look.
The journey into punch needle embroidery is one of discovery and creativity. By starting with manageable projects and KnitPro's professional tools and accessories, you set the stage for success. Their punch needle kits, with adjustable needles and ergonomically designed handles, make the learning process smoother and and turn punch needle art into your new favorite hobby.


