
Knitting patterns are a set of instructions that help knitters create. Patterns are a little like recipes, designed to be followed as written but, sometimes you need to alter the instructions or ingredients for your own purposes. Maybe because you want to resize or change the yarn or even how your project looks like.
Whatever may be your reasons, knitting is creative and there's no right or wrong way, but just creative ways to create projects.
To make things smooth, here we are here to discuss how to resize a knitting pattern.
Things You'll Need
Besides the pattern, you need to have:
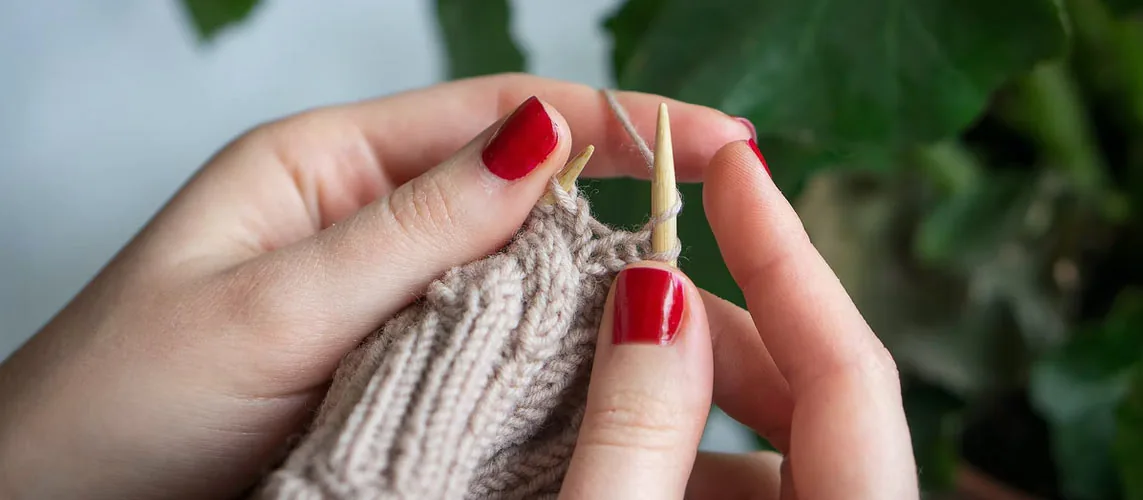
- Knitting Needles: All knitters are different and have their own preferences when it comes to knitting needles. Some prefer wood or bamboo, carbon fiber, acrylics, metal, or stainless steel. The needle types also depend on the project as well as the knitter’s convenience. When it comes to altering a knitting pattern, it is best to go with the needle suggested. Or, you can always choose the one you prefer.
- Measuring Tape: When you are resizing a pattern, you absolutely cannot do without measuring tape.
- Yarn: The choice of yarn is entirely your call. You can proceed with a different weight of yarn or go with the one suggested in the pattern.


Step 1 - Examine your knitting pattern
Start with going through the knitting pattern you are thinking of altering. Read the steps carefully and mark the areas where you are going to make alterations. Find the recommended yarn weight and needle size and pick out your tools accordingly. If you are planning to not follow the pattern instructions on recommended needle and yarn, you will need to follow the next step.
Step 2 - Knit a Gauge Swatch
You will need to knit a gauge swatch or a tension square if you plan to alter a knitting pattern. It is important that you determine your gauge to know exactly the number of stitches per inch so that you can calculate the correct alterations. If you use a different yarn or needle size, it will affect the pattern instructions, so a swatch is necessary. Also, make sure to block out the swatch for the correct measurements.
Depending on how many stitches per inch you are knitting, you can then multiply or divide it out based on how many inches your garment needs to be. These alterations also indicate how many stitches to cast on, how many rows and even how to cast off or weave in the yarn ends. Don't cut corners for this step, or your finished project will reflect that.
If you want to know why gauge is your most effective knitting tool, check out our previous blog.
Step 3 - Take Measurements
If your project is a garment, then it is important to take body measurements including bust, waist, and hips. Measuring from neckline to hemline can also help to be perfect. Also, decide if the calculations need to be done for the garment to be a loose fit or a form-fitting? All of these factors will be considered when it is time to adjust the knitting pattern.
Step 4 - Adjust the remainder of the knitting pattern
After you have taken measurements you need to adjust the rest of the knitting pattern. Look at the original pattern. Find the number of stitches for the cast on, rows or rounds, decrease, or increase in any direction. Now make calculate where you need to add or subtract stitches to get your measurements. You can figure your own number pattern based on your swatch.
Oftentimes, the knitting pattern mentions different sizes and even the formula to calculate the difference. If nothing of the sort is mentioned, then you can understand the number of stitches in an inch-gauge.
If you need to produce a pattern for a size other than that mentioned then this is the technique you must follow. Armholes, neckline, and length are a few of the areas that require adjustment to achieve the perfect fit, so be careful about it. If you are only altering the pattern with needle sizes and yarn weight, then you have it sorted with the knitted tension square.
Step 5 - Take Notes
Since you are creating your own knitting project, be sure to take notes so that you can refer back to the changes you have made. Here are a few reasons why taking notes is important:
- If you make a mistake, you can refer to your notes to help you make a correction.
- When you want to knit the same project again, the alteration work will already be done.
- Your alteration number can be used to make alterations on future projects.
Altering knitting patterns is a lesson and with time, you will get better. The key to perfectly altering a pattern is, practice and practice. Knitting is fun and with the right tools and accessories from KnitPro you’ll have a pleasurable time.