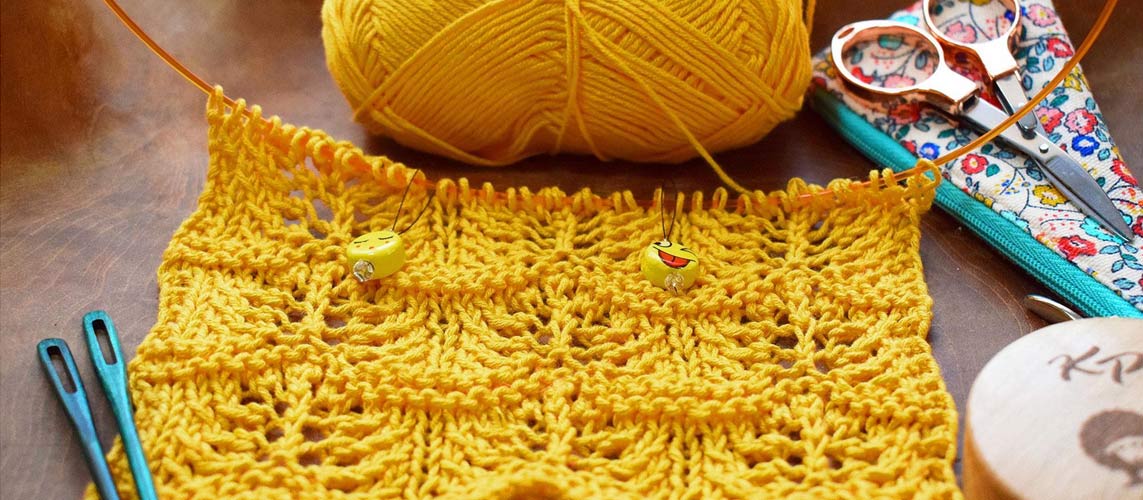
If you ever wanted to try a new lace pattern that looks interesting, but is not overly complicated, this is the one. Our Wavy Lace Tunic Sweater is worked by mostly just knitting stockinette stitch in the round, except for the lacy hems which are worked flat. The tunic is crafted straight, meaning there are no complicated decreases or increases either, and you can fully focus on the beautiful wavy pattern at the hems.
Also, if you have never worked lace before, this may be your first step into the beautiful world of filigree knitwork. The 12-row repeat pattern may sound a bit frightening at first, but it is repetitive in itself and you will wrap your mind around it swiftly. The first four rows are knitted in plain garter stitch, i.e. knit stitches all throughout. Next, the lace pattern is reapeated on the right side of your work while you just purl all your stitches on your wrong side. When breaking it down, this pattern really just comes from having to learn one row of lace stitch and repeat it a total of four times throughout the lace section at the hems.
But before you begin, let’s take a look at the required stitches for this pattern. All you need to know are
- The garter stitch. Garter stitch is usually the first stitch for newbies. And it consists of just crafting knit stitches on both sides of your work. Garter stitch creates a wave of little bumpy stitches along your row, and it is just perfect for our pattern, as it will later accentuate the curvy lines between the lace sections.
- Purl stitch, commonly indicated as a simple P in knitting patterns. This stitch actually is the opposite of a knit stitch, as a knit stitch will always appear with the little purl bump on the wrong side of your work. With the yarn at the front of your work, you insert your right hand needle from the back into the front loop of your stitch, grab the yarn and pull it back through the loop.
- YO, or yarn over. Knitting lace is basically a beautiful combination of yarning over and knitting two stitches together before and/or after the yarn over. The yarn over is always purled on the wrong side of your work and it will create what is later seen as the little whole in your lacy pattern.
- SSK stitch, or rather slip slip knit. This is one of the most common decreases, and you use it when knitting socks or anything in the round that requires a left-leaning decrease. You create the SSK by slipping two stitches from your left to your right hand needle. It is important to transfer them by inserting your right hand needle into the stitches as if you want to knit them. Then, you slip the stitches back onto your left hand needle and knit them together. Slipping your stitches knitwise is important, as it will change the direction of those stitches and make it easier for you to knit into the back of their loops. Also it gives them their left leaning slant.
- Knit two stitches together, or K2tog in most knitting patterns. You may have guessed that this stitch is the sister of our SSK stitch above. If you just knit two stitches together without slipping any of them to your working needle beforehand, you create a right-leaning decrease.
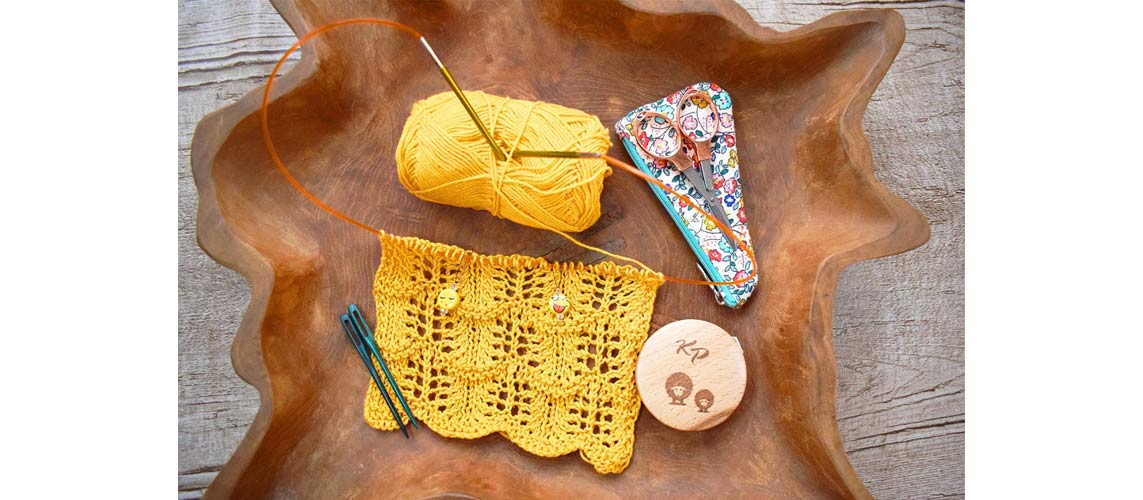
The pattern for the Wavy Lace Sweater starts here:
You start at the bottom of the item knitting two separate lace sections for the hem. These sections are later joined on your circular needle, and you knit the sweater body in a simple stockinette stitch in the round, meaning it’s knit stitches all the way to the end. After completing two thirds of the required length, you just split the project onto two separate circular or straight needles to make room for the armholes. Indicated measures are for standard S (M/L) sizes.
You will need:
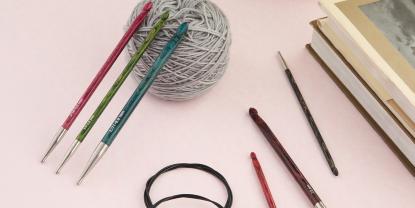
- 1 circular knitting needle and 1 pair of straight knitting needles both of US size 4 (3.5 mm), or optionally two circular knitting needles
- 1 darning needle
- 1 tape measure
- 1 pair of scissors
- 5 stitch markers
- 300 to 400 g of sports yarn, cotton or linen yarn suitable for size 4 needles
- On either your circular or your pair of straight knitting needles cast on 111 (121, 133) stitches using the long tail cast on method.
- Rows 1–4: Knit all stitches in knit stitch (K). Row 5: K1, *(K2tog) twice, (YO, K1) 3 times, YO, (SSK) twice, K1; repeat from * across the row. Row 6: Purl all stitches across the entire row. Purl all YO stitches from the back, so that the holes appear bigger. Row 7: K1, *(K2tog) 2 times, (YO, K1) 3 times, YO, (SSK) twice, K1; repeat from *. Row8: Purl all stitches. Row 9: K1, *(K2tog) twice, (YO, K1) 3 times, YO, (SSK) twice, K1; repeat from * all throughout the row. Row 10: Purl all stitches. Row 11: K1, *(K2tog) twice, (YO, K1) 3 times, YO, (SSK) twice, K1; repeat from *. Row 12: Purl ll stitches.
- Repeat rows 1–12 a total of three times, until you have 36 rows. Cut the yarn with your scissors and leave a 3-inch tail to weave in with your darning needle later.
- Craft another hem exactly the same on your pair of straight or your second circular knitting needle, but do not cut the yarn when finished.
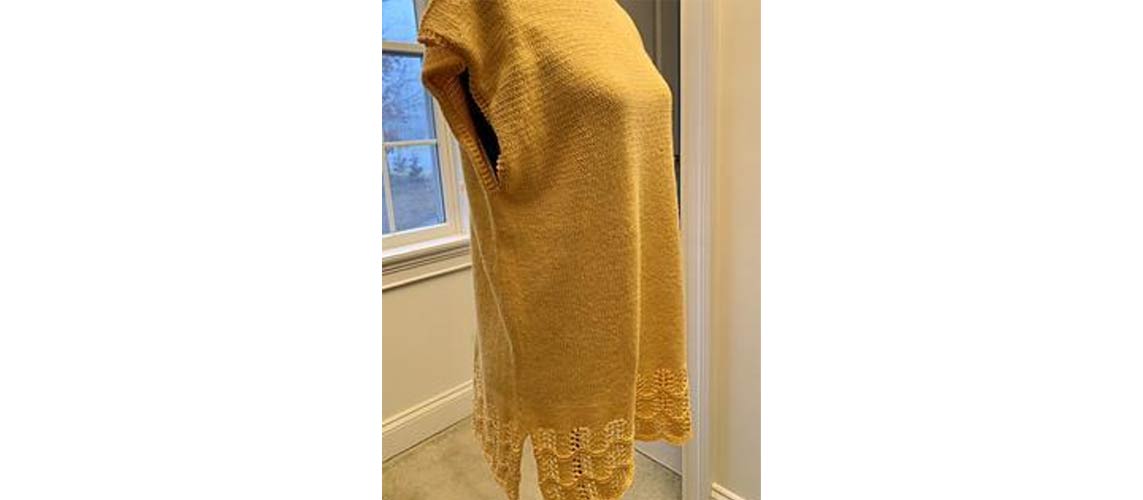
- Place one stitch marker to mark the beginning and first half of your round. Now, knit all stitches of your first hem on your circular needle that carries the second hem, joining the separate parts to a round of a total of 222 (242, 266) stitches. Place a second stitch marker after knitting the stitches of your first hem to mark the other half of your round.
- Knit all stitches, slipping the stitch markers from one row to the next, until your project measures 12 (12, 13) inches or 28 (28, 30.5) cm. Now split the item and one half of your work, as marked by your stitch markers, on a separate cable or straight needle.
- Knit across your row on the right side of the work. K3, purl all stitches until the last three stitches, K3 on the wrong side of your item, thus creating a garter stitch edge for your sleeves.
- When the sleeve measures 10 (10, 11) inches knit another six rows in garter stitch to create the upper hem of your work.
- Craft the back section of your sweater in the same way.
- Bind all stitches off.
- Join the shoulders by sewing them together with your darning needle, leaving approximately 50 - 60 stitches for your neckline.
- Weave in the remaining yarn tails with your darning needle and wet block your sweater.
We hope you have found crafting your Wavy Lace Sweater a pleasurable experience. Are there other projects, too, that you would like to craft using this lace pattern?


