Knitting a hat is a fun project. There are so many options to make a hat on any knitting needles you own. Be it for a baby or adult-size ones, the project can be done in days or even hours. It’s the perfect gift for the holiday season. In this blog, we will walk you through methods for knitting hats and how to knit a hat.
So, let’s get started.
Hats are different and unique like the knitters making them. They differ in size so when planning to knit a hat you must start with the measurements of the hat. Make sure to keep in mind the negative ease that determines the fit of the hat. If the recipient of the hat is available, get measurements of the head circumference and height. If not, then this chart is here to guide you.
The Circumference of the Hat
Size |
CM |
Inches |
UK Size |
Small |
54cm - 55cm |
21 1/8 - 21 1/2 |
6 5/8 - 6 3/4 |
Medium |
56cm - 57cm |
21 7/8 - 22 1/4 |
6 7/8 - 7 |
Large |
58cm - 59cm |
22 5/8 - 23 |
7 1/8 - 7 1/4 |
XL |
60cm - 61cm |
23 1/2 - 23 7/8 |
7 3/8 - 7 1/2 |
2XL |
62cm - 63cm |
24 1/4 - 24 5/8 |
7 5/8 - 7 3/4 |
3XL |
64cm - 65cm |
25 - 25 1/2 |
7 7/8 - 8 |
Yarn
After deciding the size of the hat, select yarn. Hats can be made with cotton fibre, wool, wool blends and pretty much any yarn. You can easily include leftovers from your yarn stash for a really colourful project. Be it chunky yarn or any other weight, hat projects suit every fibre. Just make sure that you are working with the right knitting needle size.
Knitting needles for making a hat
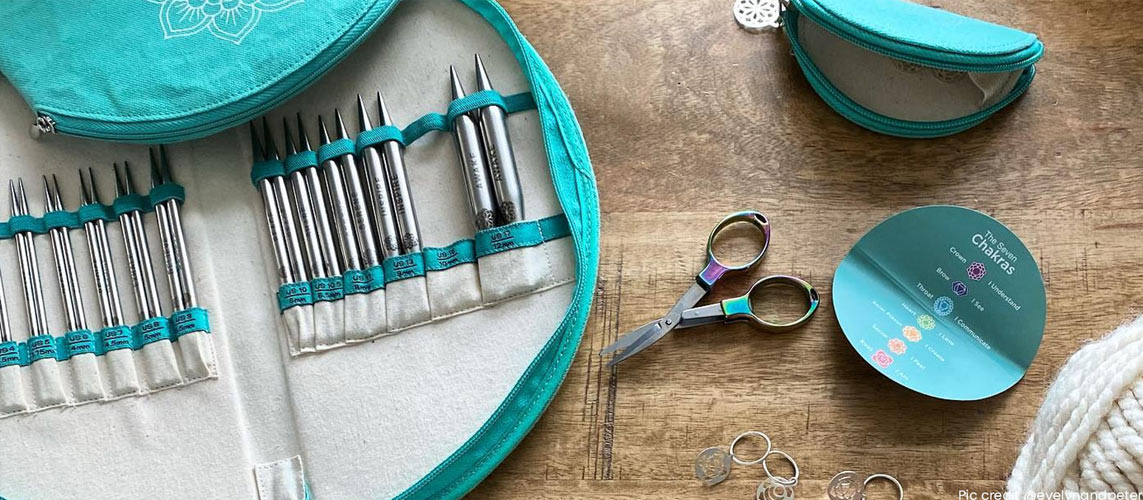
The four options of knitting needle types: Single Pointed, Double Points, Fixed Circular or Interchangeable circular needles work for making a hat. The entire range can be found in the Mindful Collection. The smooth stainless steel needle tips work with all kinds of yarn while circular needles get help from smooth fixed and swivel cables.
To help you make choices, let’s take a look at the knitting needles that work best for hats.
With Single Pointed Needles (STNs)
This is by far the easiest method to knit a hat. You simply knit a rectangle of specific measurements and then seam them together. The stocking stitch pattern works beautifully. The natural curl will help shape the brim of the hat while the other end will be seamed together. You can easily try out any textured stitch pattern. You just need a rectangle shape that you can easily knit back and forth. Throw in a colourful pom-pom and you have a beauty.
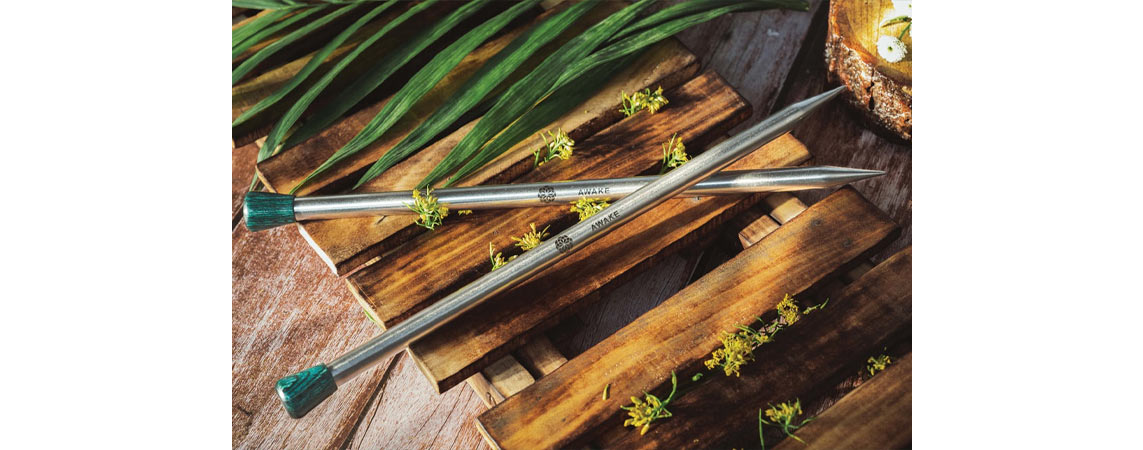
With Double Pointed Needles (DPNS)
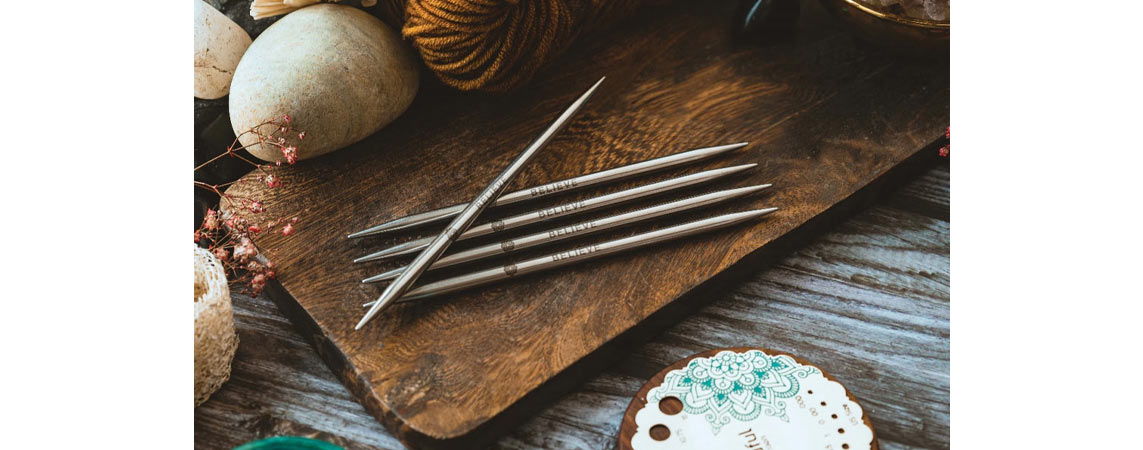
Double-pointed needles are preferred by many hat knitters as they are perfect to shape up the hat with a few stitches. They have been the oldest tool for knitting in the round. These needles come in a set of 5. You evenly distribute stitches on 3 or 4 needles and knit with the 4th or 5th one. For more information on the subject, take a look at our previous post on knitting with double pointed needles.
With Circular Needles
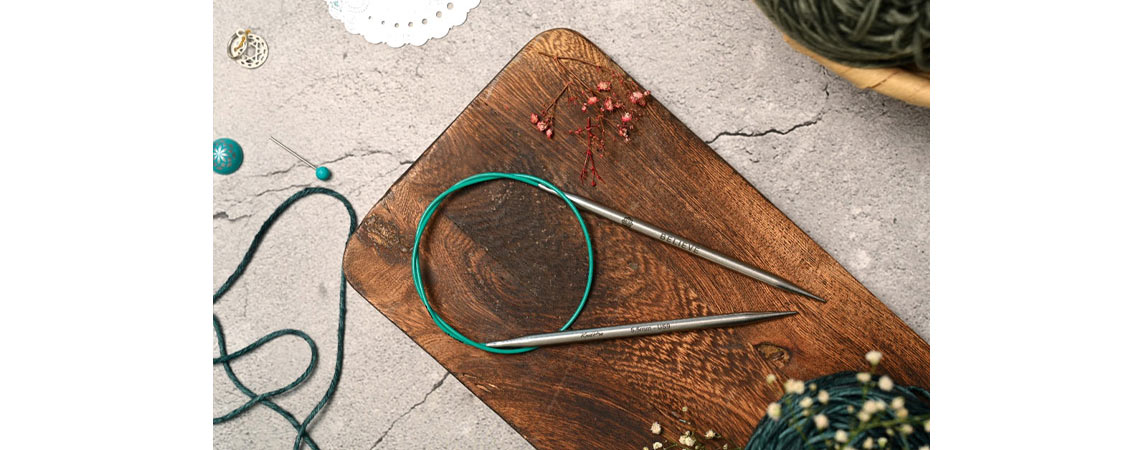
You can easily make a hat with fixed circular knitting needles or interchangeable ones. Both these options are perfectly fine as long as you have the size and length that you need to knit a hat. We suggest that you either go with a long circular needle with an 80cm (32″) cable or a small circular needle with a 40cm (16″) cable. The fixed circular needle comes in a 25 cm (10”) length which may be preferable for knitting hats in the round.
If it’s your first time knitting in the round of circular needles, we’ve got a guide to help you out.
With Magic Loop Method
A popular option to knit a hat is the magic loop technique, which is worked on a circular needle with a longer cable. Baby hats with very small circumferences can be easily knit with the method and interchangeable circular needles is a good option with this technique. The thing to keep in mind for this technique is that the cables should be smooth and between 56 cm (32″) or even 94 cm) 48″ long.
You will be knitting in the round on two needle tips with a loop of cable lying between the stitches to help you manage even the smallest number of stitches.
After you have made your decision about knitting needles and ways to knit a hat, let’s take a look at the easy steps.
Step 1: Knit a Gauge Swatch
The first step for any knitting project should always be a gauge swatch. The swatch gives an idea of how much yarn you’ll need, how the project will look like, and if the needle size is giving the result you want to achieve.
Follow our blog on how to get the right gauge. To summarize, make the tension square, knit with the same needles and yarn you’ll be using for the project a swatch of 10X10 cm. After you bind off and weave in yarn ends, wash and block the swatch. Get a measuring tape and mark 1cm or an inch and count the stitches both horizontally and vertically- giving you stitch gauge and row gauge. With a stitch gauge, you can calculate your hat circumference. Just make sure to keep 10-15 per cent for negative ease, especially for the brim of the hat.
Step 2: Cast on Stitches
Use the long tail cast-on method or tubular cast-on or any other stretchy cast-on method. If you are using your single points or circular needles cast stitches on one needle tip. If you are using double-pointed needles cast stitches on one needle tip and divide them evenly on the other needles.
Step 3: Knit the brim
The most preferred technique to knit a hat brim is the rib stitch pattern. Rib stitches are basically combinations of knit and purls in the same row or round that have a stretchy effect. There are various combinations such as 1X1, 2x2 or 3X3 rib. You can also make K2P1 rib or any such combination. The trick is to have a stretch effect. Knit the stitch pattern for 4-8 rounds depending on your hat length.
Step 4: Knit the Hat
After the row or round of ribbing, continue with a pattern of knitting stocking stitches (knit and purl alternate rows. After knitting for 4-8 rows or rounds, plan your decreases. Make k2tog every alternate stitch or every 3-4 stitches depending on the number of stitches you have. Your knitted fabric will gently reduce in size.
You can switch to double-pointed needles if you have very few stitches on the needle.
Step 5: Finish off and weave in yarn ends
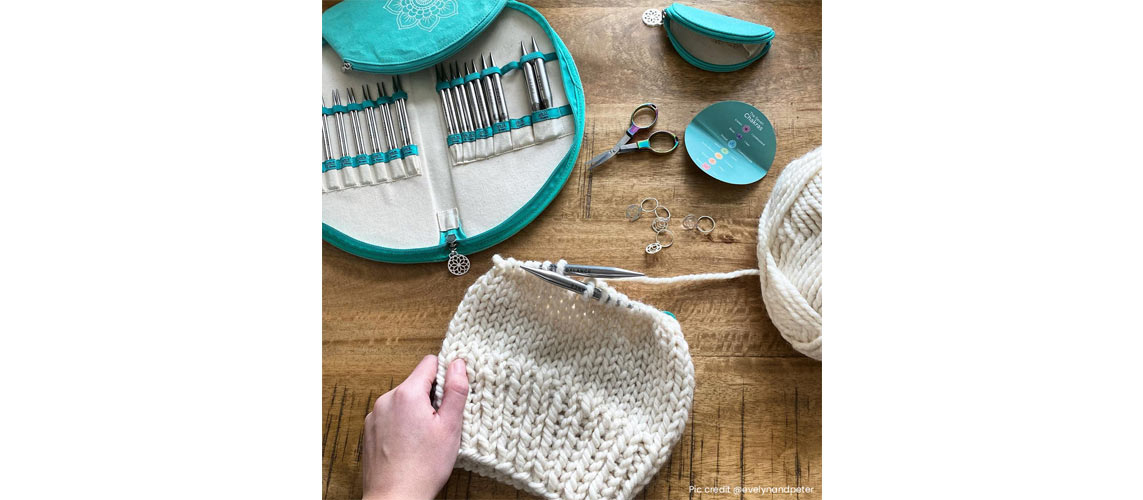
The beauty of knitting a hat, especially when knitting in rounds is that you can finish it off with a darning needle. You can seam the top and weave in yarn ends. If you want to add something special, top it off with a pom pom.
With this guide and the right knitting needles, you are ready to make your hat.
For more knitting tools, tricks, techniques, etc. do follow our blog!


