
Beanies are easy knitting projects that can be made in multiple ways, with any knitting needles and yarn. So, if you need a gift last minute or want to accessorize with something special or want to make warm clothes for a needy one, knitting a beanie is perfect. Quick and easy with knitting in the round, a beanie can be made within hours or a few days at the most.
Knitting in the round either with double-pointed needles or circulars is the best option for a beanie. A set of five DPNs in the right size is perfect for the project but it’s recommended to have knowledge of how to use double pointed needles.
When it comes to working with circular knitting needles, the options are a length that is either smaller than the circumference of the project or using a long needle for the magic loop technique. If the beanie is of 20-inches circumference then a 16-inch circular needle works the best. An interchangeable circular needle will offer multiple needle tips and cords according to the need of the project. For the magic loop cord, a circular needle with a length ranging from 32 inches to 47 inches. You can work with fixed or interchangeable needles.
The seamless project will not require to be seamed with a darning needle. But, you can use the darning needle to add some special color effects on the surface or add a pom pom or tassel.
Knitting Pattern
A knitting pattern is like a map. Take your knitting game to the next level this spring, whether you're a beginner or a master knitter, here is a super easy unisex beanie pattern. The pattern can be easily worked in one sitting while watching your favorite show, or while commuting or walking in the park.
The pattern can be worked on either DPNs or circular needles, but make sure to work with comfortable knitting needles. Besides, the needles, do carry the other knitting essentials such as stitch markers, darning needles, sharp scissors, etc.
This pattern only uses flat and purl stitches, and here is what you need:
Yarn: Spring means letting go of the heavy chunky neutral knits in favor of colorful lightweight knits. Soft green, bright yellow, blues, etc. work the best. Any soft yarn, 1 skein of 50 g / 50 m. You can use one color or combine various colors. If you have a yarn stash, you can browse there too for some great picks.
Knitting needles: As we’ve discussed above any DPNs or circular but in size US 6 (4mm) and US 8 (5mm) knitting needles. You can keep both of them handy. If you are undecided then start with circular then switch to DPNs. Our guide on how to switch from circular to double pointed needles will walk you through.
With the yarn and knitting needles, first knit a gauge swatch. If you are not getting gauge then make changes accordingly.
Beanie standard size chart
| Age |
Head Circumference |
Hat Height |
|
Adult Man |
24″ |
11.5″ |
|
Adult Woman |
22.5″ |
11″ |
|
Pre-teens and Teens |
21″ |
10″ |
|
Child (3 – 10 years) |
20″ |
8.5″ |
|
Baby 6 to 12 months |
18″ |
7.5″ |
|
Newborn |
14″ |
6″ |
Steps to Knit a Beanie on Double Pointed Needles
Cast on Stitches - Cast on 64 stitches on the US 6 knitting needle. Divide 16 stitches each on four double points. If you are thinking of an invisible join cast an extra stitch which you will slip to the needle tip to join the round. Place a stitch marker on the second last stitch of the round.
Knit 1, purl 1.
Continue for 6 -7 rounds or for 4 inches.
Now move your stitches to a US 8 knitting needle and continue to knit in stockinette for 10 or another 15 inches if you want it extra slouchy. For stockinette, generally, one row of knit stitches is alternated with a row of purl stitches and for the reverse stockinette stitch pattern, a row of purl is alternated with a row of knit stitches. But, when knitting in the round, stockinette means simply knitting every stitch. You can also try out the seed stitch pattern with our guide.
Now start decreasing to form the beanie shape.
Knit 2 stitches together (K2tog) after every 14 stitches, until you have 60 stitches at the end of the round.
K2tog after every 13 stitches. You will have 56 stitches for the next round.
K2tog every 12 stitches, until you get 52 stitches.
K2tog after every 4 and after 5 stitches, until you get 44 stitches.
K2tog after every 3 and after 4 stitches, until you have 36 stitches
Knit one round without decreasing.
K2tog after 2 and after 3 stitches, until you have 28 stitches.
Bind off knitwise. Now use the darning needle to go through all the stitches, pull tight to draw them all in and weave the yarn end into the stitches.
With Circular Knitting Needles
Cast on 64 stitches on your US 6 fixed or interchangeable circular needles of 16-inch needle length using the long-tail cast-on method. Place a stitch marker and carefully align the stitches in the same direction, and join to knit in the round. Place a stitch marker for the beginning of the round.
If you are trying out the magic loop technique then a US 6 fixed or interchangeable needle with 32 to 47 inches
Rest for the project follow the same steps as above. Move your stitches to a US 8 needle after the ribbing is done. Once the cord length gets longer than the beanie circumference, switch to DPNs. Follow the same decreases and bind off.
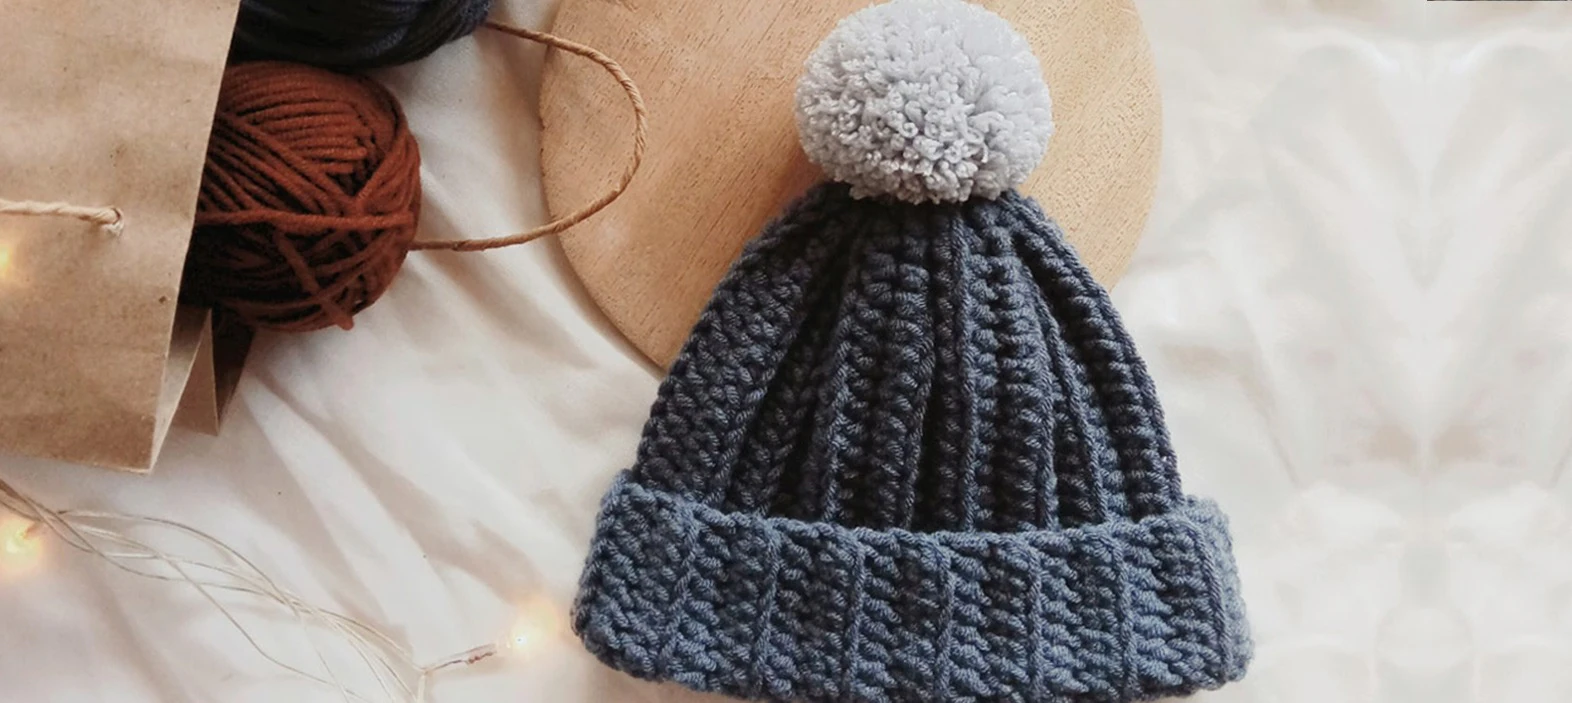
The beanie is now complete. Add some fluffiness with a pom pom. You can also work on duplicate stitches with a darning needle.
Now, if you have gone through the entire pattern and are still not sure to knit in the round, then use your circular knitting needles for a flat project. Refer to our guide on how to knit flat with circular needles.
Get ready for knitting a beanie. Whether you choose DPNs, fixed or interchangeable circular needles or even knitting needle sets, explore the Mindful Collection. The stainless steel knitting needles carry an inspiring word on the body helping knitters focus on the mindful aspects of knitting.


