How to Fix a Dropped Stitch in Knitting? - Blog

How to Fix a Dropped Stitch in Knitting?

How to Fix a Dropped Stitch in Knitting?

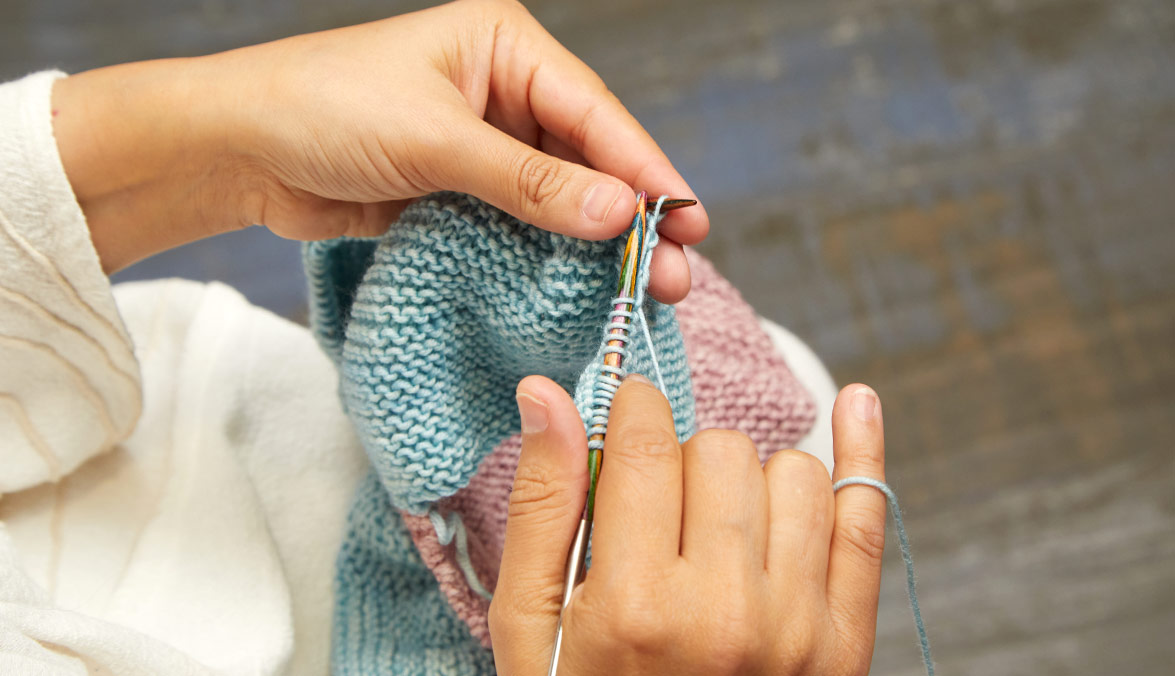
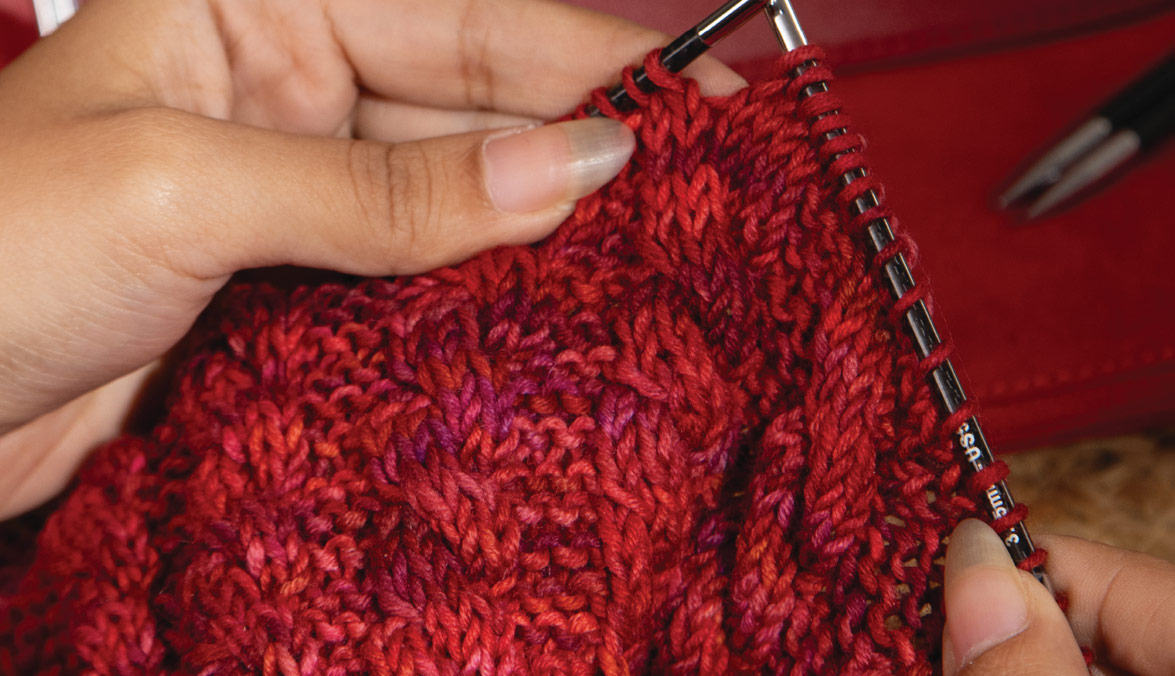
A dropped stitch is a common knitting mistake. Every knitter, beginner or seasoned expert has faced this issue one or multiple times in the journey. It may be because of your knitting needles, if you are distracted or tired or if the yarn is slippery or fuzzy. There are many more reasons for it. Generally, a dropped stitch is a loop that has come off the knitting needle tips and did not get worked. These unworked stitches or stitches hanging on the project are a problem that not fixed in time will slowly but surely unravel the knitted fabric. In this blog post, we’ll walk you through the ways how to fix a dropped stitch in knitting. You can also take a look at the other common knitting mistakes.

Whether you work on single-pointed needles, a set of double-pointed or the versatile range of circulars for knitting round or back and forth, you might face this mistake in your knitting journey. All you need is a repair hook or a crochet hook and you can fix the errors. Knitting comprises knit and purl stitches, so you need to learn to fix a dropped stitch on both stitches. The knit stitch always appears as a purl stitch from the other side so even if you know to fix a dropped stitch on the knit side you can go ahead with any stitch pattern.

To fix dropped stitches, there are three options or methods. In this blog, we’ll take a look at each one of them. The trick to avoid the mistake is to keep a count with a row counter.

Option 1 – Using a Repair Hook

The repair hook is one of the essential knitting accessories. The design is such that knitters believe it to be the best option to fix dropped stitches in knitting. With a hook on one side and a tapering tip on another, you can easily pick the stitches and smoothly go through stitches to put them back on the needles.

Using a Repair Hook

Place a locking stitch marker on the dropped stitch attaching it to the knitted fabric whenever you notice it. If you are in the middle of the row or round, complete it first.  Insert the hook into the dropped loop. A crochet hook a size smaller than the knitting needle also works to fix the dropped stitch.

The horizontal bars of yarn above the dropped stitch are called ladders. Pull the dropped stitch through these ones by one till you get to your knitting needle. Make sure you do not twist the stitch while you pick it up. You can keep an eye on stitch by observing it is facing the same direction as the other stitches on your needle.

Count your stitches and see that the fixed stitch matches your pattern.

Option 2 - Tink or Unknit

Tink is knit spelled backward and this is what it does. It means to unknit.  Refer to our guide on tinking to know more. This method of fixing the dropped stitch works best if you are only a few stitches away from the awry loop and have a lot to make it to the end of the row or round. Tink each stitch till you get to the dropped stitch and pick it up on the knitting needle. Mark the point or stitch on the pattern from where you started unknitting. As you have lost a few stitches, you need to get back to the right place on the pattern.

Using a Repair Hook

Option 3 - Frogging

Like the frog goes ‘rib-it rib-it,’ the knitted fabric makes the sound when you unravel the stitches. Unravel all the stitches till you get to the mistake and pick your dropped stitch. This works best if you are just a few stitches from the mistake or if you do not mind ripping it out. For this method too, note down the stitch on your knitting pattern as you will lose stitches.

All these three methods work whether you are knitting back and forth as well as in the round and with any knitting needles.

After you've finished knitting and bound off your project, you may find a dropped stitch. It won't work to undo the bind-off and pull the dropped stitch up because it will be too tight. However, you can repair this ...it's never too late to fix that mistake!

How to Fix Dropped Stitches after Casting Off

Step 1: Grab your repair hook but meanwhile, secure the stitch with a locking stitch marker, a double-pointed needle, or even a cable needle.

Using a Repair Hook

Step 2: Insert the hook into the dropped stitch and pick it up from the front toward the back from underneath.

Step 3: Use your repair or crochet hook to pick up the awry loop from behind. Basically, scoop up and bring it forward through the ladder. Make sure to pick each ladder carefully so that things stay tidy and in a pattern.

Step 4: Take the final loop and pull through to the back. It will be almost invisible on the front, but there will be a point where you can spot the decreased stitch. Grab a spare piece of yarn just a few inches. The yarn from the project works the best. With the repair or crochet hook and pull the yarn through the loop and hold it in place. This will keep the loop safe and secure. Weave in the yarn ends of the spare thread. Refer to our guide on tricks to weaving in yarn ends. You can cut any excess spare yarn and leave a good-sized, workable length.

Step 6: Try and smoothen the area. Fluff the stitches with a knitting needle. For even better results, try wet blocking your project. Refer to our guide on blocking your knitted project. There will be a disappearing stitch where the mend was made, so it will not be 100% perfect, but very close to impeccable.

A dropped stitch in your knitting project is nothing to despair. With a little patience and the repair hook, your work will quickly look neat again. The secret to avoiding an unravelling project due to a dropped stitch is always using a lifeline. You do not need to go the extra steps, just thread a waste piece of yarn in a contrasting colour or a white or transparent shade of dental floss. You can thread the lifeline with a wool needle or use KnitPro interchangeable circular needles which have the provision to thread a lifeline.