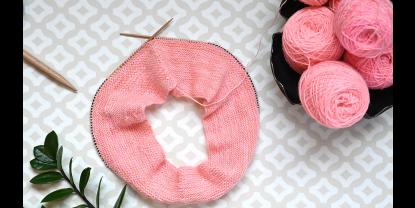
Have you tried Punch Needle Embroidery? You can create the most stylish decor items and fluffy accessories and even uplift your own garments. This fantastic knotting technique, borrowed from traditional rug-making, offers endless possibilities for creative expression. Also, it's incredibly easy to learn and an excellent crafting activity to enjoy with your kids. Join us on a fun-filled ride and start creating your own plush masterpieces.
What do I need for punch-needle embroidery?
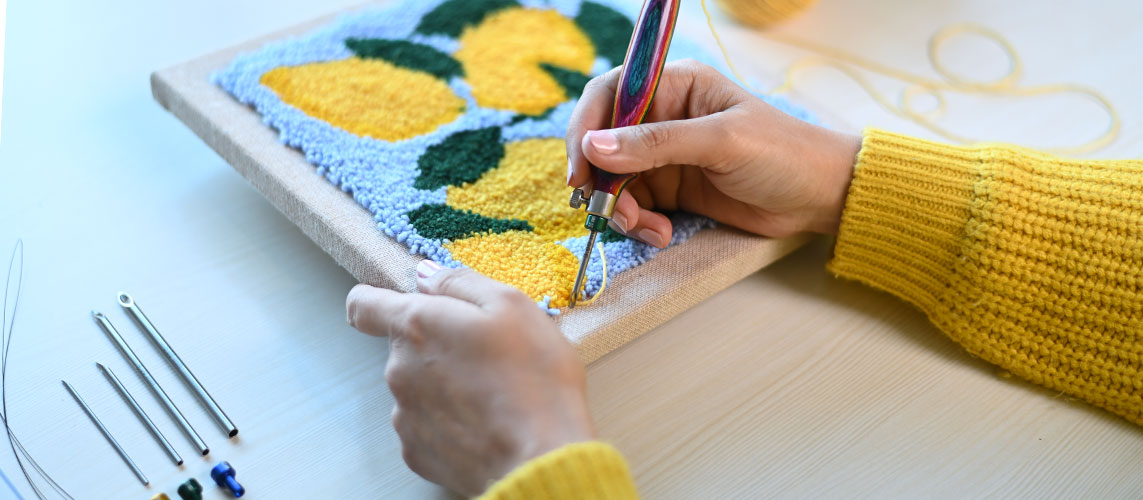
Punch-needle embroidery, also known as punch-needle hooking, allows for quick and satisfying stitching, creating a fluffy 3-D surface on any fabric. It's a versatile technique that can be used to create beautiful designs, such as pillows, rugs, bags, or wall hangings. You can also use it to accentuate and jazz up your cardigans or sweaters with plush landscapes.
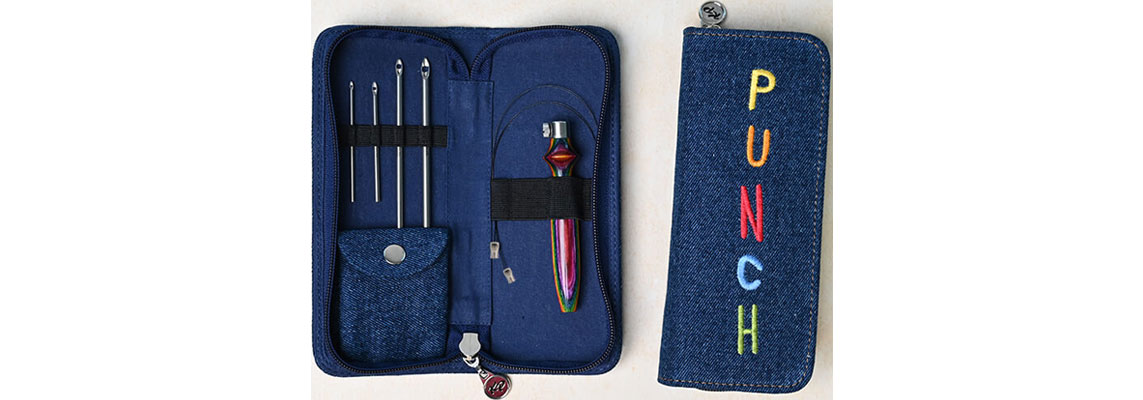
Getting started with punch-needle embroidery is easy-peasy.
- Punch Needle: A hollow needle with a handle that creates textured designs.
- Embroidery Hoop or Frame: Used to hold the fabric taut during stitching.
- Sturdy Fabric: Opt for materials like sackcloth or tightly woven fabric.
- Yarn or Embroidery Floss: Any colorful threads that bring your designs to life.
- Pair of yarn-cutting scissors to provide the final texture and fluffiness.
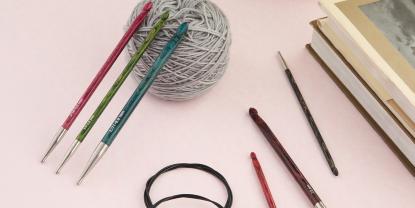
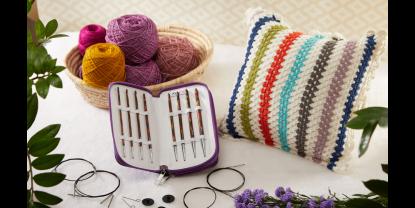
With our new Punch Needle kit, you get the perfect starter set. Inside a trendy fabric case, available in two stylish colors, you'll find a Symfonie punch needle base made from birchwood, along with four exchangeable needle tips. Plus, we've included two cords that open doors to more unique designs and imaginative projects. You can create intricate patterns, play with dimensionality, or incorporate additional elements like beads or tassels.
Can I use any type of yarn?
The choice of yarn for punch-needle embroidery depends on the specific effect you want to achieve and the type of punch needle you're using.
Traditional punch-needle embroidery, often used for rug hooking, typically requires thick and sturdy yarn, known as rug yarn. Rug yarn is usually made of wool or acrylic and comes in various thicknesses. It creates a dense and textured surface and is ideal for creating resistant rugs, wall hangings, cushions, and other durable textile pieces.
If you want a smoother option, worsted-weight yarn can work well for punch-needle embroidery. It's a medium-weight yarn that is widely available and comes in various fibre types like wool, cotton blends or acrylic yarns. Worsted weight yarn allows for a more defined stitch definition with your punch-needle and is suitable for creating detailed designs on fabric. It makes a fabulous choice when you are looking to accentuate parts of a garment or give one of your bags a punch-needle makeover.
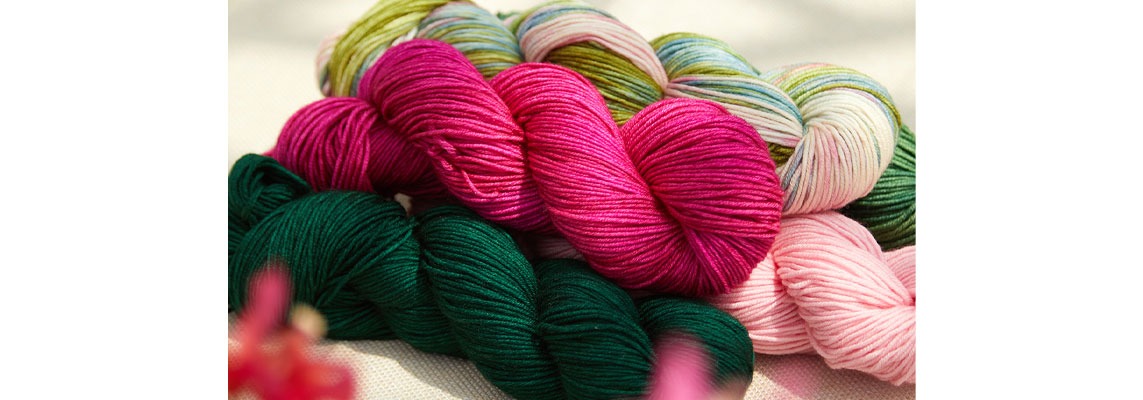
Embroidery floss is the typical choice when you plan to work on smaller projects or more detailed designs. Made of six strands of divisible thread, embroidery floss provides a finer definition than worsted-weight yarn and allows for more control over where you place your stitches. It comes in a vast range of colors and has the advantage of being separated easily if you wish to adjust the thickness of the thread.
For more unique effects and textures, explore specialty yarn options. These may include boucle yarn, chenille yarn, or textured yarn. Mixing different types of yarn adds an extra dimension and visual appeal to your punch-needle embroidery, like in a mountain relief.
When choosing yarn for punch-needle embroidery, consider the size of your needle tip, the desired texture, and the final look you want to create. Experiment with different yarns to see which works best for your project and design vision.
How to work the punch-needle?
First, prepare the fabric: Stretch it tightly in the embroidery hoop or frame, ensuring it is smooth and wrinkle-free. This provides a stable surface for punching the needle through.
Next, thread the punch needle by inserting the desired color of embroidery floss or yarn through the hollow end of the needle and pulling it through until the thread is secure. The thread should run freely through the hollow needle.
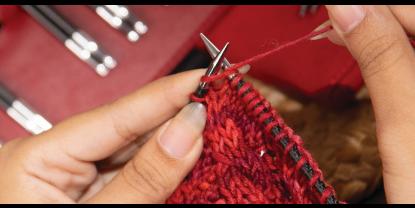
Now, punch your needle: Starting from the backside of the fabric, insert the punch needle vertically into the fabric. Push the needle all the way through until the handle touches the fabric.
Loop your thread: With the needle fully inserted, gently pull the needle back towards you, creating a loop of thread on the front side. The loop length determines the height of the stitched design on the surface of your fabric.
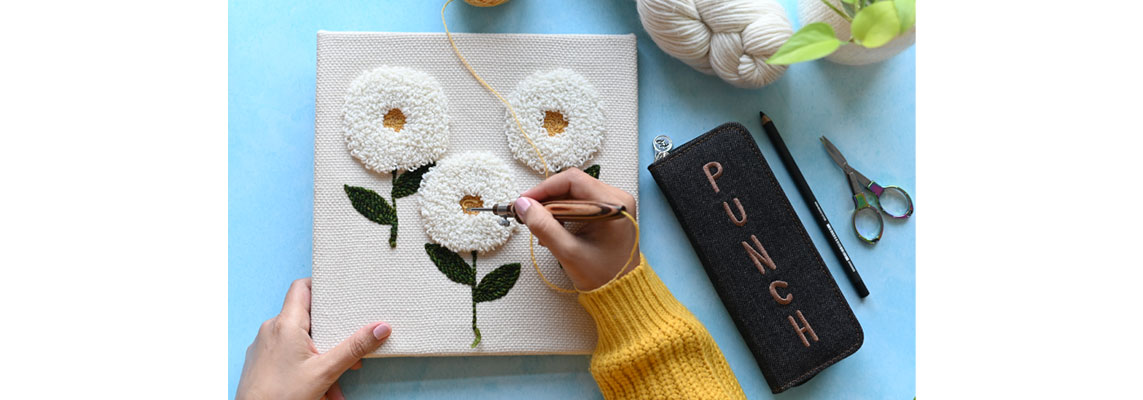
Relax and move along: Repeat inserting the needle, creating loops, and moving along the desired design path. You can create straight lines, curves or fill in areas with more loops. This is where the real fun begins! When you reach the end of a thread or want to change colors, cut the thread close to the fabric and start with a new thread. You can also create different textures by varying the types of threads or yarns used.
Snip, Snip, Fluff: Providing the finishing touches
Once you have created the loops in your punch-needle embroidery, achieving that fluffy texture is just a step away.
Before you start cutting, consider the desired length of the loops. Decide whether you want them to be uniform in length for a consistent texture or prefer variations for a more textured appearance. It's always a good idea to test your cutting technique on a small sample or extra fabric before working on your main project.
There are two main techniques for cutting the loops: flush cutting and graduated cutting. In flush cutting, hold the fabric taut and position the scissors close to the fabric surface. Carefully cut all the loops at the same length to create a consistent and even texture.
If you're looking for a more textured effect, opt for graduated cutting. Vary the length of the loops by cutting some shorter than others. This technique adds depth and dimension to your design.
Once you have cut the loops, gently fluff and tease the fibers with your fingers or use a clean, soft-bristled brush to give your design that final touch of texture.
So are you ready to join the punch-needle party? Trust us; you'll be hooked on the fun once you try it!


