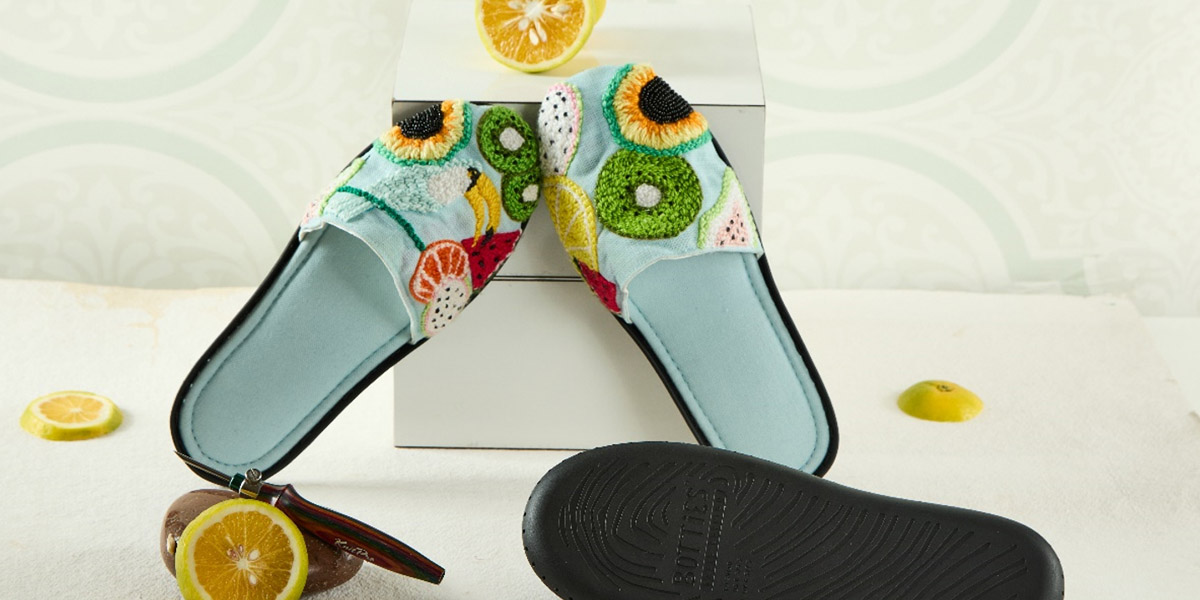
Have you ever dreamt of crafting your own shoes? Well, dream no more! We’ve got the tools and an easy tutorial to help you express your creativity. When Botties Shoe Soles and Punch Needle Art come together the project is truly a masterpiece. While the shoe soles are an exciting crafting accessory that lays the foundation of unique and personalized footwear, punch needle kits combine the therapeutic benefits of crafting with the satisfaction of creating a wearable masterpiece. DIY footwear has never been more comfortable and stylish. So, without further ado let’s get started.
What you’ll need?
Look no further than the innovative Botties shoe soles by KnitPro for DIY footwear. The basic edition of shoe soles turns into extraordinary pieces of art whether you are a beginner or have been crafting for years.
With the punch needle set, you can create a unique and eye-catching design with lots of texture. You basically punch (insert) a needle threaded with yarn on a piece of fabric and create textures that range from short to long loops. There are no special stitches or techniques but you have to keep punching to make a design.
Step 1- Select the Botties Shoe Sole
Botties are here to be your own magician when it comes to footwear. With DIY shoe Sole, which will provide the perfect base for your masterpiece. The revolutionary concept that makes crafting your own footwear accessible and enjoyable. The pre-drilled, flexible TPU soles are designed to be durable, lightweight, and comfortable to wear.
They are available in the three most popular sizes – EU 37-38, 39-40, 41-42 – each package includes a pair of botties soles, a pair of felt insoles for added comfort, 5 meters of waxed thread for secure connection to the upper shoe, and a pair of botties labels.
Step 2 – Choose a Punch Needle Kit
images
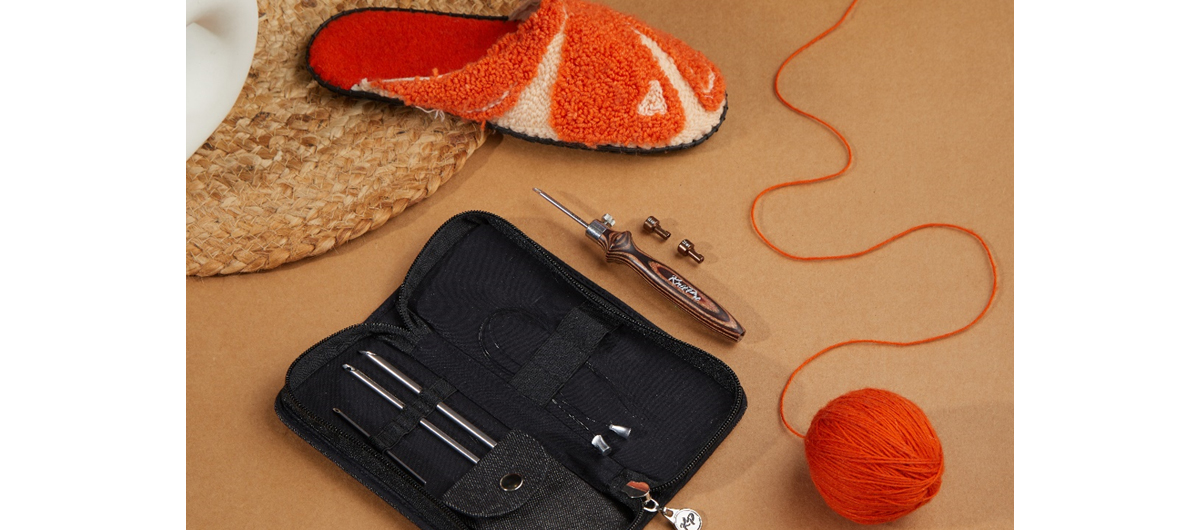
Punch needles, our Vibrant or Earthy Punch needle Set has an ergonomic handle that works with four needle sizes. For this tutorial, choose either of the two handy kits. Equipped with an ergonomic birchwood handle, 4 different needle diameters, threaders and accessories, it’s ideal for all kinds of punch needle art.
Step 3- Choose Yarns
Selecting the perfect yarn is crucial for achieving both the desired aesthetic and a comfortable fit for your shoes. If you want to recreate the slippers as shown in this tutorial, then you need Viva from Symfonie Yarns in shades of Burnt Sugar SS1041, Camellia SS1046, and Bandana Red SS1049. The DK-weight extrafine merino wool is machine-washable. You can also pick up other shades:
If you want to experiment, here are some key considerations:
- Natural fibers like wool or cotton offer breathability and comfort. Synthetic fibers like acrylic may be more affordable and easier to care for.
- Opt for a medium-weight yarn that is thick enough to create a sturdy base but not too bulky for comfort.
- Choose a color palette that complements your style and wardrobe. Don't be afraid to experiment with bold colors and patterns!
Step 4- Trace the Pattern on Monk’s Cloth
To design your footwear with botties you can directly crochet through the holes provided in the soles. Or work on a design first and then attach them to the shoe soles. For this step, you must understand the basics of shoe-making. Measure your foot and note it down. Work on the design according to the shape of your feet.
Now, here comes the fun! Recreate the design as shown in this tutorial, imagine waves and trace them on the fabric. You can play with different yarn colors or recreate the pattern.
if you want to be creative, then this is your chance to let your imagination run wild and design a one-of-a-kind design that perfectly complements your style. You can work on any design and trace the pattern on Monk’s cloth. You can also substitute and work with Weaver’s cloth or Duck fabric.
If you are interested in other designs, work on summer fruits, or other patterns.
Step 5 – Thread your Punch Needle Right
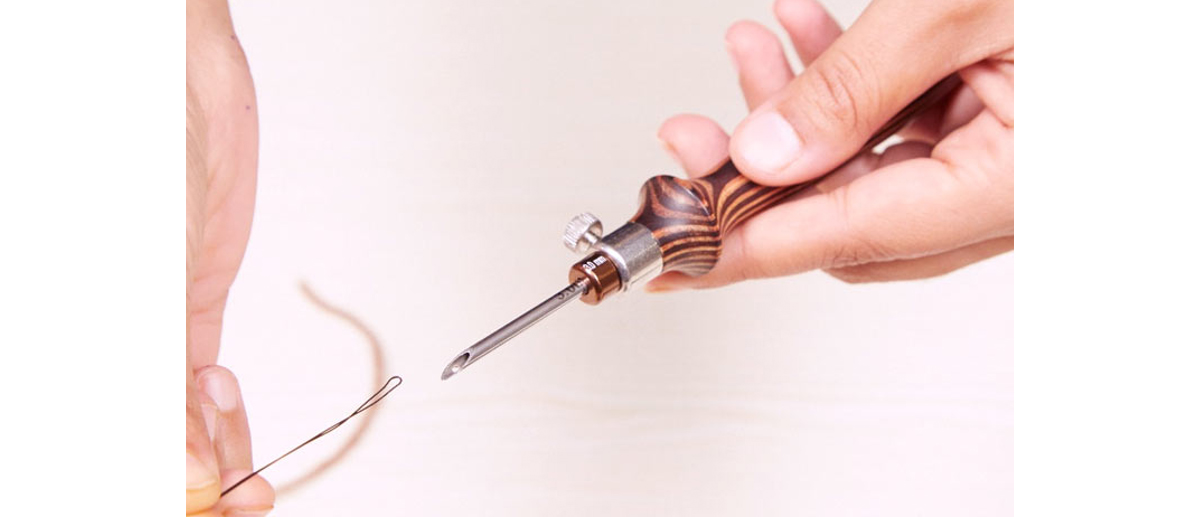
Follow the instructions included with your specific punch needle model to properly thread it with your chosen yarn. Or follow our guide on how to thread the punch needle.
Step 6- Work on the Pattern
Now that your punch needle is ready, begin by punching loops. You can change the punch needle needle size for different loop heights. Smaller needles create tighter loops for a denser and smoother surface. Bigger needles create larger, fluffier loops for a more textured look.
When switching yarn colors, simply unthread the old yarn and thread the new one, ensuring a secure knot at the beginning.
Once you've completed the punching, use a tapestry needle to weave in any loose yarn ends for a clean finish.
Get creative! Add embellishments like buttons, beads, or ribbons. You can even personalize your shoes with initials or a small design embroidered on the top.
Step 7- Attach your punch needle art to Botties shoe sole
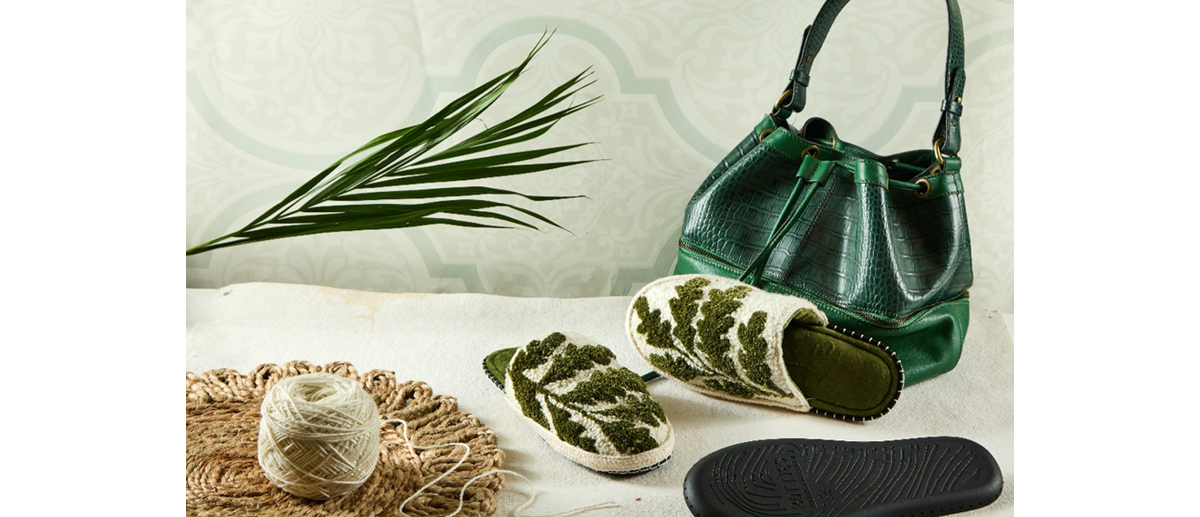
Once your punch needle fabric is ready, get ready to attach it to the Botties Shoe Soles. You can choose any wool/ yarn/ darning or tapestry needle. The waxed thread will help you attach them neatly to your footwear.
There you have it, folks! Your very own punch needle embroidered shoe sole tutorial. We hope you enjoyed creating this eye-catching design as much as we did. Feel free to experiment with different color combinations or patterns to add your personal touch. Watch how your footwear turns heads and becomes a fashion statement.
With this tutorial get ready to spice up your footwear. Be it summer or winter, outdoor boots or indoor slippers you can add glamor to anything you adorn your feet with.
This is just a glimpse of creativity. Botties and Punch Needle come together to space up your fashion game, make wonderful gifts and enjoy the beauty of handmade!


